Last Updated on 3 months by Francis
Detailed Notes: Disassembling a NordicTrack treadmill may seem daunting, but with the right tools and guidance, it can be a straightforward process. In this article, we will guide you step-by-step on how to disassemble a NordicTrack treadmill.
Contents
Key Takeaways:
- Disassembling a NordicTrack treadmill doesn’t have to be complicated.
- Having the necessary tools is essential for an efficient dismantling process.
- Always unplug the treadmill before starting the disassembly.
- Removing the safety key is important to ensure the treadmill doesn’t accidentally turn on.
- Step-by-step disassembly instructions are available for each component of the treadmill.
By following these instructions, you can easily dismantle your NordicTrack treadmill and prepare it for storage, repair, or transport.
Tools Required for Dismantling
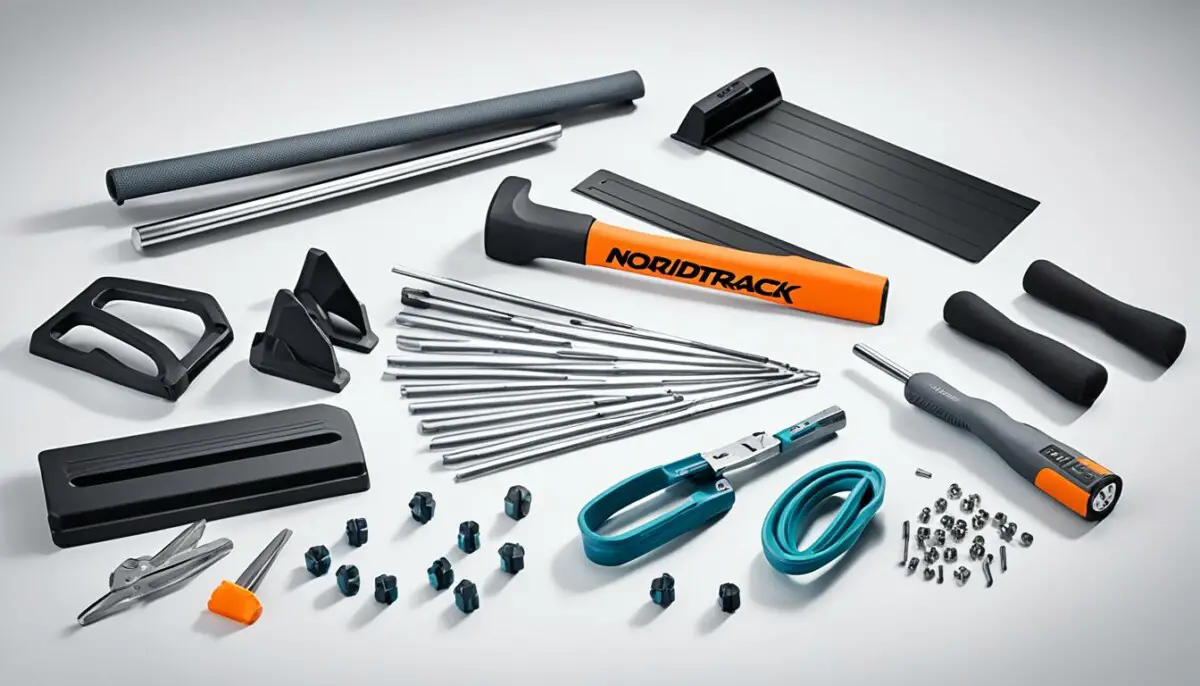
If you’re planning to dismantle your NordicTrack treadmill, it’s important to have the right tools on hand. Proper tools will make the dismantling process easier and more efficient. Here are the essential tools you’ll need:
- Screwdriver: A screwdriver with various head types will help you remove screws and fasteners.
- Allen wrench: NordicTrack treadmills often use Allen wrenches to secure components. Have a set of Allen wrenches in different sizes to tackle different bolts.
- Adjustable wrench: An adjustable wrench is useful for loosening and tightening bolts that secure various parts of the treadmill.
- Hammer: A hammer may come in handy for gently tapping certain components to loosen them.
- Pliers: Pliers can be useful for gripping and removing bolts or wires that connect different parts together.
Gather these tools before you begin the dismantling process. Having them on hand will make the entire process smoother and help you avoid unnecessary frustration.
Step 1: Unplug the Treadmill

Before you begin dismantling the NordicTrack treadmill, it is important to prioritize your safety. To ensure a safe disassembly process, always remember to unplug the treadmill from the power source. This simple step will prevent any potential electrical accidents and keep you out of harm’s way.
Unplugging the treadmill not only eliminates the risk of electrical shock but also allows you to work on the machine without any active power supply. This gives you peace of mind as you disassemble the various components.
If your treadmill is connected to an extension cord, unplug it from both the power outlet and the extension cord for extra precaution. Take a moment to check if the power cord is completely detached from the treadmill to ensure complete disconnection.
Remember, safety should always be your top priority when dealing with any electrical equipment.
Unplugging the treadmill is a crucial safety step before disassembling.
Step 2: Remove the Safety Key
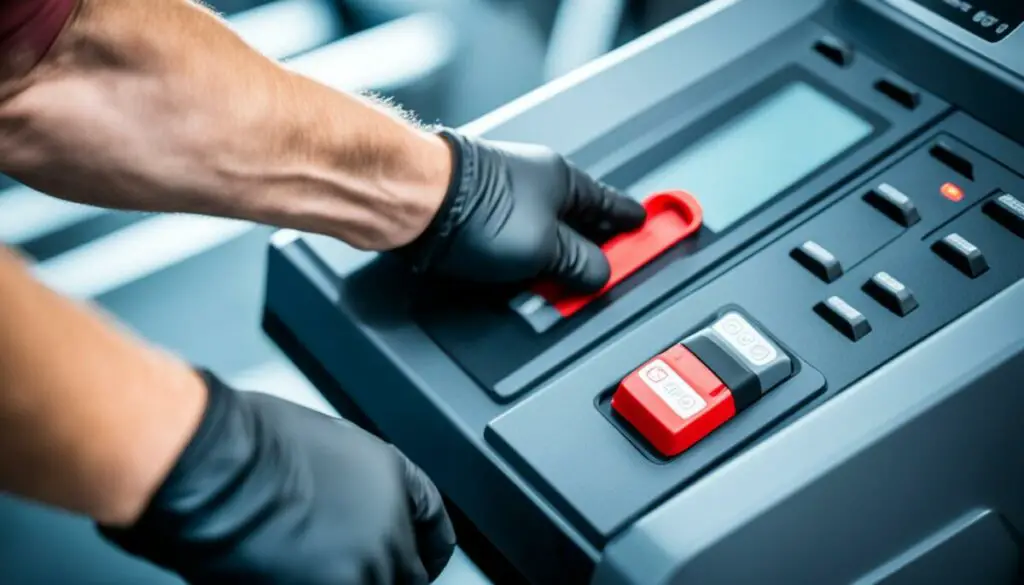
When dismantling your NordicTrack treadmill for storage, it is important to remove the safety key. This key serves as a safety precaution, preventing the treadmill from accidentally turning on during the disassembly process. By removing the safety key, you ensure a safe and controlled dismantling experience.
To remove the safety key, locate it on the treadmill’s console. It is typically attached by a cord and easily identifiable. Gently pull the key out of its slot, disengaging it from the treadmill.
Remember, removing the safety key is especially important if you plan to store the treadmill after disassembly. This prevents any accidental activation of the treadmill and helps keep stored items safe and injury-free.
Once the safety key is removed, set it aside in a safe place. You can then proceed with the other necessary steps to dismantle your NordicTrack treadmill for storage.
Recommended Tools:
- Screwdriver
- Allen wrench
- Adjustable wrench
- Hammer
- Pliers
Step 3: Remove the Console
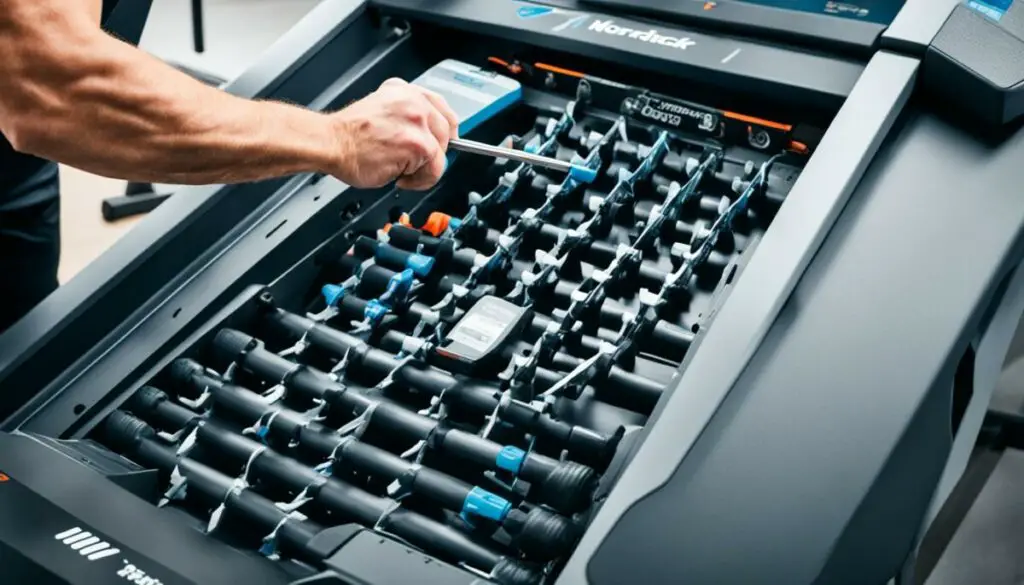
When dismantling your NordicTrack treadmill, the next step is to remove the console. This is an essential part of the disassembly process and will allow for easier removal of other components.
To remove the console, you will need a screwdriver or Allen wrench, depending on the type of screws or bolts securing it to the frame. Carefully locate and unscrew these fasteners to loosen the console.
Pro Tip: Take note of the placement of any wires that connect the console to the treadmill. This will help during reassembly or if you need to replace any parts.
Once the console is loose, gently disconnect any wires that are attached to it. Take your time to ensure that you don’t damage any of the wires or connectors.
Removing the console is an important step in the disassembly process, as it will provide better access to other components that need to be taken apart.
Tools Required for Removing the Console
| Tool | Description |
|---|---|
| Screwdriver or Allen wrench | Used for removing screws or bolts securing the console |
| Nose pliers | Used for disconnecting wires from the console |
Step 4: Remove the Handrails
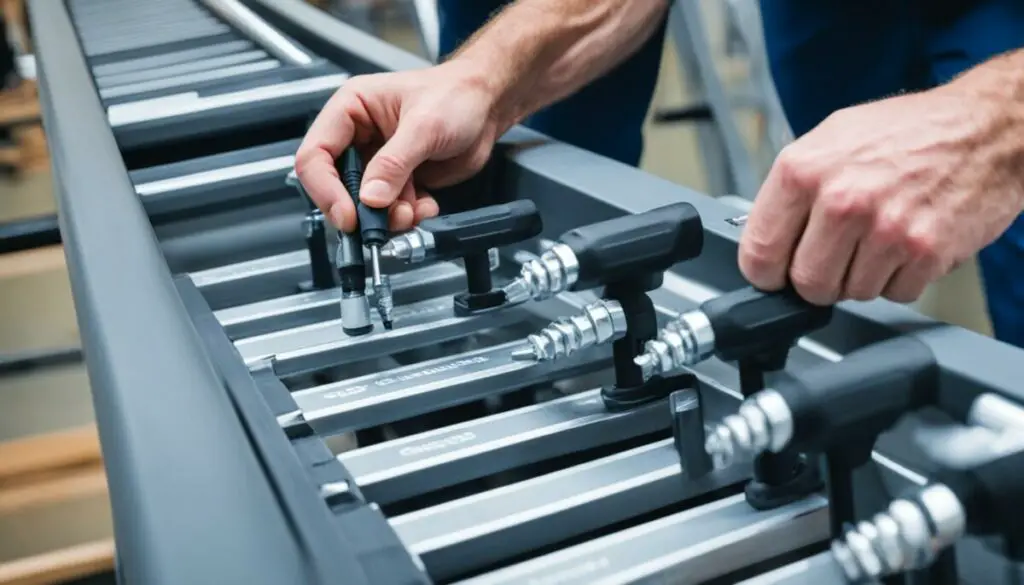
Now that we have completed the previous steps, it’s time to move on to removing the handrails of your NordicTrack treadmill. This step is essential to facilitate the disassembly of the rest of the treadmill components.
To remove the handrails, you will need an adjustable wrench or pliers. Carefully locate the bolts that secure the handrails to the frame of the treadmill. Once you have identified them, use the adjustable wrench or pliers to remove the bolts.
Take your time and ensure that all the bolts are completely loosened. Once the handrails are loose, gently lift them off the frame, making sure to keep them intact. Removing the handrails will provide you with more accessibility and maneuverability during the remaining disassembly process.
Remember to handle the handrails with care and place them in a safe location, as they may be reinstalled if desired or necessary in the future.
Now that the handrails have been removed, you are ready to proceed with the disassembly of other treadmill components. Continue following our step-by-step guide to effectively dismantle your NordicTrack treadmill.
Step 5: Fold the Treadmill Deck
After completing the previous steps, you are now ready to fold the treadmill deck. This step is essential to create more space and facilitate the removal of other components during the disassembly process.
To fold the treadmill deck, follow these instructions:
- Locate the locking mechanism on the treadmill deck. It is usually positioned near the bottom of the deck.
- Release the locking mechanism by pulling the lever or pushing the button, depending on the design of your NordicTrack treadmill.
- Once the locking mechanism is released, carefully lift the front of the treadmill deck.
- Continue lifting the deck until it locks in an upright position. You may hear a clicking sound or feel the deck lock into place.
Folding the treadmill deck provides several benefits. Firstly, it creates more room to access and remove other components, such as the front and rear rollers. Secondly, it simplifies the disassembly process, allowing you to maneuver the treadmill more easily. Lastly, it facilitates storage or transportation if you plan to move the treadmill to a different location.
With the treadmill deck folded, you are now ready to proceed to the next steps and continue disassembling your NordicTrack treadmill. Each step brings you closer to successfully dismantling the treadmill, whether it’s for repair, storage, or any other purpose.
Step 6: Remove the Rear Endcap
Removing the rear endcap of your NordicTrack treadmill is a crucial step in the disassembly process. This will enable you to access and remove the rear roller and other components more easily.
To remove the rear endcap, follow these steps:
- Ensure that the treadmill is securely positioned and stable.
- Using a hammer, gently tap the rear endcap until it starts to loosen.
- Repeat the same process on the other side of the treadmill.
- Continue tapping until the endcap pops off completely.
By removing the endcaps, you create a clear pathway for dismantling the rear roller and other parts of your NordicTrack treadmill.
Removing the rear endcap allows for smoother disassembly and ensures that you can proceed with dismantling the treadmill effectively.
Step 7: Remove the Rear Roller
When dismantling your NordicTrack treadmill, the next step is to remove the rear roller. This step is essential for easier disassembly of the front endcap and roller. Follow these simple instructions to safely remove the rear roller:
- Using an adjustable wrench or pliers, locate and remove the bolts that secure the rear roller to the frame. Make sure to keep the bolts in a safe place for reassembly later on.
- Once the bolts are removed, gently slide the rear roller out of the frame. Take care not to damage the roller or any other components during this process.
Removing the rear roller brings you closer to completing the disassembly of your NordicTrack treadmill. Make sure to handle all the parts with care to avoid any unnecessary damage.
“Removing the rear roller is a critical step in the disassembly process of a NordicTrack treadmill. By following the instructions carefully, you can ensure a safe and efficient disassembly without causing any damage to the treadmill.”
Now that the rear roller is successfully removed, let’s move on to the next step – removing the front endcap and roller.
Step 8: Remove the Front Endcap
Now that you have successfully removed the rear endcap, it’s time to tackle the front endcap. This step is crucial for dismantling your NordicTrack treadmill, especially if you plan to store it for later use.
To remove the front endcap, follow these steps:
- Place a towel or soft cloth on the endcap to protect it from any damage.
- Using a hammer, gently tap the endcap until it pops off. Be careful not to apply too much force to avoid any unnecessary strain on the treadmill frame.
- Repeat the same process on the other side of the treadmill to remove the second front endcap. Taking off both endcaps will make it easier to remove the front roller and other components in the next steps.
Remember to handle the endcaps with care, as they might be fragile. Taking the necessary precautions will ensure that you can dismantle your NordicTrack treadmill safely and efficiently.
Once you’ve removed the front endcaps, you’re one step closer to fully dismantling your NordicTrack treadmill. The next section will guide you through the process of removing the front roller, bringing you closer to storing or repairing your treadmill.
Step 9: Remove the Front Roller
To continue disassembling your NordicTrack treadmill, you will now remove the front roller. This step is essential for repairing any issues or replacing worn-out parts. Follow these simple instructions to complete the disassembly process:
1. Using an adjustable wrench or pliers, locate and remove the bolts that secure the front roller to the frame. Take your time to ensure that all bolts are fully loosened.
2. Once the bolts are removed, gently slide the front roller out of the frame. Be cautious while handling the roller, as it may be heavy and awkward to maneuver.
By completing this step, you have successfully disassembled the primary components of your NordicTrack treadmill. Congratulations on your progress! Now you can proceed with the necessary repairs or maintenance tasks, confident that you have dismantled your treadmill safely.
FAQ
What tools do I need to dismantle a NordicTrack treadmill?
To dismantle a NordicTrack treadmill, you will need a screwdriver, Allen wrench, adjustable wrench, hammer, and pliers.
Should I unplug the treadmill before starting the dismantling process?
Yes, it is crucial to unplug the treadmill from the power source before dismantling it to ensure your safety and prevent electrical accidents.
How do I remove the safety key?
Locate the safety key on the console and remove it from the treadmill. This step will prevent the treadmill from accidentally turning on during the dismantling process.
How do I remove the console?
Using a screwdriver or Allen wrench, remove the screws or bolts that secure the console to the frame, then carefully disconnect any wires that connect the console to the treadmill.
How do I remove the handrails?
Using an adjustable wrench or pliers, remove the bolts that secure the handrails to the frame, then gently lift them off the frame.
How do I fold the treadmill deck?
Locate the locking mechanism on the treadmill deck and release it. Then, fold the deck upwards until it locks in place to create more space for disassembling other components.
How do I remove the rear endcap?
Using a hammer, gently tap the rear endcap until it pops off. Repeat the same process on the other side of the treadmill to allow for easier removal of the rear roller and other components.
How do I remove the rear roller?
Using an adjustable wrench or pliers, remove the bolts that secure the rear roller to the frame, then carefully slide the roller out of the frame to facilitate the disassembly of the front endcap and roller.
How do I remove the front endcap?
Using a towel or soft cloth to protect the endcap, gently tap it with a hammer until it pops off. Repeat the same process on the other side of the treadmill for easier removal of the front roller and other components.
How do I remove the front roller?
Using an adjustable wrench or pliers, remove the bolts that secure the front roller to the frame, then carefully slide the roller out of the frame to complete the disassembly of the main components of the treadmill.

