Last Updated on 3 months by Francis
Disassembling a treadmill may seem like a daunting task, but with the right steps, it can be done easily and safely. In this guide, we will provide you with a step-by-step process on how to disassemble a treadmill. By following these easy steps, you’ll be able to dismantle your treadmill for moving or storage without any hassle.
Contents
Key Takeaways:
- Disassembling a treadmill requires careful preparation and the right tools.
- Studying the owner’s manual is essential for understanding the specific disassembly process of your treadmill model.
- Start with basic steps such as unplugging the treadmill and removing the safety key.
- Separate the deck from the uprights using the appropriate tools.
- Disconnect the console and monitor from the treadmill frame with caution.
Gather the Necessary Tools
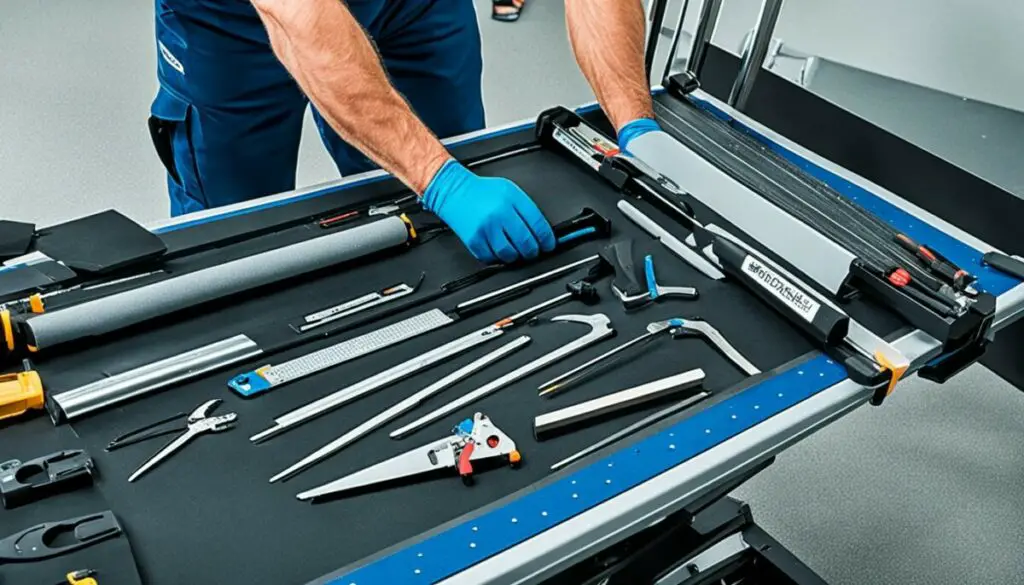
Before you embark on the task of disassembling your treadmill, it’s crucial to gather all the essential tools. Equipping yourself with the right tools will ensure a safe and efficient disassembly process. Here are the tools you’ll need:
- Phillips head screwdriver
- Power drill
- Set of sockets
- Hex wrenches
- Tape measure
- Scotch tape
- Small plastic bags
- A blanket
- Bubble wrap or more blankets
- Post-It notes
- Smartphone camera
Gathering these tools beforehand will save you time and make the disassembly process much smoother. You’ll have everything you need to safely dismantle your treadmill and ensure its successful reassembly when needed.
Having these tools by your side, you’ll be well-prepared and equipped to tackle the disassembly process. Let’s move on to the next section to understand the importance of studying the owner’s manual.
Study the Owner’s Manual
One of the most crucial steps in disassembling a treadmill is to have access to the owner’s manual. Whether you have a physical copy or need to download it online, the owner’s manual is your go-to resource for detailed instructions on how to disassemble your specific treadmill model. It provides valuable information, including disassembly instructions, the number of nuts and bolts involved, and the correct order in which the unit was assembled.
By referring to the owner’s manual, you can ensure that you follow the manufacturer’s guidelines precisely, minimizing the risk of damaging any components during the disassembly process. The manual will guide you step-by-step through the entire disassembly procedure, ensuring that you approach each task correctly and efficiently.
Additionally, the owner’s manual can help you troubleshoot any issues that may arise during the disassembly process. It may provide tips and tricks to make the process easier, as well as safety precautions to keep in mind. Whether you’re a beginner or an experienced DIY enthusiast, studying the owner’s manual is always a valuable starting point.
Having the owner’s manual by your side will help you disassemble your treadmill with confidence and ensure that you can reassemble it correctly when the time comes. So make sure to locate your manual or find it online before you begin the disassembly process. With the owner’s manual as your guide, you’ll have all the information you need to successfully take apart your treadmill.
Start with the Basic Steps
To begin the process of disassembling your treadmill, it is important to follow a set of basic steps. These steps ensure that the process is carried out smoothly and safely. The initial steps involve unplugging the treadmill from the power outlet and removing the safety key from the console.
Firstly, ensure that the treadmill is completely disconnected from the power source. This is an essential safety precaution before initiating the disassembly process. Unplugging the treadmill will prevent any accidental electrical shock or short circuit.
The safety key is typically located near the console. Carefully remove the safety key, making sure to handle it with caution. This step ensures that the treadmill is not accidentally powered on during the disassembly process.
Basic Steps to Disassemble a Treadmill
| Step | Description |
|---|---|
| Step 1 | Unplug the treadmill from the power outlet |
| Step 2 | Remove the safety key from the console |
Separate the Deck from the Uprights
To continue the disassembly process, it’s important to separate the treadmill deck from the uprights. This step is crucial to ensure a smooth disassembly and reassembly process.
To separate the deck from the uprights, you will need to use sockets to remove the bolts that secure the two components together. Take note of the number and size of the bolts, as this information will be helpful when reassembling the treadmill.
Using the appropriate socket size, carefully loosen and remove the bolts. It is important to exercise caution and precision during this step to avoid any damage to the components.
Once the bolts are removed, store them in a separate bag and label them accordingly. This will make it easier to find the correct bolts when reassembling the treadmill.
Separating the deck from the uprights allows for easier transportation and storage of the treadmill. It also makes it more convenient to clean and maintain the individual components.
Take your time and ensure that all the bolts are properly removed before proceeding to the next step. With the deck and uprights separated, you are one step closer to disassembling your treadmill completely.
Treadmill Deck and Uprights Separation
| Step | Description |
|---|---|
| 1 | Identify the bolts that secure the deck to the uprights. |
| 2 | Using the appropriate socket size, loosen and remove the bolts. |
| 3 | Store the bolts in a separate bag and label them for easy identification. |
Now that the deck and uprights have been successfully separated, you can proceed to the next step of the disassembly process.
Disconnect the Console and Monitor
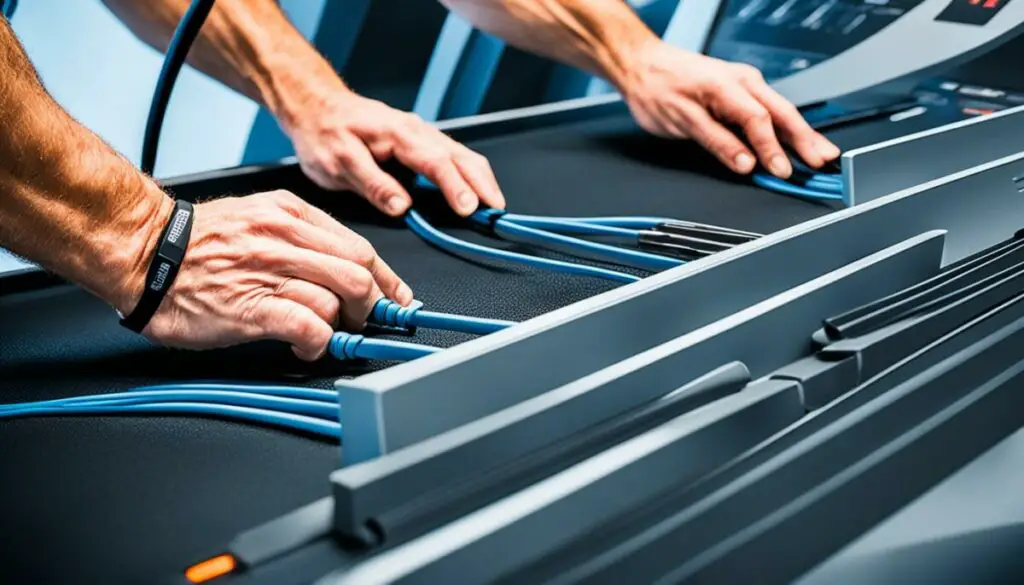
The next step in the treadmill disassembly process is to disconnect the console and monitor from the treadmill frame. This step may vary depending on the specific treadmill model you are working with. It is essential to proceed with caution and take the necessary steps to ensure the safe separation of these components.
To begin, carefully disconnect all wires that are connected to the console. Pay attention to any clips or connectors that may be holding the wires in place. Gently remove these clips or connectors to free the wires.
Once the wires are disconnected, you can proceed with separating the console from the frame. Look for any screws, bolts, or fasteners that are securing the console to the frame. Use the appropriate tools, such as a screwdriver or wrench, to safely remove these fasteners.
Take extra care during this step to avoid damaging any wires or components. It may be helpful to refer to the owner’s manual or specific disassembly instructions provided by the manufacturer to ensure you are following the correct procedure for your particular treadmill model.
Remember, each treadmill model may have slightly different instructions for disconnecting the console and monitor. It’s important to refer to the manufacturer’s instructions or seek professional assistance if you are unsure about any step in the process.
Once you have successfully disconnected the console and monitor from the frame, you can set them aside in a safe location. Be mindful of any delicate or fragile parts, and consider wrapping them in protective material to prevent damage during storage or transportation.
Now that you have completed this step, you are one step closer to fully disassembling your treadmill.
| Step | Actions |
|---|---|
| 1 | Carefully disconnect all wires connected to the console |
| 2 | Remove any clips or connectors securing the wires in place |
| 3 | Locate and remove any screws, bolts, or fasteners securing the console to the frame |
| 4 | Refer to the owner’s manual or manufacturer’s instructions for specific guidance |
| 5 | Set the console and monitor aside in a safe location |
Clean the Deck and Belt
Once the deck is separate from the rest of the treadmill, it’s important to clean both the deck and the belt. Regular cleaning and maintenance will help prolong the lifespan of your treadmill and ensure optimal performance.
First, remove any loose dirt or debris from the deck and belt using a soft brush or vacuum cleaner with a brush attachment. Be thorough and pay attention to areas where dust and debris may accumulate, such as the edges and corners of the deck.
Next, prepare a mild cleaning solution by mixing a few drops of dish soap or treadmill deck cleaner with warm water in a bucket. Avoid using harsh chemicals or abrasive cleaners, as they can damage the deck and belt.
Dampen a clean cloth or sponge with the cleaning solution, wringing out any excess liquid. Gently wipe the deck and belt, working in small sections at a time. Take care not to oversaturate the surfaces, as excessive moisture can be detrimental to the treadmill’s components.
For stubborn stains or residue, you may need to use a soft bristle brush or a scrub pad. Be gentle and avoid applying excessive force, as this can cause unnecessary wear and tear on the belt.
Once you have cleaned the deck and belt, use a separate damp cloth to wipe away any remaining soap or cleaning solution. Then, dry the deck and belt thoroughly with a clean and dry cloth. Ensure that there is no moisture left on the surfaces before reassembling the treadmill.
Regularly cleaning your treadmill deck and belt will help prevent the build-up of dirt, dust, and sweat, which can compromise the performance and longevity of the machine. Aim to clean the deck and belt at least once a month, or more frequently if you use the treadmill frequently or sweat excessively during workouts.
Tips for Maintaining Your Treadmill Belt
In addition to regular cleaning, proper maintenance of the treadmill belt is essential to ensure smooth and safe workouts. Here are some tips to help you maintain your treadmill belt:
- Check the belt tension: A loose or overly tight belt can affect the performance of your treadmill. Refer to the owner’s manual for instructions on how to adjust the belt tension correctly.
- Keep the belt properly aligned: A misaligned belt can cause uneven wear and may lead to premature failure. Adjust the belt to ensure it is centered and aligned with the edges of the deck.
- Inspect the belt for signs of wear: Regularly check the belt for any signs of fraying, cracking, or excessive wear. If you notice any damage, it’s essential to replace the belt promptly to prevent further problems.
- Apply lubrication: Some treadmills require periodic lubrication of the belt. Check the owner’s manual for specific instructions and use a lubricant recommended by the manufacturer.
- Monitor the belt tension and alignment during use: Pay attention to any unusual noises, slipping, or uneven movement of the belt while using the treadmill. If you notice any issues, stop the machine and make adjustments as necessary.
By following these maintenance tips and cleaning the deck and belt regularly, you can ensure that your treadmill remains in optimal condition for years to come.
Wrap and Store the Components
As you disassemble the treadmill, it’s important to protect the components from damage. Taking the time to wrap and store the components properly will ensure they remain in good condition for future use.
Protect the Treadmill Frame and Rails
Wrap the treadmill frame and rails in blankets or bubble wrap to prevent scratches and other damage during transportation or storage. This extra layer of protection will keep these components looking and functioning their best.
Label and Store Bolts and Screws
During disassembly, it’s easy to misplace or confuse the bolts and screws that hold the treadmill together. To avoid this, store them in separate bags and label them accordingly. This way, when it comes time to reassemble the treadmill, you’ll have everything you need in one organized place.
Secure Smaller Pieces with Scotch Tape
Smaller parts of the treadmill, such as screws or connectors, can easily become misplaced or lost. Keep these pieces together by using scotch tape to secure them. Simply attach the pieces to a strip of tape and label it for easy identification later on.
Keep Separated Parts Separated
As you disassemble the treadmill, you’ll have various parts and components that need to stay separated. To prevent any accidental damage or confusion, use a blanket or bubble wrap to keep these parts separated and secure during transportation or storage.
| Component | Protection |
|---|---|
| Treadmill Frame and Rails | Wrap in blankets or bubble wrap |
| Bolts and Screws | Store in separate labeled bags |
| Smaller Pieces | Secure with scotch tape |
| Separated Parts | Keep separated with blanket or bubble wrap |
By properly wrapping and storing the components of your treadmill, you’ll ensure their safety and longevity. Whether you’re moving or simply storing the treadmill, these steps will protect your investment and make reassembly a breeze.
Document the Disassembly Process
One of the essential steps in disassembling a treadmill is documenting the process. By taking pictures with your smartphone and using post-it notes to label specific pieces or connections, you create a visual reference for reassembling the treadmill later on. These visuals and labels will come in handy when you’re ready to put the treadmill back together.
When documenting the disassembly process, it’s helpful to take pictures of each step. This allows you to have a clear record of the order in which parts were removed and the connections between them. Make sure to capture close-up shots that clearly show the details and any specific instructions outlined in the owner’s manual.
Labeling is another crucial aspect of documenting the disassembly process. Use post-it notes or any other adhesive labels to identify specific pieces or connections. This not only helps you remember where each part belongs but also ensures that you won’t have to guess during reassembly.
With clear visuals and labeled components, you’ll have a much easier time reassembling the treadmill when the need arises. Remember to store the pictures and post-it notes in a safe place along with the other disassembled parts, so everything is easily accessible when it’s time to put the treadmill back together.
Documenting the disassembly process through pictures and labels provides a visual reference for reassembling the treadmill, ensuring a hassle-free experience.
Reassemble the Treadmill
Now that you have successfully disassembled your treadmill, it’s time to reassemble it. Follow the disassembly steps in reverse to ensure a smooth and hassle-free reassembly process. Make sure to refer to the owner’s manual and the pictures you took during the disassembly process as your guide.
Start by securely attaching all the components in the correct order. Pay attention to the bolts, screws, and other fasteners to ensure they are tightly in place. Double-check each step to make sure you haven’t missed anything.
Take your time during the reassembly process and exercise caution to avoid any mistakes. It’s better to spend a few extra minutes ensuring everything is properly reassembled than risk encountering issues later on.
Once you have reassembled the treadmill, give it a thorough inspection to ensure everything is in working order. Check the connections, wires, and any moving parts to ensure they are properly secured and functioning as intended.
Once you are satisfied with the reassembly, you can proceed to plug in the treadmill and power it back on. Take a moment to admire your hard work and enjoy the satisfaction of successfully reassembling your treadmill.
Remember to test the treadmill before using it to ensure that it’s functioning correctly. Start with a slow speed and gradually increase it to your desired level.
By following the disassembly steps in reverse, you can confidently reassemble your treadmill and have it ready for use once again!
Move the Treadmill with Assistance
Moving a disassembled treadmill, especially larger models, may require assistance. It’s always a good idea to enlist the help of a friend or family member to ensure the safe transportation of the treadmill to its new location. Having an extra set of hands can make the process easier and prevent any accidents or injuries.
When moving the treadmill, it’s important to use proper lifting techniques to avoid strain or injury. Remember to maintain a flat back, bend your knees, and lift with your legs instead of your back. This will help distribute the weight evenly and reduce the risk of muscle strains or back injuries.
Make sure to secure the treadmill with a firm grip before lifting it. If the treadmill is heavy or bulky, consider using lifting straps or handles to get a better grip. This will provide more control and stability during transportation.
If needed, take breaks during the moving process to prevent overexertion and fatigue. Moving a treadmill can be physically demanding, so listen to your body and rest when necessary. This will help ensure your safety and prevent any accidents.
To protect the treadmill and surrounding objects during transport, use blankets or padding. Wrap the treadmill in blankets or use foam padding to prevent scratches or other damage. You can also use straps or bungee cords to secure the treadmill in place, especially if you’re moving it in a vehicle.
By following these tips and moving the treadmill with assistance, you can avoid injury and safely transport your disassembled treadmill to its new location.
Image: A person lifting a disassembled treadmill with the help of another person.
Conclusion
With the right steps and preparation, disassembling a treadmill can be a straightforward and safe process. By gathering the necessary tools, studying the owner’s manual, and following a step-by-step process, you can easily dismantle your treadmill without any hassle. Remember to document the disassembly process with pictures and labels, as this will greatly assist you during reassembly.
When storing the components, make sure to properly protect them with blankets or bubble wrap to prevent any damage. Keeping the bolts and screws in separate labeled bags will also ensure an organized reassembly. And don’t forget to seek assistance when moving the disassembled treadmill, especially if it’s a larger model, to avoid any personal injury.
By following these final tips, you’ll be able to successfully disassemble, store, and transport your treadmill to its new location. So, go ahead and take on the task – you’ve got this!
FAQ
What tools do I need to disassemble a treadmill?
To disassemble a treadmill, you will need tools such as a Phillips head screwdriver, power drill, set of sockets, hex wrenches, tape measure, scotch tape, small plastic bags, a blanket, bubble wrap or more blankets, Post-It notes, and a smartphone camera.
How can I access the owner’s manual for my treadmill?
If you don’t have the physical manual, you can easily find and download it online. The owner’s manual will provide you with detailed instructions on how to disassemble your specific treadmill model.
What are the basic steps to start disassembling a treadmill?
The basic steps to start disassembling a treadmill include unplugging it from the power outlet and removing the safety key from the console. Always ensure that the treadmill is completely disconnected from the power source before starting the disassembly process.
How do I separate the deck from the uprights of a treadmill?
To separate the deck from the uprights, you may need to use sockets to remove the bolts that secure the deck. Take note of the number and size of the bolts for proper reassembly later. Loosen and remove the bolts carefully and store them in a separate bag, labeled accordingly.
How do I disconnect the console and monitor from the treadmill frame?
The process of disconnecting the console and monitor may vary depending on the treadmill model. Carefully disconnect all wires while separating the console from the frame. Take extra care not to damage any wires or components during this step.
How can I clean the treadmill deck and belt during the disassembly process?
Use the opportunity of having the deck separate from the rest of the treadmill to clean it and the belt. Refer to the owner’s manual or seek specific instructions for cleaning your treadmill deck and belt.
How can I protect the components of the disassembled treadmill?
Wrap the treadmill frame and rails in blankets or bubble wrap to prevent scratches. Store the bolts and screws in separate bags and label them for easy reassembly. Consider using scotch tape to hold smaller pieces together. Use blankets or bubble wrap to keep separated parts secure and prevent accidental damage during transportation or storage.
Should I document the disassembly process of the treadmill?
It’s a good idea to document the disassembly process by taking pictures with your smartphone. This will provide you with a visual reference for reassembling the treadmill later on. Take pictures of each step and use post-it notes to label specific pieces or connections.
How do I reassemble the treadmill once it’s disassembled?
When you’re ready to reassemble the treadmill, simply follow the disassembly steps in reverse, referring to the owner’s manual and the pictures you took during the disassembly process. Double-check each step to ensure proper reassembly before plugging in the treadmill.
Should I seek assistance when moving the disassembled treadmill?
Moving a disassembled treadmill, especially larger models, may require assistance. Enlist the help of a friend or family member to safely transport the treadmill to its new location. Use proper lifting techniques, take breaks if needed, and use blankets or padding to protect the treadmill and surrounding objects during transport.

