Last Updated on 3 months by Francis
If your fan is not working properly, it can be frustrating, especially during hot summer days. The good news is that many fan problems can be resolved with a little troubleshooting and some basic DIY repairs. In this comprehensive guide, we will walk you through the step-by-step process of fixing common fan issues, from simple fixes to more complex motor and wiring problems.
Before we dive into the troubleshooting steps, it’s important to emphasize the importance of safety. Always disconnect the power source before working on your fan to avoid any electrical hazards. Now, let’s get started with the troubleshooting process!
Contents
Key Takeaways:
- Start with simple fixes like checking the power source and ensuring the fan is properly plugged in.
- If the fan won’t come on, check the light switch position and use a circuit tester to test the switch.
- For more complex motor issues, inspect the wiring inside the fan and check for loose wires or damaged wiring.
- If the fan lights don’t work, check the power, replace bulbs, and inspect the wiring for loose connections.
- If the fan speed control isn’t working properly, clean and lubricate the ball bearings, and consider replacing the capacitor.
If Your Ceiling Fan Won’t Come On
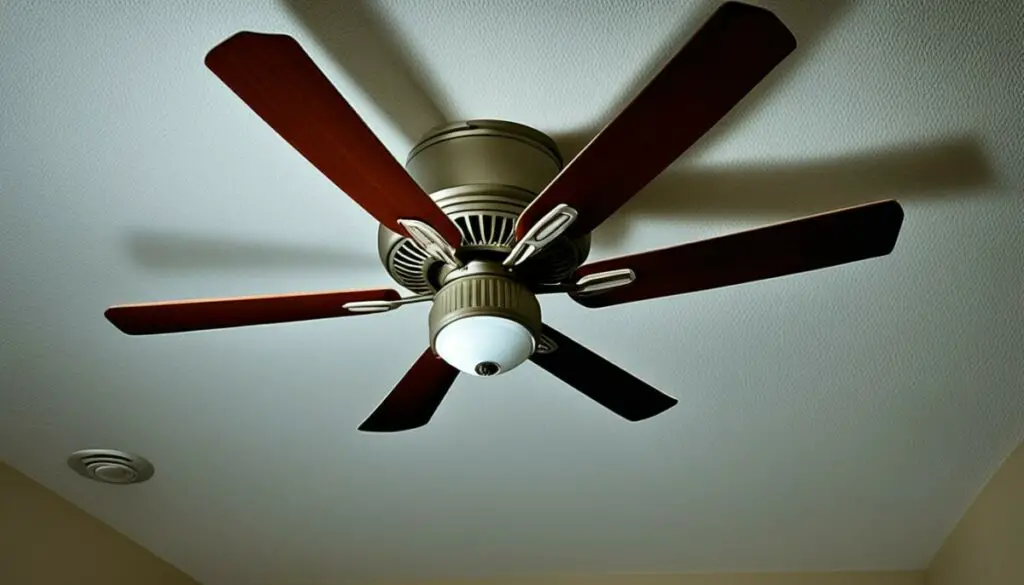
If you find that your ceiling fan is not turning on, there are a few troubleshooting steps you can take to identify and fix the issue. Follow the steps below to get your fan up and running again.
- Check the Light Switch: Start by making sure the light switch connected to your fan is in the proper position. Sometimes, the switch may get accidentally turned off, preventing the fan from operating. Flip the switch to see if that resolves the problem.
- Verify Power Source: Ensure that your fan is properly plugged into a working power source. Check that the power outlet is functioning correctly by plugging in another electronic device. If the outlet is not working, try plugging the fan into a different outlet to eliminate any power issues specific to that outlet.
- Use a Circuit Tester: If the above steps did not solve the problem, it’s essential to determine if the switch itself is functioning correctly. Use a circuit tester to check if there is a live current flowing through the switch. If the switch is not receiving power, it may need to be replaced.
- Consider Switch Replacement: If the circuit tester indicates that the switch is faulty, replacing it may be necessary. Consult the fan’s user manual or contact the manufacturer for guidance on how to replace the switch safely and correctly.
If your ceiling fan still won’t come on after following these troubleshooting steps, it may be an indication of a more complex issue, such as a motor problem or faulty wiring. In such cases, it is recommended to seek professional assistance.
Having trouble with your ceiling fan not coming on? Follow the steps above to troubleshoot and fix the issue.
Complex Motor Issues
If simple fixes did not solve the issue, you may need to investigate more complex motor issues. These issues can arise due to various factors, such as fan motor issues, loose wires, damaged wiring, or motor shaft problems. To resolve these complex issues, follow the steps below:
Step 1: Remove the Housing Cover
Begin by removing the housing cover on the ceiling fan to gain access to the internal components. Be sure to turn off the power supply before proceeding with any work on the fan.
Step 2: Inspect for Loose Wires
Once the housing cover is removed, inspect the electrical wiring inside the fan. Check for any loose wires that may be causing connectivity issues. If you find any loose wires, securely reconnect them to their respective terminals.
Step 3: Test the Motor with a Circuit Tester
Use a circuit tester to check if the fan motor is receiving power. This will help you determine if the issue lies with the motor or other components. If the motor is not receiving power, check for any damaged wiring and replace any frayed wires.
Step 4: Check the Motor Shaft
Ensure that the motor shaft is free from any obstructions that may be preventing it from moving. If there are any visible obstructions, carefully remove them to allow the motor shaft to rotate freely.
By following these steps, you can address complex motor issues and potentially resolve the problem with your ceiling fan. If the issue persists or if you are unsure about performing these tasks yourself, it is recommended to seek professional assistance.
Replacing a Ceiling Fan Motor
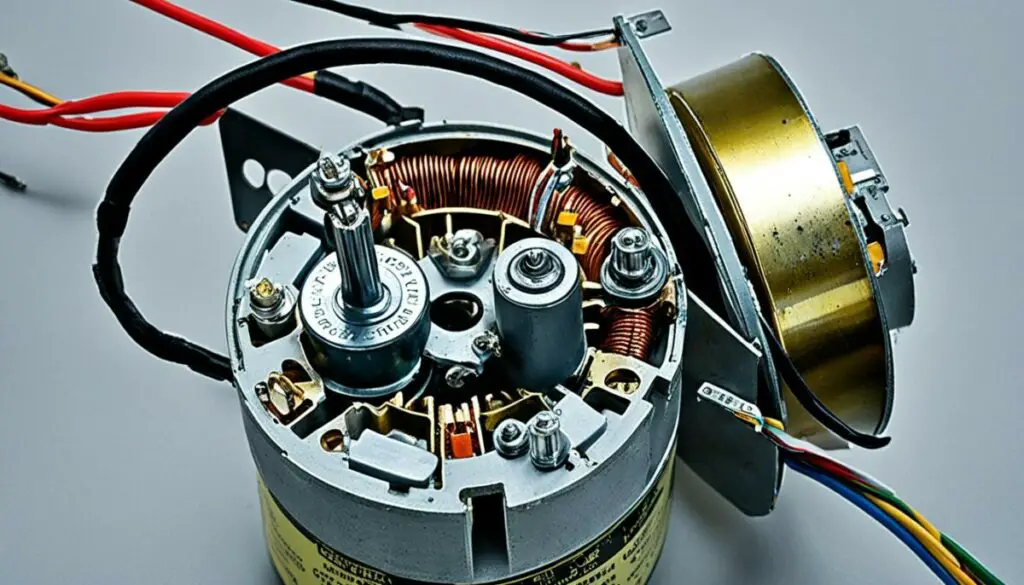
If your ceiling fan’s motor is malfunctioning, it may be necessary to replace it. Before attempting to replace the motor, it’s important to determine the type of fan you have and gather the necessary replacement parts. Some fans have easily plug-in motors, while others require matching the colored wiring from the fan to the new motor.
If you’re unsure about the process, it’s a good idea to consult the manufacturer’s instructions or seek professional assistance. Upgrading to a new fan fixture can also be considered, especially if you have an older fan or if it’s more cost-effective than replacing the motor entirely.
Types of Ceiling Fan Motors:
- Easily Plug-in Motors: These motors can be easily disconnected and replaced by unplugging them from the fan housing.
- Wiring Match Motors: These motors require matching the color-coded wiring from the fan to the new motor. It’s important to follow the wiring diagram provided by the manufacturer to ensure a safe and correct installation.
Steps to Replace a Ceiling Fan Motor:
- Turn off the power to the fan at the circuit breaker.
- Remove the fan blades and the fan housing cover.
- Disconnect the wiring connections between the existing motor and the fan.
- Remove the motor from the fan housing.
- Attach the new motor to the fan housing, matching the necessary wiring connections.
- Secure the new motor in place.
- Reattach the fan housing cover and the fan blades.
- Turn on the power and test the fan to ensure it is functioning properly.
Remember to always prioritize your safety when dealing with electrical components, and if you’re unsure about any step of the process, it’s best to consult a professional.
If the Ceiling Fan Lights Don’t Work
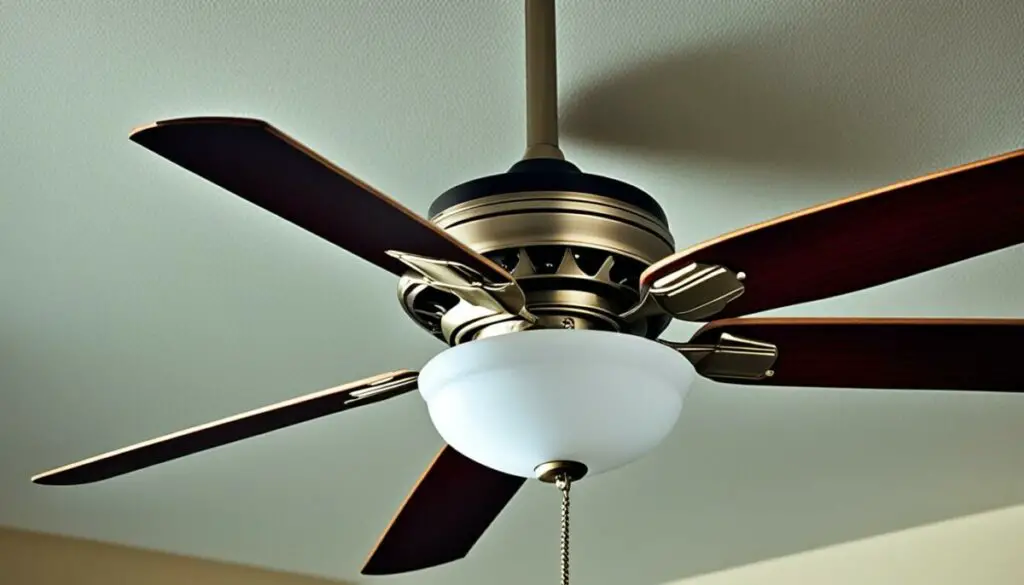
If you’re experiencing issues with the lights on your ceiling fan not working, don’t worry. There are several troubleshooting steps you can take to identify and fix the problem. Follow the steps below to get your ceiling fan lights up and running again.
Step 1: Test the Fan
The first thing you should do is test the fan itself to ensure it turns on. This will help you determine if the problem lies with the lights or the fan itself. If the fan does not turn on, refer to Section 2 to troubleshoot and fix the issue.
Step 2: Check the Power Source
Make sure the power source is functioning properly. Check if the breaker for the fan is tripped and reset it if necessary. Ensure that the fan is plugged into a working electrical outlet. If the power source is not the issue, proceed to the next step.
Step 3: Replace Bulbs
Replace any burned-out bulbs in the fan light kit. It’s important to use bulbs with the correct wattage for the fan light kit; using bulbs with higher wattage can cause the lights to malfunction. Refer to the fan’s manual for the recommended wattage. If the lights still don’t work after replacing the bulbs, move on to the next step.
Step 4: Inspect the Light Bulb Socket and Wiring
Inspect the light bulb socket for any signs of damage. Look for loose connections or visible wiring issues in the canopy and switch housing. Tighten any loose connections and ensure the wires are securely attached. If you notice any damaged wiring or loose connections, the assistance of a professional electrician may be required.
| Problem | Possible Solution |
|---|---|
| Lights not turning on | Check power source and replace bulbs |
| Lights flickering or dimming | Check light bulb socket and wiring |
| Uneven lighting | Adjust position of light bulbs or replace light shades |
In case the issue persists, it is recommended to consult a qualified electrician to further diagnose and resolve any wiring issues or electrical problems with your ceiling fan lights.
If the Ceiling Fan Speed Control Isn’t Working Properly
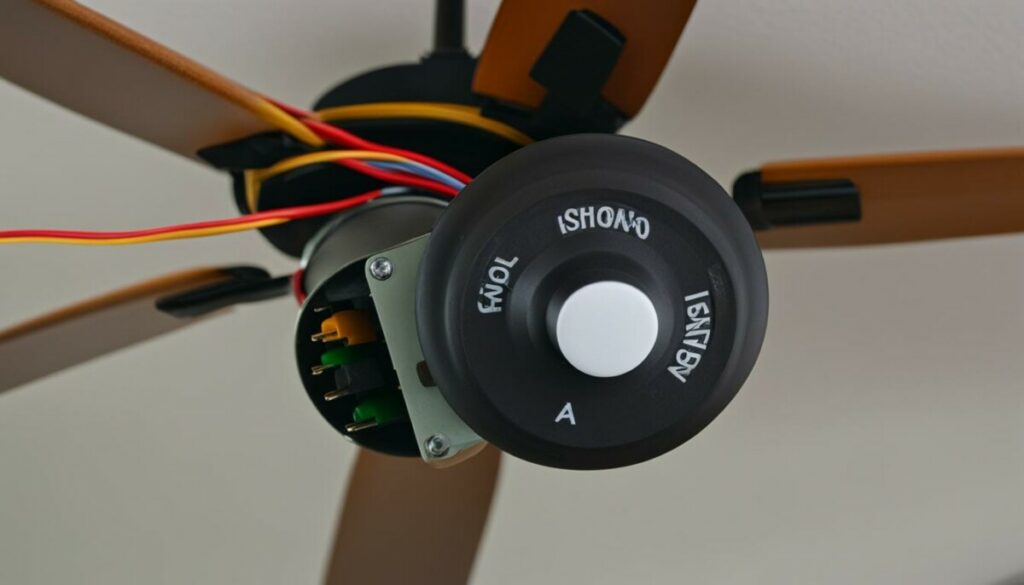
Is your ceiling fan not adjusting to the desired speed? Don’t worry! There are a few troubleshooting steps you can take to get your fan back to its optimal performance.
Check and Lubricate Ball Bearings
One common cause of a malfunctioning speed control is dirty or dry ball bearings. Over time, dust and lack of lubrication can hinder the movement of the bearings, resulting in fan speed issues. To resolve this problem, follow these simple steps:
- Turn off the fan and unplug it from the power source.
- Locate the ball bearings, usually found behind the blades.
- Carefully remove any accumulated dust or debris using a soft cloth or brush.
- Apply a high-quality lubricant specifically designed for ceiling fan bearings. Be sure to follow the manufacturer’s instructions.
- Turn on the fan and check if the speed control has improved.
If lubricating the ball bearings doesn’t solve the issue, further troubleshooting may be necessary.
Replace the Ceiling Fan Capacitor
When a ceiling fan fails to work at all or operates erratically, a faulty capacitor is often the culprit. A capacitor is responsible for regulating the fan’s speed. To replace it, follow these steps:
- Turn off the fan and ensure it is disconnected from the power supply.
- Open the fan’s housing cover to access the capacitor.
- Take note of the wires connected to the existing capacitor and their corresponding colors.
- Disconnect the wires and remove the faulty capacitor.
- Install the new capacitor, connecting the wires according to the noted colors.
- Securely close the housing cover.
Once you’ve replaced the capacitor, test the fan to see if the speed control is now functioning as desired.
Check Motor Temperature
Another factor that can affect the fan’s speed control is an overheating motor. If the motor is constantly running hot, it may indicate internal damage. To check the motor temperature:
- Make sure the fan is turned off and disconnected from the power source.
- Gently touch the motor housing to gauge its temperature.
- If the motor feels excessively hot, consider replacing it to prevent further damage and potential hazards.
Remember, safety should always be a priority when dealing with electrical appliances. If you’re unsure about any repair or replacement procedures, it’s best to consult a professional.
| Common Causes | Possible Solutions |
|---|---|
| Dirty or dry ball bearings | Clean and lubricate the ball bearings |
| Faulty capacitor | Replace the ceiling fan capacitor |
| Overheating motor | Consider replacing the motor |
Replacing a Ceiling Fan Capacitor
If your ceiling fan is not functioning properly, it could be due to a damaged or blown capacitor. The capacitor plays a crucial role in providing the necessary electrical charge for the fan to operate smoothly. Here’s how you can replace a ceiling fan capacitor to restore its functionality:
1. Visual Inspection
Start by visually inspecting the capacitor for any visible signs of damage. Look for bulges, leaks, or burn marks, which could indicate a faulty capacitor. If you notice any of these signs, it’s likely that the capacitor needs to be replaced.
2. Testing with an Ohmmeter
To further determine the functionality of the capacitor, you can use an ohmmeter. This device measures electrical resistance and can help identify whether the capacitor is functioning as intended.
Note: Before testing the capacitor, it is crucial to discharge it safely to avoid any risk of electric shock. Make sure to follow the manufacturer’s instructions or seek professional assistance if needed.
3. Discharging the Capacitor
Capacitors store electrical energy even when the power is turned off, so it’s essential to discharge them before handling or testing. There are several methods to discharge a capacitor safely, including using a resistor or shorting the terminals with an insulated screwdriver. Again, exercise caution and refer to the manufacturer’s guidelines.
4. Replacement
If the capacitor tests faulty or damaged, it’s time to replace it. Purchase a new capacitor that matches the specifications of your ceiling fan model. Make sure to disconnect the power supply before removing the old capacitor and installing the new one. Follow the wiring diagram provided by the manufacturer or refer to the fan’s manual to ensure proper installation.
Replacing a ceiling fan capacitor can help resolve issues such as the fan not turning on or running at incorrect speeds. By following these steps, you can ensure the smooth operation of your ceiling fan and enjoy its cooling benefits once again.
If Your Ceiling Fan Wobbles and Shakes
A wobbly ceiling fan can be both annoying and potentially dangerous. To ensure fan stability and address the issue, it’s important to take a systematic approach to troubleshooting. Here are some steps you can take to fix a wobbly ceiling fan:
Clean Fan Blades
Start by cleaning the fan blades to remove any dirt or debris that could be causing imbalance. Use a soft cloth or a vacuum cleaner with a brush attachment to gently clean both sides of each blade. This will help to distribute weight evenly and promote smoother rotation.
Tighten Screws
Check for loose screws on the fan blades, as well as in the light kit, motor, mounting hardware, and downrod. Use a screwdriver to tighten any loose screws you find. Be careful not to overtighten, as this could strip the screw holes or damage the fan components.
Check Mounting Bracket
Inspect the mounting bracket to ensure a secure fit. Make sure all screws and bolts connecting the fan to the mounting bracket are tightened properly. If the mounting bracket is loose or damaged, it may need to be replaced. Additionally, ensure that the outlet box is properly rated and securely attached to a support beam to provide stability.
Ensure Proper Installation
Double-check that your ceiling fan has been installed correctly. Improper installation can lead to wobbling and shaking. If you are unsure about the installation process, consult the fan’s user manual or consider seeking assistance from a professional electrician.
| Steps to Fix a Wobbly Ceiling Fan |
|---|
| Clean fan blades |
| Tighten screws |
| Check mounting bracket |
| Ensure proper installation |
“A wobbly ceiling fan not only affects its performance but can also pose safety risks. By cleaning the fan blades, tightening screws, checking the mounting bracket, and ensuring proper installation, you can improve fan stability and enhance the overall functioning of your ceiling fan.”
By following these steps, you can eliminate the wobbling and shaking of your ceiling fan, ensuring a smooth and stable operation. Remember to regularly inspect and maintain your fan to prevent potential issues and promote its longevity.
If Your Ceiling Fan Is Noisy
If your ceiling fan is making excessive noise, it’s time to give it some maintenance TLC. No one wants to be kept awake by a noisy ceiling fan, so let’s explore some easy fixes to restore peace and quiet to your space.
Cleaning Fan Blades
One common cause of a noisy ceiling fan is the accumulation of dirt and debris on the fan blades. Over time, this buildup can create an imbalance, resulting in noise and vibration. To remedy this, clean the fan blades thoroughly using a soft cloth or a vacuum cleaner with a brush attachment. Be sure to turn off the fan and wait for the blades to come to a complete stop before cleaning them.
Tightening Screws
If your ceiling fan is still rattling or wobbling after cleaning the blades, the culprit may be loose screws. Take a moment to check all the screws in the fan blades, motor housing, and light kit. Use a screwdriver to tighten any loose screws gently. This simple step can often eliminate noise caused by loose components.
Lubricating Moving Parts
Another way to silence a noisy ceiling fan is to lubricate its moving parts. Over time, the motor gears and clutch knob can become dry, causing friction and noise. Apply a few drops of lubricant specifically designed for ceiling fans to these moving parts. This will reduce friction, allowing the fan to operate more quietly.
If you’re unsure about the type of lubricant to use or where to apply it, consult the fan’s manual or contact the manufacturer for guidance. Remember to follow any instructions provided by the manufacturer to ensure safe and effective lubrication.
If you can’t find the fan’s manual or need further assistance, the manufacturer’s customer support team will be happy to help you. Contact their support line or visit their website for more information.
| Causes of Noisy Ceiling Fans | Possible Solutions |
|---|---|
| Accumulated dirt and debris on the fan blades | Clean the fan blades thoroughly |
| Loose screws in the fan blades, motor housing, or light kit | Tighten any loose screws gently |
| Dry motor gears and clutch knob | Apply lubricant to the moving parts |
Regularly inspecting and maintaining your ceiling fan can help prevent excessive noise and ensure its optimal performance. By cleaning the fan blades, tightening screws, and lubricating moving parts, you can enjoy a quieter and more comfortable environment in your home or office.
Conclusion
Fixing common fan problems is often possible through simple troubleshooting and DIY repairs. By taking a few steps, such as checking the power source, tightening screws, and cleaning the fan blades, you can resolve many fan issues on your own. Regular maintenance and proper care can help prolong the lifespan of your fan and prevent future problems.
However, if the problem persists or if your fan has more complex motor or wiring issues, it may be necessary to consider replacing the fan. Troubleshooting steps can only go so far, and sometimes a faulty motor or extensive wiring problem may require professional expertise or a new fan altogether.
Remember, if you choose to replace your fan, be sure to select a model that meets your needs and confirms to your existing setup. With the right troubleshooting techniques and know-how, you can often fix common fan issues, but when the repairs become too complicated or costly, it’s time to evaluate if it’s more practical to replace the fan instead.
FAQ
How do I troubleshoot a fan that won’t come on?
Start by checking the power source and making sure the fan is properly plugged in. If the fan still doesn’t come on, use a circuit tester to check the switch and consider replacing it if necessary.
What should I do if my fan has complex motor issues?
Remove the housing cover and inspect the electrical wiring inside. Check for loose wires and ensure the motor is getting power. If not, check for damaged wiring and replace any frayed wires. Make sure the motor shaft is free from obstructions as well.
How do I replace a ceiling fan motor?
Determine the type of fan you have and gather the necessary replacement parts. Some fans have easily plug-in motors, while others require matching the colored wiring from the fan to the new motor. Consider upgrading to a new fan fixture if it’s more cost-effective than replacing the motor.
Why aren’t the lights on my ceiling fan working?
Check the power source and reset the breaker if needed. Replace any burned-out bulbs and ensure you are using the correct wattage. Inspect the light bulb socket and check for loose connections in the canopy and switch housing.
What should I do if the speed control on my ceiling fan isn’t working properly?
Lubricate the ball bearings and replace the ceiling fan capacitor if necessary. Check the motor temperature to ensure it’s not overheating. Consider replacing the motor if it feels hot during operation.
How do I replace a ceiling fan capacitor?
Visually inspect the capacitor for signs of damage or use an ohmmeter to test its functionality. Safely discharge the capacitor before testing. If the capacitor is faulty, it will need to be replaced with a new one.
What can I do if my ceiling fan is wobbly and shaking?
Clean the fan blades and tighten any loose screws. Inspect the mounting bracket for a secure fit and ensure the outlet box is properly rated and attached to a support beam.
How do I address a noisy ceiling fan?
Clean the fan blades to remove dirt or debris and tighten any loose screws. Apply lubricant to the moving parts, such as the motor gears and clutch knob, to reduce friction and noise. Contact the fan manufacturer for further assistance if the noise persists.
When should I consider replacing my fan?
Simple troubleshooting steps can often fix common fan issues. However, if the problem persists or the fan has more complex motor or wiring problems, it may be time to consider replacing it. Regular maintenance and proper care can prolong the lifespan of your fan and prevent future problems.



.jpg)


