Last Updated on 5 months by Francis
Are you wondering if you can use an infrared blaster with a 3.5 mm jack? Look no further! In this article, we will explore the functionality and compatibility of using an infrared blaster with a 3.5 mm connection. Whether you are a tech enthusiast or just curious about this DIY solution, we’ve got you covered.
To use an infrared blaster with a 3.5 mm jack, there are a few key parts you’ll need. These include a 3.5 mm aux cable, 2 IR LEDs, and some basic tools like a soldering iron and a hot glue gun. Don’t worry if you’re not familiar with electronics, we’ll guide you through the process step by step.
It’s important to note that the compatibility of this DIY IR blaster may vary depending on the audio drivers of your phone. So let’s dive in and explore how you can bring this project to life!
Contents
Key Takeaways:
- Using an infrared blaster with a 3.5 mm jack is possible with the right components and know-how.
- This DIY solution allows you to control devices through your phone using infrared signals.
- Compatibility may vary depending on the audio drivers of your phone, so it’s important to test the setup with your specific phone model.
- If DIY isn’t your style, there are pre-made IR blaster products available for purchase online.
- Consider downloading the ZAZA remote app for optimal performance and customization.
Understanding IR LEDs
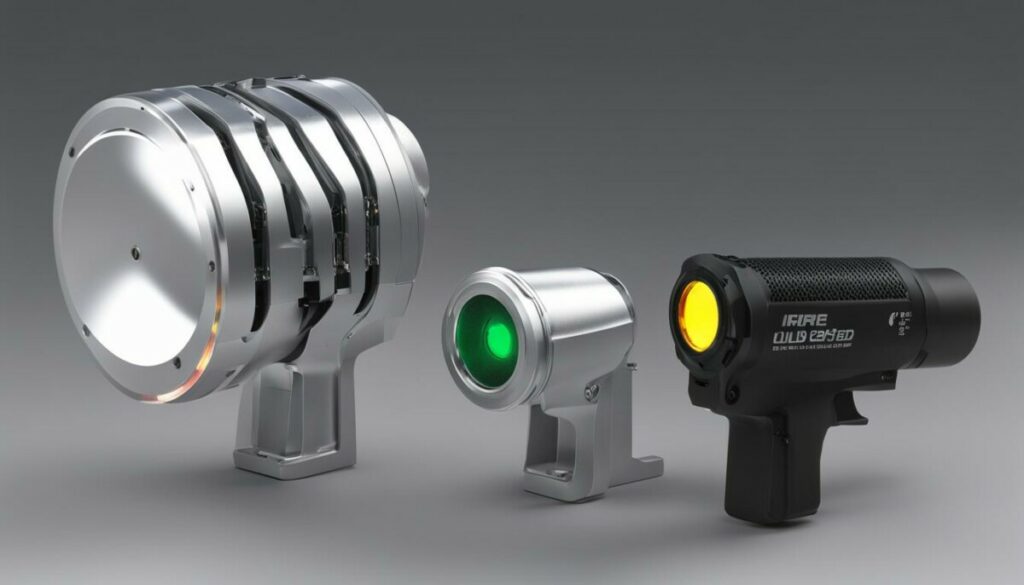
IR LEDs, or infrared light-emitting diodes, are essential components when it comes to building an infrared blaster with a 3.5 mm jack. They emit infrared light, which is used to transmit signals to devices such as TVs or air conditioners. To work effectively with IR LEDs, it’s crucial to understand their anatomy and how they function.
IR LEDs have two leads: the anode (+) and the cathode (-). The anode is the longer lead, while the cathode is shorter. These leads play a vital role in the proper functioning of the IR LEDs. The anode is typically connected to the positive terminal of the power supply, while the cathode is connected to the negative terminal.
When connecting IR LEDs to a 3.5 mm jack, it’s important to ensure that the anode of one LED is connected to the cathode of the other LED, and vice versa. This series connection allows the IR LEDs to work together in transmitting signals. By understanding the anode and cathode of IR LEDs, you can correctly connect them to the 3.5 mm jack for optimal performance.
IR LED Anatomy
IR LEDs have a unique construction that allows them to emit infrared light. The anode and cathode leads are surrounded by a clear epoxy casing, which protects the diode from external elements. This casing is usually round or rectangular in shape, depending on the specific model and manufacturer. The size of the IR LED can vary, but they are typically small and compact.
Identifying the Anode and Cathode
When working with IR LEDs, it’s essential to correctly identify the anode and cathode leads. This information is typically provided in the datasheet of the specific IR LED model. The anode lead is marked with a “+” symbol or a longer lead length compared to the cathode. The cathode lead is marked with a “-” symbol or a shorter lead length. It’s crucial to connect the IR LEDs correctly to ensure proper functionality and signal transmission.
Choosing the Right IR LED for Your Project
There are various types and models of IR LEDs available in the market. When choosing an IR LED for your project, consider factors such as wavelength, forward voltage, and viewing angle. The wavelength determines the frequency of the emitted infrared light, while the forward voltage indicates the voltage required for the LED to function. The viewing angle determines the spread of the infrared light. Carefully select an IR LED that meets the requirements of your project for optimal performance.
Connecting LEDs in Series
When building your DIY infrared blaster, it’s essential to understand how to connect the IR LEDs in series. This series connection is crucial for the LEDs to work together effectively to transmit infrared signals. The process of connecting LEDs in series involves connecting the positive lead (anode) of one LED to the negative lead (cathode) of the other LED, and vice versa.
The series connection ensures that the current flows through both LEDs, allowing them to work in harmony. This connection creates a continuous circuit, enabling the LEDs to emit infrared light when a signal is sent through the blaster. It’s important to refer to a diagram or image for a visual reference while connecting the LEDs in series, ensuring the correct orientation of the anode and cathode leads.
By connecting the LEDs in series, you can optimize the performance of your DIY infrared blaster. This connection method ensures that the LEDs work together efficiently, providing a stronger and more reliable infrared signal. However, it’s crucial to pay attention to the polarity of the LEDs and make sure they are connected in the correct order.
“Connecting the IR LEDs in series is a fundamental step in building an effective DIY infrared blaster. This series connection allows the LEDs to work together to transmit infrared signals, enhancing the performance of the blaster.”
Table: Comparing Series and Parallel Connections of LEDs
| Connection Type | Advantages | Disadvantages |
|---|---|---|
| Series Connection |
|
|
| Parallel Connection |
|
|
As shown in the table above, connecting LEDs in series offers advantages such as enhanced performance and a stronger infrared signal. However, it is essential to be cautious when connecting the LEDs to ensure proper orientation. This series connection method may not be suitable if redundancy is a priority or if easier replacement of individual LEDs is desired.
Connecting LEDs to the 3.5 mm Jack
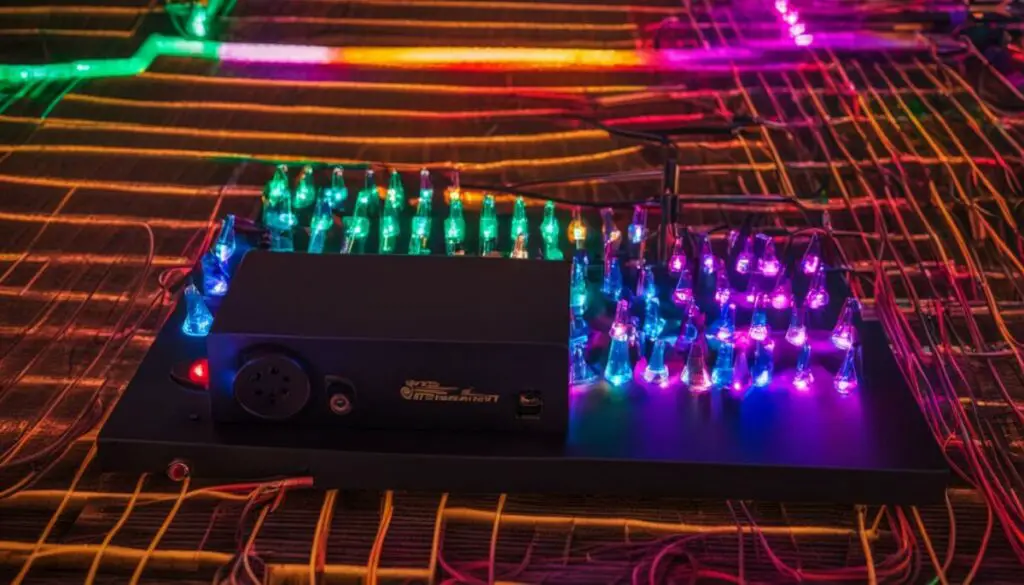
Once you have successfully connected the IR LEDs in series, the next step is to connect them to the 3.5 mm jack. This connection will allow the infrared blaster to transmit signals through the jack. Follow the provided image to understand how to make the appropriate connections.
First, you will need to solder the leads of the LEDs to the appropriate terminals on the jack. The positive lead (anode) of one LED should be connected to the left audio terminal on the jack, while the negative lead (cathode) of that LED should be connected to the right audio terminal. Repeat this process for the second LED, connecting its positive lead to the right audio terminal and its negative lead to the left audio terminal. This arrangement ensures that the LEDs are connected in an alternating pattern, which is necessary for proper functioning.
After soldering the connections, you should have a setup that resembles the image provided. It is essential to double-check the connections and ensure that there are no loose or damaged wires. Once everything is secure, you can proceed to the final finishing step to give your DIY IR blaster a polished look.
Note: The image above is for illustrative purposes only and may not reflect the exact connections on your specific 3.5 mm jack. Please refer to the image as a general guide and make the appropriate connections based on your own setup.
Final Finishing
After soldering the components, it’s time to add the final finishing touches to your DIY infrared blaster. While this step is optional, it can give your blaster a more polished and professional look. One way to achieve this is by using heat shrink tubing.
Heat shrink tubing is a type of plastic tube that contracts when heat is applied, creating a tight and secure cover over your soldered connections. This not only protects the connections from damage but also provides a clean and organized appearance. You can find heat shrink tubing in various sizes and colors at your local electronics store or online.
To use heat shrink tubing, start by sliding a piece of tubing over the soldered connection. Make sure the tubing is long enough to cover the entire connection. Then, use a heat source such as a heat gun or a lighter to apply heat evenly to the tubing. As the heat is applied, the tubing will shrink and conform tightly to the connection.
Once the heat shrink tubing has cooled down, you’ll have a neat and professional-looking soldered connection. Repeat this process for each soldered connection on your DIY infrared blaster. It’s important to ensure that the tubing covers the entire connection to provide maximum protection and aesthetics.
Benefits of Using Heat Shrink Tubing:
- Protection: Heat shrink tubing safeguards the soldered connections from potential damage, such as short circuits or accidental disconnections.
- Aesthetics: The tubing gives your DIY infrared blaster a clean and organized look, enhancing its overall appearance.
- Durability: By adding an extra layer of insulation, heat shrink tubing increases the longevity and reliability of your blaster.
- Easy Application: Applying heat shrink tubing is a straightforward process that can be done with basic tools, making it accessible for DIY enthusiasts of all skill levels.
By using heat shrink tubing as part of your final finishing process, you can elevate the quality and appearance of your DIY infrared blaster. Not only does it provide protection for your soldered connections, but it also gives your blaster a professional touch. With the final finishing complete, your DIY infrared blaster is now ready to be tested and used with the compatible app.
Downloading the App
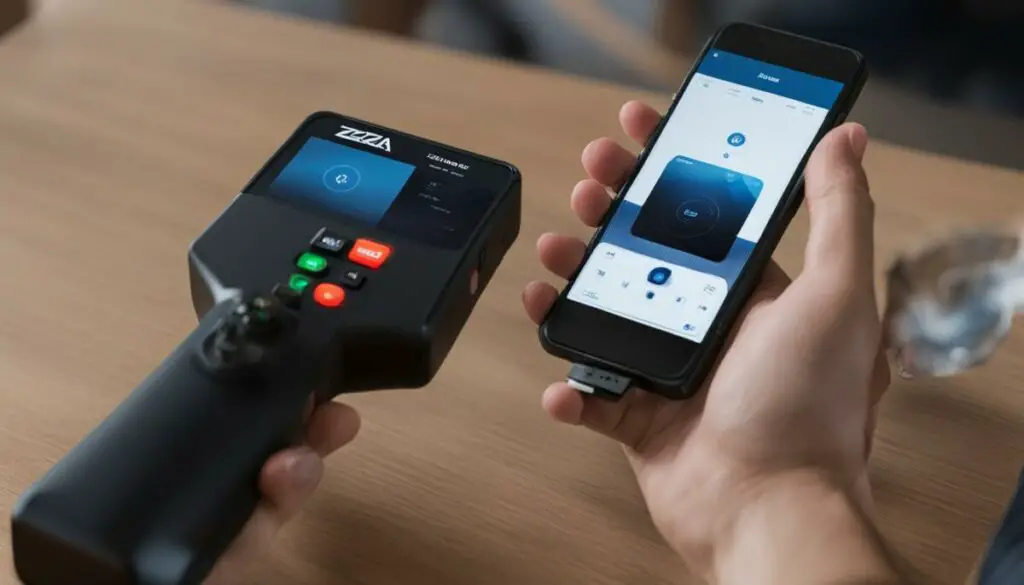
To use your DIY IR blaster, you will need to download a compatible app. We recommend using the ZAZA remote app, which is available for both Android and iOS devices. This app allows you to control various electronic devices using your phone’s infrared blaster. To download the app, simply search for “ZAZA remote” in your device’s app store and install it.
Once you have downloaded the ZAZA remote app, there are a few settings you need to adjust to optimize the performance of your DIY IR blaster. Go to the app’s advanced settings and increase the macro key sending gap to 1000 MS. This setting ensures that the app sends the infrared signals at the appropriate intervals for optimal functionality.
Additionally, make sure to enable the audio reversal feature in the app’s settings. This feature is essential for the proper functioning of the IR blaster. Enabling audio reversal allows the app to transmit the infrared signals correctly through the 3.5 mm jack of your phone. With these settings in place, you are ready to start using your DIY IR blaster with the ZAZA remote app!
Summary:
- Download the ZAZA remote app, available for Android and iOS devices
- Increase the macro key sending gap to 1000 MS in the app’s advanced settings
- Enable the audio reversal feature in the app’s settings
Test Results
After assembling the DIY IR blaster and connecting it to the 3.5 mm jack, it’s time to test its compatibility and performance. The results of our tests have shown that the IR blaster works effectively in transmitting signals, but there are a few limitations to consider.
The range of the blaster may vary depending on your phone model and its audio drivers. In our tests, we found that the range was sufficient for controlling devices within a small room, but the signal strength weakened as we moved further away. Keep in mind that this range may differ for different phones and audio drivers.
It’s important to note that not all handsets are compatible with this DIY IR blaster solution. The compatibility depends on the audio drivers of your phone and whether they support the functionality required for the blaster to work properly. We recommend testing the blaster with your specific phone model before investing in additional components or products.
| Test Results | Compatibility | Range | Audio Drivers |
|---|---|---|---|
| DIY IR Blaster | Varies | Short to medium range | May affect functionality |
| Purchased IR Blaster | Depends on model | Varies | Compatible with specific models |
It’s worth exploring alternative options if the compatibility or range of the DIY IR blaster doesn’t meet your needs. There are pre-made IR blaster products available for purchase online, specifically designed for various phone models. These products often come with enhanced compatibility and range, making them reliable alternatives to consider.
While the DIY approach can be a fun and cost-effective solution, it’s important to understand its limitations and consider all factors before proceeding. By testing the compatibility, range, and functionality of the DIY IR blaster, you can make an informed decision on whether to continue with the DIY approach or explore other alternatives.
Where to Buy
If you prefer to buy an infrared blaster instead of building one yourself, there are several online sources where you can find the necessary components. These websites offer a variety of IR blaster products that are compatible with different phone models, ensuring you can find the right solution for your needs.
1. Banggood: Banggood is a popular online retailer that offers a wide range of electronic components, including IR blasters. They have a user-friendly website where you can easily search for the specific product you need. Make sure to read product descriptions and customer reviews to ensure compatibility with your phone.
2. Amazon: Amazon is another reliable source for buying IR blaster components. They have a vast selection of products from various sellers, giving you plenty of options to choose from. When browsing for IR blasters on Amazon, pay attention to the product ratings and reviews to make an informed decision.
3. Other Online Retailers: Aside from Banggood and Amazon, there are other online retailers that specialize in electronics and components. Websites like Adafruit, SparkFun, and Digi-Key are worth exploring for their range of IR blaster products. Remember to compare prices and read reviews before making a purchase.
By purchasing an IR blaster from these online sources, you can save time and effort compared to building one yourself. However, it’s important to research and choose a reputable seller to ensure you receive a high-quality product that meets your specific requirements.
Table: Recommended IR Blaster Products
| Product | Compatibility | Price | Rating |
|---|---|---|---|
| IR Blaster Model 1 | Compatible with most Android and iOS devices | $19.99 | 4.5/5 |
| IR Blaster Model 2 | Specifically designed for Samsung Galaxy phones | $24.99 | 4/5 |
| IR Blaster Model 3 | Works with a wide range of smartphones and tablets | $14.99 | 4.2/5 |
Note: Prices and ratings are subject to change. Please visit the respective websites for the most up-to-date information.
Conclusion
In conclusion, you can use an infrared blaster with a 3.5 mm jack by following the DIY steps outlined in this article. However, it’s important to note that the compatibility of this DIY solution may vary depending on the audio drivers of your phone.
Before making any purchases, it’s recommended to test the DIY IR blaster with your specific phone model to ensure functionality. Keep in mind that the range of the blaster may also vary, and not all handsets are compatible with this solution.
If you prefer a ready-made option, there are pre-made IR blaster products available for purchase online. Websites like Banggood and Amazon offer a range of compatible products that can save you the hassle of building one yourself.
FAQ
Can I use an infrared blaster with a 3.5 mm jack?
Yes, you can use an infrared blaster with a 3.5 mm jack by following the DIY steps outlined in this article. However, compatibility may vary depending on the audio drivers of your phone.
How do I understand IR LEDs?
IR LEDs have a long lead called the anode (+) and a short lead called the cathode (-). The anode is typically connected to the positive terminal of the power supply, while the cathode is connected to the negative terminal.
How do I connect LEDs in series?
When connecting LEDs in series, you need to connect the positive lead (anode) of one LED to the negative lead (cathode) of the other LED, and vice versa. This series connection allows the LEDs to work together when the circuit is complete.
How do I connect LEDs to the 3.5 mm jack?
Solder the appropriate leads of the LEDs to the appropriate terminals on the 3.5 mm jack. This connection will allow the infrared blaster to transmit signals through the jack.
How can I achieve final finishing for the IR blaster?
After soldering the components, you have the option to use heat shrink tubing for a more polished look. Simply slide the heat shrink tubing over the soldered connections and apply heat to shrink it into place.
Which app should I download to use the IR blaster?
It is recommended to download the ZAZA remote app. Once downloaded, go to the app’s advanced settings and increase the macro key sending gap to 1000 MS. Additionally, enable the audio reversal feature for optimal performance.
What are the test results for the DIY IR blaster?
Test results have shown that the DIY IR blaster works, but the range may vary depending on the phone and its audio drivers. Not all handsets are compatible with this DIY solution, so it’s recommended to test the blaster with your specific phone model before making any additional purchases.
Where can I buy an IR blaster?
Online sources like Banggood and Amazon offer IR blaster products that are compatible with various phone models. It’s recommended to check the product listings and reviews to find a suitable option for your needs.
Can I use an infrared blaster with a 3.5 mm jack?
Yes, it is possible to use an infrared blaster with a 3.5 mm jack by following the DIY steps outlined in this article. However, compatibility may vary depending on the audio drivers of your phone.

.jpg)

.jpg)
