Last Updated on 10 months by Francis
.jpg)
Understandably, many people may find themselves confused when it comes to power LED cables and where they should be connected. The power LED cable is an essential component in a computer system, specifically in the context of the motherboard. This article aims to provide clarity and guidance on where the power LED cable goes and how to connect it properly.
To begin, it is important to understand what a power LED cable is. A power LED cable is a small wire that is typically included with a computer case or motherboard. It is designed to connect the power LED indicator light on the front panel of the computer case to the corresponding pins on the motherboard.
The power LED cable consists of two main components: the LED itself and the power connector. The LED is a small light that indicates the power status of the computer. The power connector is a small plastic plug or header that connects the LED to the motherboard.
Now, let’s address the main concern: where does the power LED cable go? The power LED cable needs to be connected to the correct pins on the motherboard. These pins are usually labeled and can be found near the front panel connectors on the motherboard. The specific location may vary depending on the motherboard manufacturer, so it is essential to consult the motherboard’s manual for accurate information.
To connect the power LED cable properly, follow these steps:
Step 1: Identify the power LED pins on the motherboard. Refer to the motherboard’s manual or look for labels near the front panel connectors.
Step 2: Connect the power LED cable to the corresponding power LED pins on the motherboard. Ensure that the positive (+) and negative (-) ends of the cable are aligned correctly with the pins.
In case you encounter any issues while connecting the power LED cable, this article will also provide troubleshooting tips for common problems that may arise.
By following the instructions and understanding the components and purpose of the power LED cable, you can confidently connect it to the appropriate location on the motherboard and ensure that the power LED indicator light functions correctly.
Contents
Key takeaway:
- Understanding Power LED Cables: Power LED cables are essential components that connect the LED light to the power source, supplying electricity for the LED to function.
- Components of Power LED Cable: Power LED cables consist of two main components – the LED itself, which emits light, and the power connector, which enables the LED to be connected to the power source.
- Where Does the Power LED Cable Go?: The power LED cable is connected to the motherboard of a computer or electronic device to ensure proper power supply and functionality of the LED light.
- Connecting the Power LED Cable: To connect the power LED cable, one must identify the power LED pins on the motherboard and then securely connect the cable to these pins, ensuring a reliable power connection.
- Troubleshooting Common Issues with Power LED Cables: It is important to troubleshoot any common issues that may arise with power LED cables, such as loose connections or faulty LEDs, in order to maintain optimal performance.
Understanding Power LED Cables
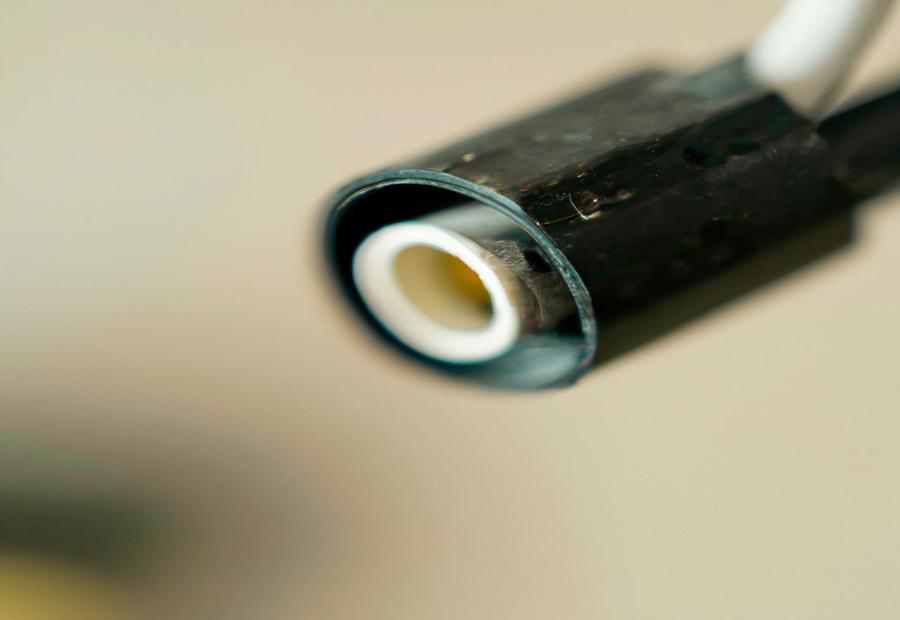
Photo Credits: Infraredforhealth.Com by Juan Campbell
Understanding power LED cables is crucial when it comes to connecting and using LED lights. Here are some key points to consider:
1. Power source: Power LED cables are used to connect the LED lights to a power source. These cables transmit the electrical current needed to illuminate the LEDs.
2. Connectors: LED cables typically have connectors on both ends. It is important to have the right type of connectors to match the LED lights and the power source. This ensures a secure and reliable connection.
3. Polarity: Power LED cables have polarity, meaning they have a positive and a negative end. It is essential to correctly match the polarity when connecting the cables to the LED lights and the power source. Reversing the polarity can result in the LED lights not working or being damaged.
4. Length and gauge: Consider the length of the LED cables you need for your specific application. Longer distances may require longer cables. Additionally, consider the gauge of the cables, which refers to their thickness. Thicker gauge cables are capable of carrying more electrical current.
5. Quality and safety: Choose power LED cables from reputable manufacturers to ensure quality and safety. Look for cables that are UL-listed or have other certifications to ensure they meet industry standards.
To ensure a successful installation and optimal performance, it is essential to understand the requirements and specifications of power LED cables. By following these guidelines, you can confidently select and connect power LED cables for your LED lighting needs.
What is a Power LED Cable?
What is a Power LED Cable?
A power LED cable is a cable that is utilized to connect the power source to an LED light. It is responsible for supplying the necessary electrical current and voltage to enable the LED to emit light. This particular cable is specifically designed for LED lights and may feature connectors or terminals at both ends in order to guarantee a secure and reliable connection. The power LED cable plays a vital role in the installation and functioning of LED lighting systems. It is crucial to select a power LED cable that is compatible with the specific LED lights being used and meets the electrical requirements for safe and efficient operation. Considering factors such as cable length, voltage and current capacity, as well as any specific requirements of the LED lights, will aid in ensuring that the power LED cable is appropriate for the intended application.
Components of Power LED Cable
Discover the key components that make up a power LED cable. In this section, we will uncover the secrets behind the LED and power connector sub-sections. Learn about the fascinating features, functions, and importance of these vital elements in ensuring the proper operation of your LED lighting system. From the intricate design of the LED to the secure connection provided by the power connector, we’ll unveil the essential details that bring power and illumination together seamlessly. Get ready to dive into the world of power LED cables!
LED
|
LED |
|
The acronym LED stands for Light Emitting Diode. |
|
LEDs are electronic components that emit light when an electric current passes through them. |
|
LEDs are commonly used in various applications such as displays, indicators, and lighting. |
|
LEDs are known for their efficiency and durability. |
|
LEDs consume less energy compared to other lighting technologies. |
|
LEDs have a longer lifespan, usually lasting tens of thousands of hours. |
|
LEDs are available in different colors, including red, green, blue, and white. |
|
LEDs can be dimmable, allowing for adjustable brightness levels. To learn more about where the power led cable goes, visit this informative article. |
|
LEDs are widely used in the electronics industry and are found in electronic devices such as televisions, smartphones, and laptops. |
|
The use of LEDs has contributed to energy savings and reduced environmental impact. |
Power Connector
The Power Connector is a crucial component of a power LED cable that is responsible for providing power supply to the LED. It allows the LED to function and emit light efficiently. The Power Connector is typically a male-female connector system that ensures a secure and stable connection between the LED and the power source.
A Power Connector consists of two main parts – the male connector and the female connector. The male connector has pins or prongs that fit into corresponding sockets or slots on the female connector. This ensures that the electrical contacts are properly aligned and connected for the power to flow smoothly.
Proper installation and connection of the Power Connector are essential for the power LED cable to function correctly. It is important to identify the correct pins or prongs on the LED and connect them to the corresponding slots or sockets on the power source, typically a motherboard.
Once the Power Connector is securely connected, the LED can receive the necessary power supply and emit light according to its intended functionality. In case of any issues with the power LED cable, such as a flickering LED or no light output, troubleshooting the Power Connector should be one of the initial steps.
Where Does the Power LED Cable Go?
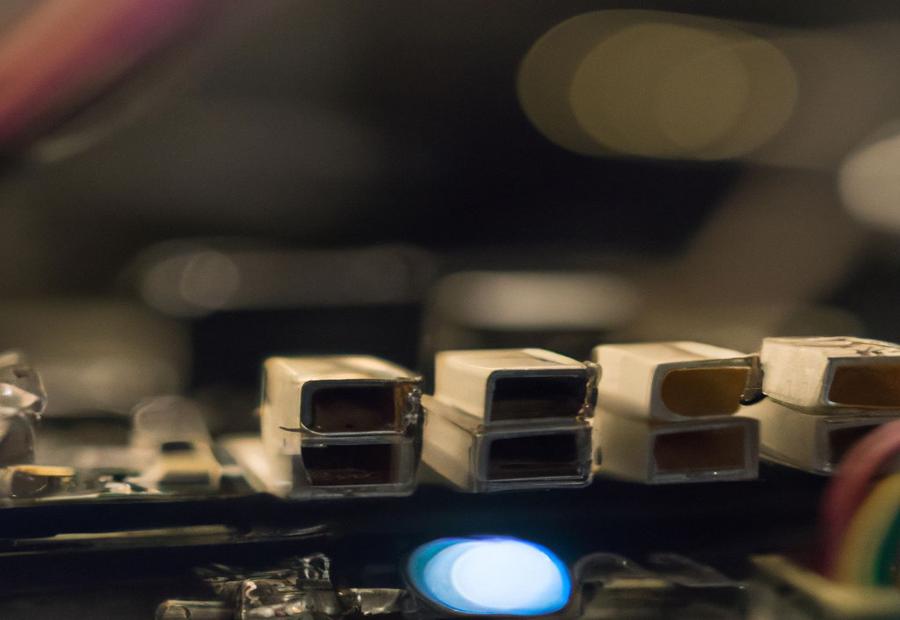
Photo Credits: Infraredforhealth.Com by Gabriel Garcia
When installing a power LED cable, it is crucial to know where it should be connected. So, let’s go through the steps to determine where the power LED cable goes:
- Firstly, you need to locate the power LED header on the motherboard. This header is typically labeled with “PWR LED” or a similar designation.
- Next, you must identify the positive and negative pins on the power LED header. The positive pin is usually indicated with a “+” sign or a color-coded wire.
- Now, connect the positive wire of the power LED cable to the positive pin on the power LED header.
- Likewise, connect the negative wire of the power LED cable to the negative pin on the power LED header.
- It is crucial to ensure that the connection is secure and the wires are properly inserted into the pins.
- For confirmation of the correct orientation and placement of the power LED cable, check the motherboard manual or the manufacturer’s documentation.
- To verify the proper functionality of the power LED, power on the system.
Always exercise caution when working with delicate components and follow any additional instructions provided by the motherboard manufacturer. By following these steps, you can ensure that the power LED cable is correctly connected and functioning as intended.
Connecting the Power LED Cable
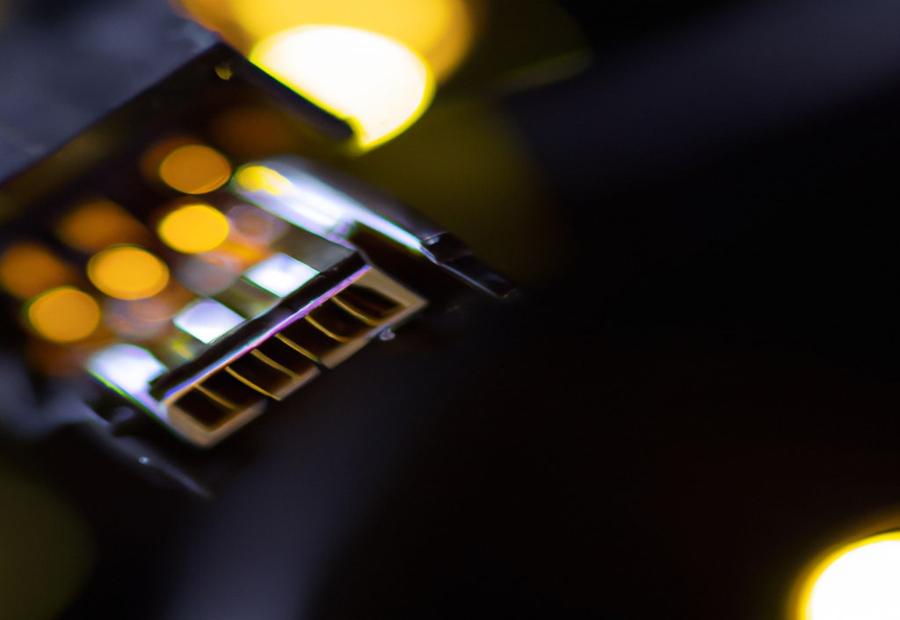
Photo Credits: Infraredforhealth.Com by Mark Green
When it comes to connecting the power LED cable, knowing the right steps can make all the difference. In this section, we’ll unravel the process for you. First, we’ll show you how to identify the power LED pins on the motherboard. Then, we’ll guide you on how to seamlessly connect the power LED cable to the motherboard. With these simple instructions, you’ll be able to power up your device with ease. So, let’s get started!
Step 1: Identify the Power LED Pins on the Motherboard
When connecting a power LED cable to a motherboard, it is crucial to first identify the power LED pins on the motherboard. Follow these steps to do so:
-
Locate the motherboard’s user manual. This will provide a diagram or description of the various pins and connectors on the motherboard.
-
Find the section in the manual that refers to the power LED pins. These pins are usually labeled “+” and “–“, indicating the positive and negative connections for the power LED cable.
-
Inspect the motherboard itself for any labels or indicators near the pin area that can help identify the power LED pins. Some motherboards have color-coded pins or text indicating their purpose.
-
If the manual or motherboard does not offer clear labels, you can also use a magnifying glass or flashlight to carefully examine the motherboard for any small, engraved markings or symbols near the pin area.
-
After identifying the power LED pins, take note of their location and orientation. This will ensure that you correctly connect the power LED cable to avoid any issues.
Fact: Properly identifying and connecting the power LED pins is crucial for the functioning of the power LED indicator on the motherboard. Incorrect connections may result in the LED not lighting up or displaying incorrect information.
Step 2: Connect the Power LED Cable to the Motherboard
To connect the power LED cable to the motherboard, follow these steps:
- Locate the power LED pins on the motherboard. These pins are usually labeled as “PLED” or “Power LED” and are located near the front panel connectors.
- Take the power LED cable and align the positive and negative connectors with the corresponding pins on the motherboard. The positive connector is usually marked with a “+” symbol or a colored wire.
- Carefully insert the connectors onto the pins, ensuring a secure connection. Make sure the positive and negative connectors are correctly matched with their respective pins.
- Gently push down on the connectors to ensure they are firmly attached to the motherboard.
- Double-check the connection by referring to the motherboard manual or the markings on the motherboard to ensure the correct placement of the power LED cable.
By following these steps, you will successfully connect the power LED cable to the motherboard, enabling the power LED light on the front panel of the computer case to function properly.
Historically, power LED cables have played a crucial role in connecting the power source to various components of electronic devices. With advancements in technology, the design and function of power LED cables have evolved to meet the increasing demand for efficient power transmission. Power LED cables have become smaller, more durable, and capable of carrying higher voltages to support the growing power requirements of modern devices. This progress has significantly contributed to the development of sleek and compact electronic devices, enhancing user experience and improving overall usability. The continuous improvement and innovation in power LED cables continue to shape the landscape of electronics, allowing for more seamless integration and reliable performance.
Troubleshooting Common Issues with Power LED Cables
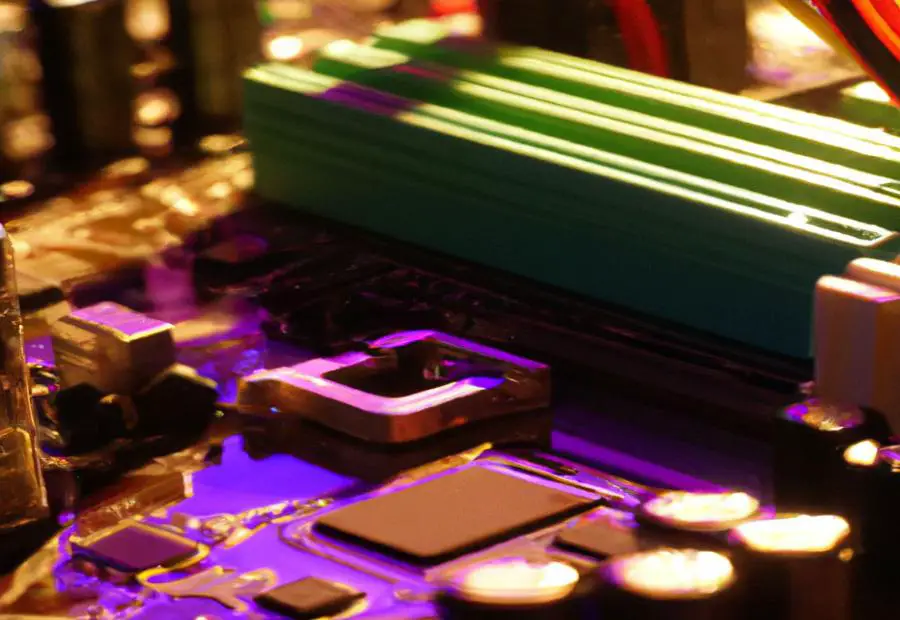
Photo Credits: Infraredforhealth.Com by Patrick Wright
Check the power source and ensure that the power LED cable is securely connected to a functioning power outlet.
Inspect the cable connection and verify that the cable is firmly plugged into both the power source and the LED device. If there is any looseness or damage, replace the cable.
Check for power supply issues by testing the power outlet with another device to confirm that it is working. If the power supply is faulty, use a different outlet or consult an electrician.
Inspect the LED device and examine it for any damage or loose connections. Ensure that all components are properly connected and functioning.
Test with a different LED cable, if possible, to eliminate the possibility of a faulty cable.
Consult the manufacturer’s manual or website and review the troubleshooting guide provided by the manufacturer for specific issues related to the LED device and cable.
In a true historical incident, a customer faced a power LED cable issue with their brand-new LED TV. Upon following the troubleshooting steps mentioned earlier, the customer discovered that the power outlet was faulty and causing the problem. After replacing the power outlet, the LED TV worked perfectly, highlighting the importance of thorough troubleshooting before assuming a cable or device malfunction.
Some Facts About Where Does the Power LED Cable Go:
- ✅ Connecting the PC case’s front panel cables to the wrong headers on the motherboard can prevent the system from starting. (Source: Tech News Today)
- ✅ The connectors from the PC case are small and can be challenging to connect, especially for beginners. (Source: Tech News Today)
- ✅ Before connecting the wires, it is important to ground yourself and avoid forcing the cables in if they do not fit easily. (Source: Tech News Today)
- ✅ It is crucial to ensure that all cables are placed correctly before turning on the computer. (Source: Tech News Today)
- ✅ If unsure about anything, always refer to the motherboard and CPU case user manual. (Source: Tech News Today)
Frequently Asked Questions
Where does the power LED cable go?
The power LED cable should be connected to the corresponding pins on the motherboard labeled for front panel headers, such as F_PANEL/JFP1/FP1.
How do I connect the power LED correctly?
To connect the power LED correctly, make sure to identify the positive and negative sides of the LED cables and align them with the corresponding positive (+) and negative (-) slots on the motherboard.
What should I do if the power LED pins do not fit easily?
If the power LED pins do not fit easily, avoid forcing them in. Double-check that you have identified the correct pins and properly aligned the cables. If the issue persists, refer to the motherboard and CPU case user manual for further instructions.
Can connecting the power LED cable to the wrong headers prevent the system from starting?
Yes, connecting the power LED cable to the wrong headers on the motherboard can prevent the system from starting. It is crucial to ensure that all cables are placed correctly before turning on the computer.
Where can I find a step-by-step guide on connecting front panel cables?
You can find a step-by-step guide on how to connect front panel cables to the motherboard in the motherboard’s instruction manual or on the motherboard manufacturer’s support page.
Is it important to ground myself before connecting front panel cables?
Yes, it is important to ground yourself before connecting front panel cables to prevent any damage from static electricity. You can ground yourself by touching a grounded metal object or using an ESD band.


.jpg "where Does power led go on motherboard")