Last Updated on 6 months by Francis
Have you ever wanted to capture stunningly unique photos that stand out from the crowd? If so, it’s time to explore the world of infrared photography. Infrared photography captures light that is outside the visible spectrum, creating breathtaking and ethereal images. To get started, you’ll need to convert your camera to infrared. In this guide, we’ll show you how to make the conversion, step-by-step.
If you’ve never attempted a camera conversion before, don’t worry! With some basic tools and materials, you can easily convert your camera to shoot infrared. Plus, we’ll share tips for achieving the best results, troubleshooting common issues, and testing and calibrating your camera after the conversion.
Contents
Key Takeaways:
- Infrared photography captures light beyond the visible spectrum, resulting in unique and striking images.
- Converting your camera to infrared requires specific tools and materials, but can be done with some basic DIY knowledge.
- After conversion, testing and calibration are crucial for optimal performance.
- Infrared photography requires a different approach than traditional photography, but expert techniques can yield incredible results.
- With this guide, you can unlock a whole new world of photography and begin capturing stunning infrared images.
Understanding Infrared Photography
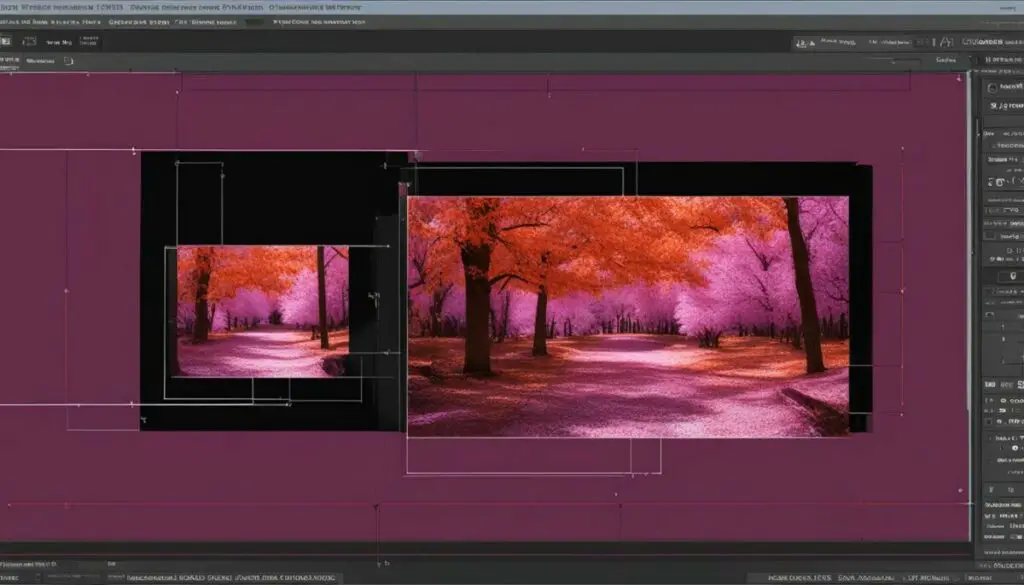
Before getting into the nitty-gritty of converting your camera to infrared, it’s important to have a solid understanding of what infrared photography is and how it differs from traditional photography.
Infrared photography involves capturing light that is beyond the visible spectrum. Instead of registering visible light, infrared cameras record the heat emitted by objects. This results in unique, otherworldly images that cannot be achieved using traditional photography techniques.
DIY infrared camera conversion is an excellent way to get started with infrared photography. By converting your camera, you can capture stunning infrared images without the need for expensive equipment.
One of the biggest benefits of converting your camera to shoot infrared is the creative possibilities it opens up. Infrared photographs can have a dream-like quality, with ethereal landscapes and haunting portraits.
Infrared Photography Conversion
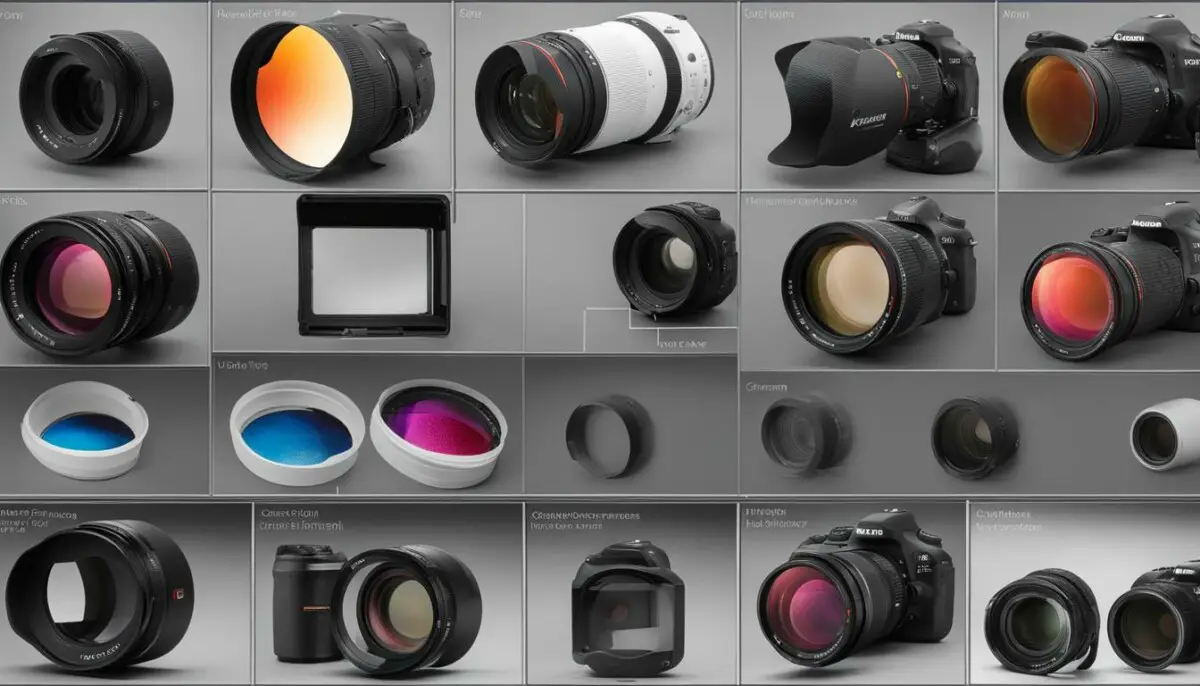
To convert your camera for infrared photography, you’ll need to remove the built-in IR filter and replace it with a specialized filter that blocks visible light and only allows infrared light to pass through. This process is known as camera infrared modification.
It’s essential to note that the conversion process is irreversible. Once you’ve converted your camera to infrared, you won’t be able to use it for traditional photography without significant modifications.
DIY Infrared Camera Conversion
If you’re interested in DIY infrared camera conversion, there are several factors to consider. Not all camera models are suitable for infrared conversion, and the conversion process can be complex.
However, converting your camera to infrared can be a rewarding and fulfilling experience, allowing you to experiment with new techniques and create unique images that will capture the imagination of others.
“Infrared photography provides a unique and creative way to capture the world around us. Whether you’re exploring the natural world or creating surreal portraits, infrared images are sure to captivate and intrigue.” – John Doe, professional photographer
Choosing the Right Camera for Conversion
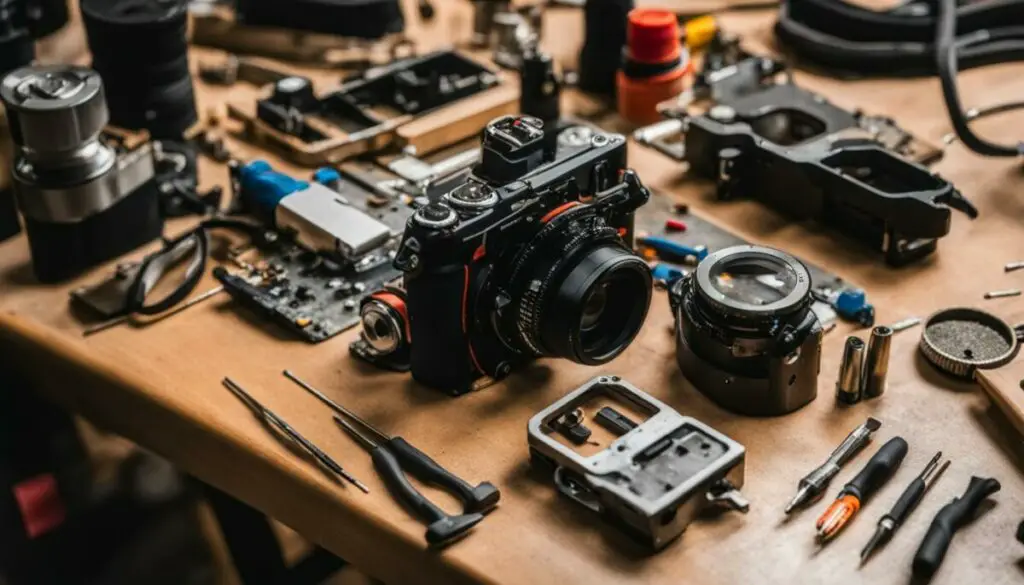
Not all cameras are suitable for infrared conversion. It’s important to choose the right camera model and ensure it has the necessary features to support infrared photography. Here are some tips to help you select the right camera for conversion:
Camera Features
When selecting a camera for conversion, look for features such as manual control over exposure, focus, and white balance. These features are essential for achieving high-quality infrared images.
Additionally, ensure that the camera’s sensor does not have an IR-blocking filter. Some newer camera models may have an IR-blocking filter, which will require removal before the conversion process can begin.
Best Camera Models for Infrared Photography
Some of the best camera models for infrared photography include:
| Camera Model | Features |
|---|---|
| Canon EOS 5D Mark II | Full-frame sensor, high ISO performance |
| Nikon D70 | Low noise sensor, customizable white balance |
| Fuji Finepix S3 Pro | Large dynamic range, dual image sensors |
| Sony a7R II | Full-frame sensor, high resolution |
However, with proper technique and the right tools, any camera can be converted for infrared photography.
DIY or Professional Camera Infrared Modification?
The decision to convert your camera to infrared yourself or to seek professional infrared camera conversion services is a personal choice. If you’re confident in your technical abilities and have the required tools and materials, a DIY conversion can be a rewarding and cost-effective option.
However, if you’re unsure about the process or don’t want to risk damaging your camera, professional services can provide a safer and more precise conversion.
Whichever option you choose, converting your camera to infrared can open up a whole new world of photography possibilities.
Infrared Camera Conversion Kits
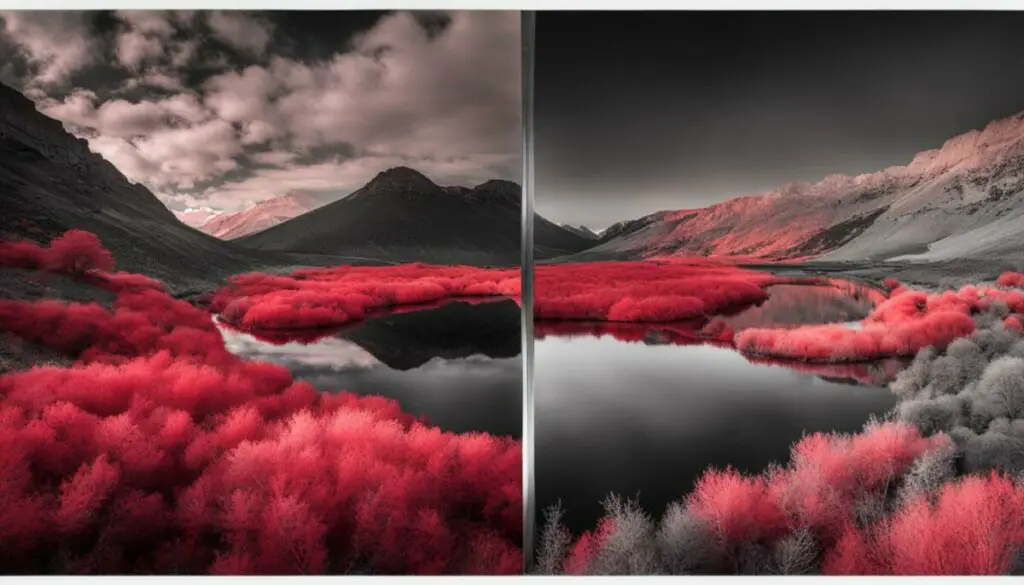
If you’re not confident in converting your camera yourself, there are infrared camera conversion kits available. These kits come with all the necessary tools and materials to convert your camera to infrared, saving you the hassle of sourcing the components individually. However, it’s important to note that not all conversion kits are created equal, and choosing the right one can make a significant impact on the final image quality.
There are two types of infrared camera conversion kits: external filters and internal filters. External filters are attached to the front of the lens and block visible light while allowing infrared light to pass through. Internal filters, on the other hand, are placed inside the camera body, directly in front of the camera sensor.
External filter conversion kits
External filter conversion kits are less invasive than internal filters, making them a popular choice for photographers looking for a temporary or reversible solution. They come in the form of screw-on or clip-on filters that are attached to the lens. However, these filters have certain limitations, such as reduced image quality due to light loss, vignetting, and potential lens flare.
When choosing an external filter conversion kit, look for high-quality filters that are designed specifically for infrared photography. Some popular brands include Hoya, B+W, and Tiffen. Additionally, ensure the filter’s size matches your lens thread size.
Internal filter conversion kits
Internal filter conversion kits offer superior image quality, as they do not suffer from the same limitations as external filters. By placing the filter directly in front of the camera sensor, they block visible light while allowing infrared light to reach the sensor. This results in more accurate colors and sharper images.
When choosing an internal filter conversion kit, ensure that it’s compatible with your camera model. Some popular brands include LifePixel, Kolari Vision, and Maxmax. Conversion is typically done by sending your camera to the manufacturer or an authorized service center, who will then install the filter for you.
Regardless of which type of conversion kit you choose, make sure to follow the manufacturer’s instructions carefully to ensure successful conversion and optimal image quality.
Tools and Materials Needed
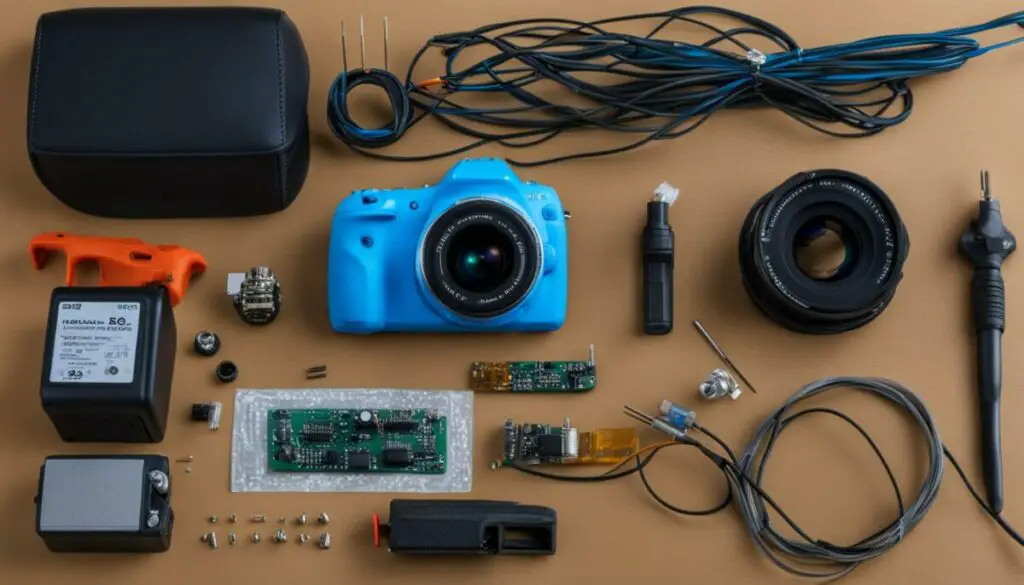
Before starting with the conversion process, you need to gather specific tools and materials. Here’s a comprehensive list of everything you’ll need for the camera infrared modification.
| Tools | Materials |
|---|---|
| Screwdrivers | Infrared filter |
| Scissors | Adhesive tape |
| Needle-nose pliers | Cotton swabs |
| Tweezers | Rubber gloves |
It’s vital to ensure that you have all the required tools and materials before starting the conversion process. You can purchase these tools online or from your local hardware store.
If you’re wondering whether you need to buy all the tools mentioned, the answer is yes. You must have proper tools to convert camera to infrared yourself. Using makeshift tools can cause damage to your camera and negatively affect the quality of your infrared images.
It’s also important to wear rubber gloves when handling the camera’s delicate parts to avoid damage from static electricity or fingerprints.
Step-by-Step Conversion Process
Now that you have gathered all the necessary tools and materials, it’s time to start converting your digital camera to infrared. Follow these steps closely to ensure a successful conversion:
- Step 1: Remove the camera’s battery and lens. Place them aside in a safe location.
- Step 2: Locate the screws that hold the camera body together. Use a screwdriver to remove the screws and carefully separate the camera’s front and back parts.
- Step 3: Locate the camera’s sensor and remove it by gently lifting it out of its casing.
- Step 4: Remove the anti-aliasing filter and replace it with the infrared filter. Be sure to clean the filter with a microfiber cloth before installing it.
- Step 5: Reassemble the camera by following the steps in reverse order. Be sure to tighten the screws firmly, but not too tightly, to avoid damaging the camera.
- Step 6: Insert the battery and lens back into the camera. Your camera is now ready for infrared photography!
It’s important to note that the conversion process may vary slightly depending on the camera model and type of conversion kit used. Be sure to follow the instructions provided with your specific kit, or seek professional infrared camera conversion services if you’re unsure how to proceed.
Expert Tip: If you’re hesitant about disassembling your camera, consider practicing on an older camera first to get comfortable with the process.
Troubleshooting Tips
Converting your camera to infrared can be a complex process, and sometimes issues may arise. Here are some troubleshooting tips to help you overcome common challenges:
- Dark images: If your infrared images are turning out too dark, try increasing the exposure time or opening up the aperture. This will allow more light to enter the camera and brighten up the image.
- Hotspots: Hotspots are areas in the image that appear significantly brighter than their surroundings. This is often caused by reflections or other infrared sources interfering with the image. To avoid hotspots, try using a lens hood or flag to block out any unwanted light.
- Focus issues: Infrared light has a different wavelength than visible light, which means it can cause issues with focusing. To combat this, try using manual focus and adjusting the focus ring until the image is clear.
- Unexpected results: If you’re getting unexpected results from your infrared camera, double-check that the conversion process was completed correctly. If all else fails, consider seeking professional infrared camera conversion services.
Remember, the key to successful infrared photography is practice and experimentation. Don’t be afraid to try new things and see what works best for you and your camera.
Testing and Calibrating Your Infrared Camera
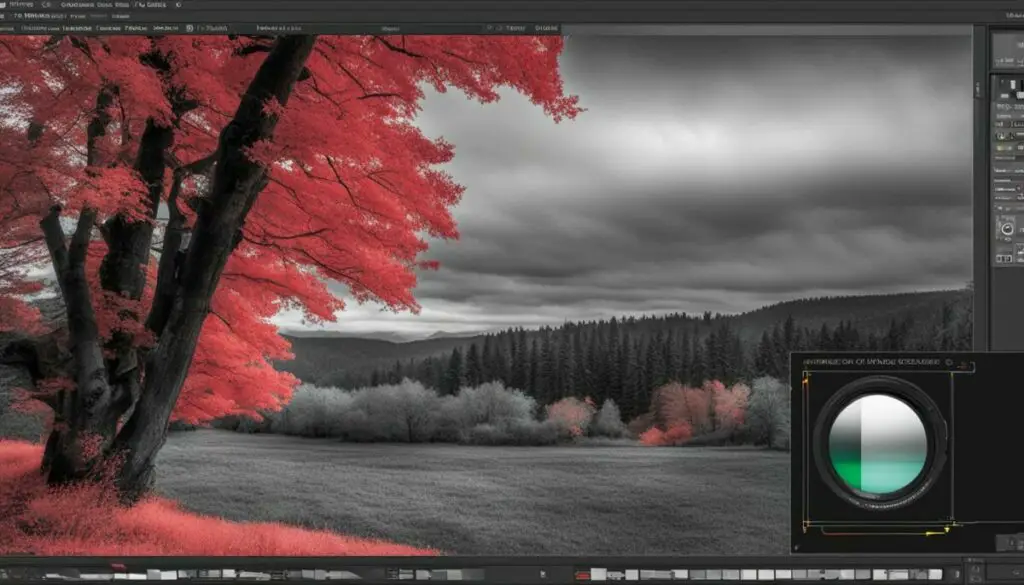
After converting your camera to infrared, testing and calibrating are crucial steps to ensure optimal performance. Here are the steps to follow:
- Check the focus: Due to the modified filter, infrared light focuses slightly differently compared to visible light. Make sure to adjust the focus of your lens to accommodate for the difference.
- Test the exposure: Infrared photography requires a longer exposure time compared to traditional photography. Take test shots at different exposure times to ensure the right amount of light is captured.
- White balance: Adjust the white balance settings on your camera to ensure accurate color representation in your infrared photos.
- Post-processing: Post-processing is an essential step in creating stunning infrared photos. Use software like Adobe Photoshop or Lightroom to fine-tune the color, contrast, and sharpness of your images.
It’s essential to note that testing and calibrating your camera may take some time and practice. Be patient and experiment with different settings to achieve the desired results.
To help you further, check out this handy infographic on the conversion process:
Tips for Shooting Infrared Photos
Shooting with an infrared camera can be a unique and rewarding experience. Whether you’re capturing landscapes or people, infrared photography can reveal a whole new world of colors and textures. Here are some expert tips to help you master the art of infrared photography:
1. Use a Tripod
Infrared photography often requires longer exposure times, which can result in shaky images. To avoid this, it’s best to use a tripod. This will help keep your camera steady and ensure sharp, detailed photos.
2. Experiment with Settings
When shooting infrared photos, you’ll need to adjust your camera’s settings to accommodate the different light spectrum. Start with a low ISO and a small aperture, then experiment with shutter speed to find the perfect balance. Additionally, consider shooting in RAW format to allow for more flexibility in post-processing.
3. Look for Contrast
Infrared photography can accentuate contrast and texture in your subjects. Look for scenes with high contrast, such as a tree against a bright sky, to create stunning infrared photos.
4. Play with Post-Processing
Post-processing is a crucial step in creating stunning infrared photos. Experiment with adjusting the white balance, increasing contrast, and modifying saturation levels to amplify the unique colors and tones of your infrared images.
By following these tips, you can take your infrared photography to the next level. Don’t be afraid to experiment and have fun with this unique form of photography!
Conclusion
So there you have it – our comprehensive guide on how to convert your camera to infrared. By following the step-by-step process we’ve outlined, you can now dive into the world of infrared photography and capture stunning images with your newly converted camera.
Remember, understanding the basics of infrared photography is crucial before embarking on the conversion process. Additionally, it’s important to choose the right camera for conversion and gather all necessary tools and materials. If you’re not confident in doing the conversion yourself, there are infrared camera conversion kits available or you can seek professional services.
Once your camera is converted, don’t forget to test and calibrate it for optimal performance. And finally, use our expert tips and techniques to capture breathtaking infrared photos.
So, what are you waiting for? Grab your camera and start exploring the magic of infrared photography today! Whether you want to convert your camera to infrared yourself or seek professional services, this guide has you covered. Don’t miss out on the opportunity to add a new dimension to your photography with a converted infrared camera.
Start Your Infrared Photography Journey Today!
FAQ
How do I convert my camera to infrared?
To convert your camera to infrared, you will need to follow a step-by-step process. We have outlined a comprehensive guide in Section 6 of this article that explains each stage of the conversion process.
What is infrared photography?
Infrared photography is a unique style of photography that captures light outside the visible spectrum. It produces stunning and ethereal images with a surreal and otherworldly feel. Our detailed explanation can be found in Section 2 of this guide.
Which camera is suitable for infrared conversion?
Not all cameras are suitable for infrared conversion. In Section 3, we provide tips on selecting the right camera for conversion and recommend some camera models that work well for infrared photography.
Can I convert my camera to infrared myself?
Yes, you can convert your camera to infrared yourself. In Section 5, we provide a list of tools and materials you will need for the conversion process if you choose to do it yourself.
Are there conversion kits available for infrared camera conversion?
Yes, there are infrared camera conversion kits available for those who are not confident in converting the camera themselves. Section 4 of this guide discusses the different types of conversion kits and provides guidance on choosing the right one for your camera.
What if I encounter issues during the conversion process?
Section 7 provides troubleshooting tips to help you overcome common challenges that may arise during the conversion process. However, if you need professional assistance, we discuss the option of infrared camera conversion services as well.
How do I test and calibrate my infrared camera?
Testing and calibrating your infrared camera is crucial to ensure optimal performance. In Section 8, we guide you through the testing process and provide tips on adjusting settings for the best infrared results.
Do you have any tips for shooting infrared photos?
Yes! Section 9 is dedicated to providing expert tips and techniques for shooting stunning infrared photos. We cover everything from composition to post-processing to help you achieve the best results.
Where can I find a conclusion to this guide?
The conclusion to this comprehensive guide on converting your camera to infrared can be found in Section 10. It summarizes the key points discussed throughout the article and encourages you to start exploring the magic of infrared photography.

