Last Updated on 6 months by Francis
Are you looking for a way to bring the benefits of a sauna into your home? Building an infrared sauna might just be the answer! Not only can it provide a relaxing and rejuvenating experience, but it can also improve your overall well-being.
Don’t worry if you’re new to DIY projects or inexperienced with building. Our step-by-step guide will help you create your very own infrared sauna in the comfort of your own home.
Contents
Key Takeaways
- Building an infrared sauna at home is easy with the right guidance.
- Infrared saunas can provide numerous health benefits.
- Our guide is suitable for both DIY beginners and experienced builders.
- Proper planning and preparation are crucial for a successful build.
- Following recommended construction techniques is essential for optimal infrared heat distribution.
Planning and Preparation
Building an infrared sauna requires careful planning and preparation to ensure a successful outcome. Before starting the construction process, it’s important to have a well-thought-out plan and gather all the necessary materials and tools.
First, let’s discuss the infrared sauna plans. If you’re not sure where to start, there are plenty of online resources that offer free or low-cost building plans. These plans outline the materials, sizes, and dimensions needed for your specific sauna design. Alternatively, you can create your own plan based on your preferences and available space.
Next, let’s talk about the building materials for the infrared sauna. The most common materials used for sauna construction include cedar, hemlock, and spruce. These woods are known for their durability, resistance to moisture and insects, and ability to withstand the high temperatures of the sauna. You’ll also need insulation materials, such as fiberglass or foam board, to keep the heat inside the sauna and prevent it from escaping.
Here’s a breakdown of the materials you’ll need for your infrared sauna:
| Materials | Description |
|---|---|
| Wood | Cedar, hemlock, or spruce |
| Insulation | Fiberglass or foam board |
| Heaters | Infrared heating panels or lamps |
| Electrical | Wiring, outlets, and covers |
| Ventilation | Ventilation fan and ductwork |
| Sealant | Silicone sealant for joints and gaps |
Once you have your building plans and materials, it’s time to start the construction process. In the next section, we’ll discuss how to choose the right location for your infrared sauna.
Choosing the Right Location

Choosing the right location for your infrared sauna is crucial for optimal use and enjoyment. Here are some important considerations to keep in mind:
- Space: Make sure you have enough space for your sauna. A typical home sauna requires an area of at least 4’x4′. If you plan to have more than one person in the sauna at a time, you may need a larger space.
- Privacy: Choose a location that provides privacy. You don’t want to be interrupted or feel uncomfortable while using your sauna.
- Accessibility: Make sure your sauna is easily accessible. You don’t want to have to climb stairs or go through narrow doorways to reach your sauna.
- Electrical: Keep in mind that you’ll need access to an electrical outlet for your sauna. Choose a location that is close to an outlet or hire an electrician to install one.
- Ventilation: Ventilation is important to ensure fresh air supply and remove excess moisture. Choose a location that allows for proper ventilation or plan for an adequate ventilation system.
By considering these factors, you can select the perfect location for your infrared sauna installation and ensure a comfortable and healthy sauna experience.
Framing and Insulation
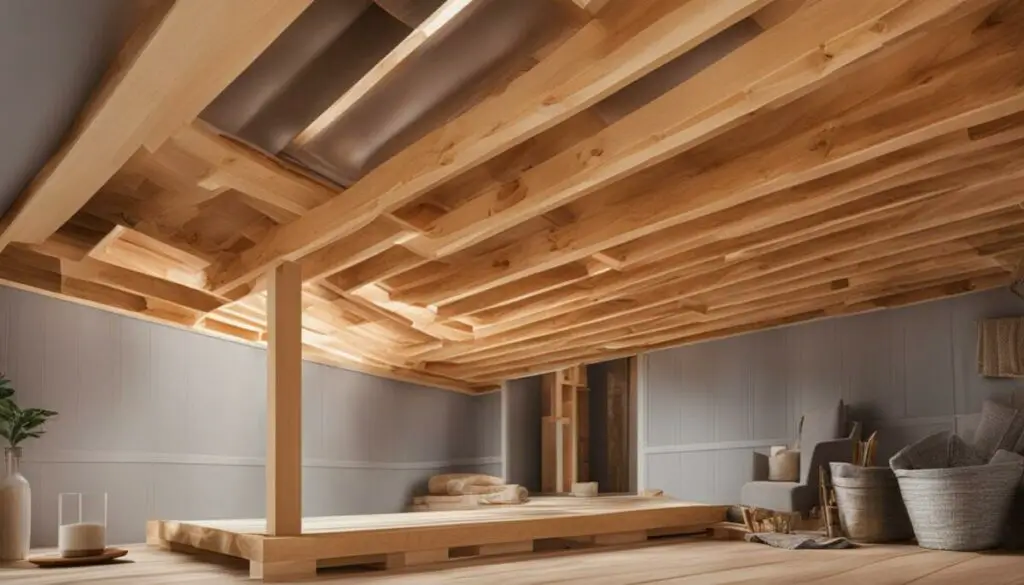
Proper framing and insulation are crucial for creating a comfortable and efficient infrared sauna. Below are the recommended infrared sauna construction techniques to ensure the sauna retains heat effectively.
Framing
When building the frame for your infrared sauna, it’s essential to use a durable and moisture-resistant material like Western red cedar or Canadian hemlock. These materials can withstand the high temperatures and moisture levels typically found in saunas, ensuring your sauna lasts for years to come.
Start by measuring the dimensions of your sauna and framing out the walls, ceiling, and floor using 2×4 or 2×6 boards. Make sure to include space for the infrared panels and heaters. Additionally, consider adding horizontal bracing between the studs to reinforce the walls and prevent warping over time.
Insulation
Insulation is vital for preventing heat loss and ensuring your sauna maintains a consistent temperature. There are several types of insulation materials you can use for your infrared sauna, including fiberglass, mineral wool, and foam board.
We recommend using foil bubble wrap insulation between the studs and covering it with reflective foil to help reflect heat back into the sauna. Additionally, consider adding a layer of foam board insulation on top of the studs to further reduce heat loss and improve energy efficiency.
| Insulation Material | R-Value per Inch | Thickness |
|---|---|---|
| Fiberglass | 2.2-4.0 | 3.5-6.5 inches |
| Mineral Wool | 3.0-3.3 | 3-4 inches |
| Foam Board | 3.8-8.0 | 0.5-2 inches |
It’s important to note that insulation levels depend on the size and location of your sauna. We recommend consulting with a professional or referencing your local building codes for specific insulation requirements.
By following the recommended framing and insulation techniques, you can ensure your infrared sauna retains heat effectively while also providing a cozy and comfortable atmosphere for relaxation and wellness.
Electrical Requirements and Wiring
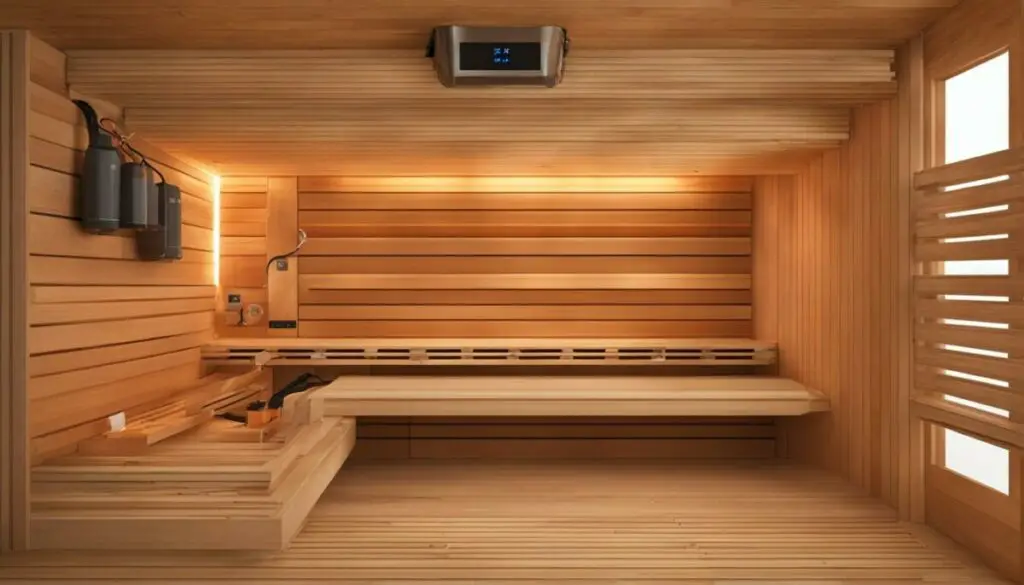
When it comes to building an infrared sauna, understanding electrical requirements and proper wiring is a crucial step for safety and functionality. Here are some infrared sauna construction techniques for electrical work:
1. Consult a Professional Electrician
Before starting any electrical work on your infrared sauna, it’s essential to consult a professional electrician to ensure that you’re meeting all local codes and regulations. They can also provide guidance on choosing the right materials and ensuring proper grounding for your sauna.
2. Choose the Right Electrical Components
When selecting the electrical components for your infrared sauna, it’s important to choose high-quality materials that are designed specifically for sauna use. This includes the sauna heater, control panel, and wiring. Investing in quality components will ensure a safe and reliable sauna experience.
3. Use Proper Wiring Techniques
Proper wiring techniques are crucial for safety and efficiency in your infrared sauna. Use high-quality wiring and follow manufacturer instructions for installation. Avoid using extension cords or power strips, and don’t run wires under the sauna.
4. Consider a Dedicated Circuit
Consider installing a dedicated circuit for your infrared sauna to ensure that it’s receiving adequate power and to prevent overloading other circuits. This will also help avoid tripping breakers or causing electrical damage.
By following these infrared sauna construction techniques for electrical work, you can create a safe and reliable sauna experience for years to come.
Installing Infrared Panels and Heaters
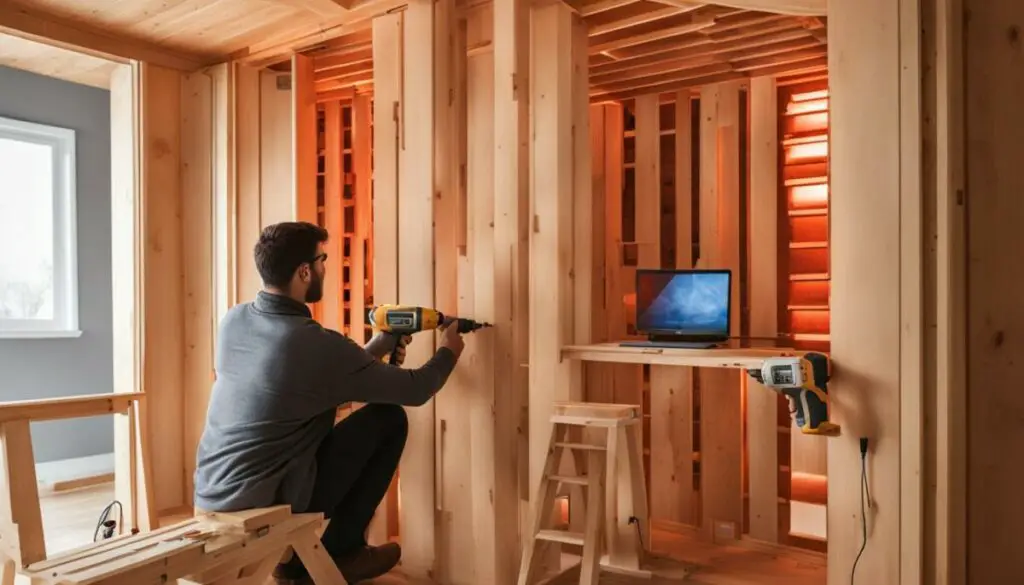
Once the framing and insulation have been installed, it’s time to focus on the installation of the infrared panels and heaters. This step is critical to ensure optimal infrared heat distribution throughout the sauna. Follow these step-by-step instructions to install your infrared panels and heaters correctly:
- Choose the right panels: Before purchasing your infrared panels, ensure they are the correct size and wattage for your sauna. Most infrared panels come with mounting brackets that allow for easy installation on the walls or ceiling of your sauna.
- Plan the placement: Determine where to install the panels to ensure even heat distribution throughout the sauna. The ceiling is an ideal location for the panels since heat rises and can distribute evenly. Be sure to leave enough space around the panels for proper ventilation.
- Mount the panels: Secure the mounting brackets onto the sauna walls or ceiling, following the manufacturer’s instructions. Once the brackets are in place, attach the panels to the brackets. Make sure the panels are level and secure.
- Install the heaters: Infrared sauna heaters can be installed on the walls or the floor of the sauna, depending on your preference. It’s essential to ensure that the heaters are placed at the proper height and distance from the seating area for optimal heat distribution.
- Wire the panels and heaters: Follow the electrical wiring instructions provided by the manufacturer to connect the panels and heaters. It’s essential to use a licensed electrician to ensure safe and proper wiring.
- Test the temperature: After installation, test the temperature of your sauna to ensure proper heat distribution. Use an infrared thermometer to check the surface temperature of the panels and heaters, as well as the air temperature inside the sauna.
By following these step-by-step instructions, you can be confident that your infrared panels and heaters are installed correctly, and your sauna is ready for use.
Ventilation and Air Circulation
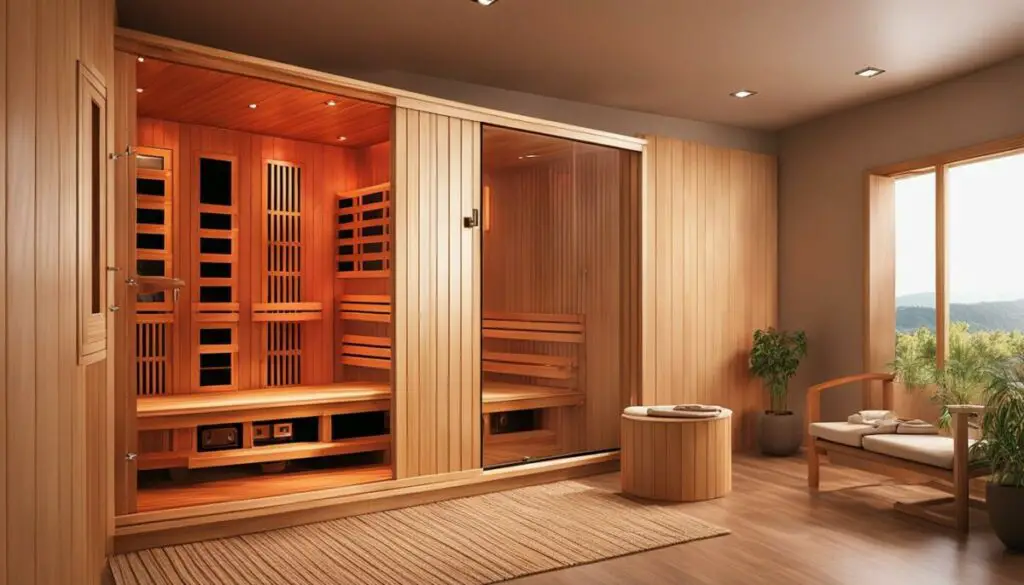
Proper ventilation and air circulation are crucial for maintaining a comfortable and healthy environment inside your infrared sauna. Without adequate airflow, the heat can become stifling, and the air quality may suffer.
One of the best ways to ensure proper ventilation is by installing vents near the ceiling and floor of your sauna. This allows for air to circulate throughout the room, preventing stagnant air pockets.
Another way to promote good air circulation is by using a sauna door with a vent. This allows fresh air to be drawn into the sauna while stale air is expelled.
It’s also essential to regularly clean and replace air filters if your sauna has an air purification system. This helps ensure that clean, fresh air is continually circulating throughout your sauna.
Advantages of Proper Ventilation
| Advantages of Proper Ventilation | |
|---|---|
| Prevents excessive heat buildup | |
| Improves air quality | |
| Prevents respiratory issues | |
| Ensures a more pleasant sauna experience |
Proper ventilation and air circulation are essential for maintaining a comfortable and safe environment inside your infrared sauna. With the right techniques and equipment, you can ensure an enjoyable sauna experience that leaves you feeling refreshed and rejuvenated.
Interior Finishing and Design
Once the framing, insulation, and electrical wiring are in place, it’s time to focus on the interior finishing and design of your infrared sauna. This is where you can get creative and make the space truly your own.
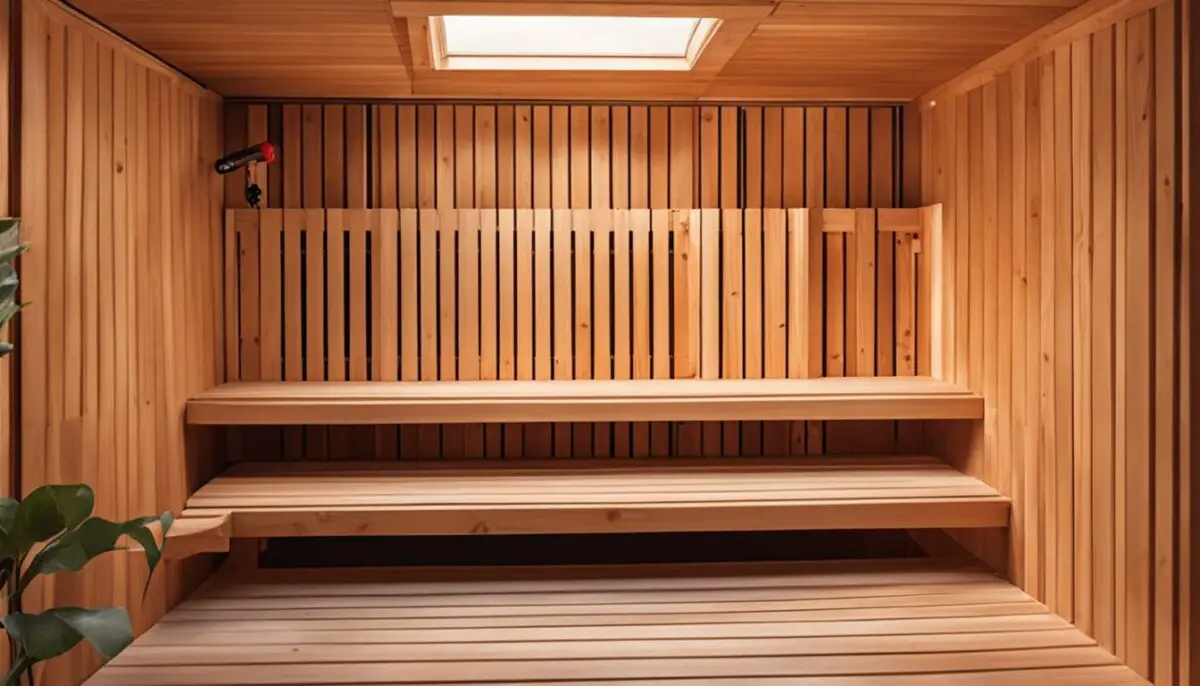
To start, consider the type of wood you want to use for the walls, ceiling, and bench. Cedar and hemlock are popular choices due to their durability, resistance to moisture, and natural aroma that adds to the sauna experience.
You can also add accents such as LED lighting, speakers for music, or a glass door for a modern touch. Just make sure all electrical components are installed safely and according to the manufacturer’s instructions.
When it comes to the sauna bench, consider a design that maximizes comfort and space. L-shaped benches or backrests can provide additional seating and relaxation options.
Finally, don’t forget about ventilation and air circulation. Install a vent near the floor and another near the ceiling to ensure proper airflow and prevent the buildup of excess heat or humidity.
Overall, the design of your infrared sauna should reflect your personal style while also maximizing comfort and functionality. With careful attention to detail and proper construction techniques, you can create a space that promotes relaxation and wellness for years to come.
Maintenance and Care
Proper maintenance and care are essential for keeping your infrared sauna in top condition. By following these tips, you can ensure that your sauna lasts for years to come.
Regular Cleaning
To keep your infrared sauna clean and hygienic, wipe down the interior surfaces with a clean and dry cloth after every use. You can also use a mild detergent solution to remove any sweat or oil buildup. Do not use harsh chemicals or abrasive cleaners as they can damage the wood or finish.
Wood Maintenance
The wood used to construct your infrared sauna requires proper care and maintenance. Regularly inspect the wood for any cracks, splits, or discoloration. Apply a protective layer of wood oil or sealer to nourish and protect the wood from moisture damage. This will also enhance the natural beauty of the wood.
Electrical Maintenance
Regularly check the electrical components of your infrared sauna to ensure they are functioning correctly. Check the wires, plugs, and connections for any fraying or damage. If you notice any issues, turn off the power and seek professional help to avoid any potential hazards. It’s also crucial to follow the manufacturer’s instructions for maintenance and repair.
Replacing Infrared Panels and Heaters
Over time, the infrared panels or heaters may need replacement due to wear and tear. If you notice that your sauna is not producing enough heat or there are cold spots in the sauna, it may be time to replace the heating elements. Consult with the manufacturer or a professional to ensure you purchase the correct replacement parts and follow the proper installation procedures.
Avoid Overuse
Avoid using your infrared sauna excessively. Overuse can lead to fatigue, dehydration, and other health issues. Follow the manufacturer’s recommended usage guidelines and do not exceed the recommended time or temperature. It’s also crucial to stay hydrated during and after sauna sessions.
Remember to always prioritize safety when maintaining and using your infrared sauna. If you have any concerns or questions about maintenance, always consult with a professional.
Conclusion
Congratulations on completing your infrared sauna building project! We hope our guide has been helpful in providing you with easy-to-follow steps and tips for creating your personal oasis of relaxation and wellness.
Remember to prioritize safety and planning throughout the construction process to ensure a successful build. With proper framing, insulation, electrical wiring, and ventilation, your infrared sauna will provide unlimited benefits to your health and well-being.
Regular maintenance and care will ensure that your sauna lasts for years to come, so be sure to follow our recommended best practices.
We hope you enjoy the many benefits that come with having an infrared sauna at home, including relaxation, pain relief, and improved circulation. Start your journey towards a healthier lifestyle today!
FAQ
How long does it take to build an infrared sauna at home?
The time it takes to build an infrared sauna at home can vary depending on your level of experience and the complexity of the design. On average, it can take anywhere from a few days to a few weeks to complete the construction.
Do I need any special tools or equipment to build an infrared sauna?
Yes, you will need some basic tools and equipment to build an infrared sauna. These may include a drill, saw, hammer, level, measuring tape, and safety gear such as goggles and gloves. It’s also important to have a reliable power source for electrical wiring.
Can I customize the size and design of my infrared sauna?
Absolutely! One of the advantages of building an infrared sauna at home is that you can customize it to suit your specific needs and preferences. You can choose the size, layout, and interior finishing materials to create a sauna that fits perfectly into your space.
Are there any building codes or regulations I need to consider when constructing an infrared sauna?
Yes, it’s important to check with your local building codes and regulations to ensure compliance when constructing an infrared sauna. Requirements may vary depending on your area, so it’s best to consult with a professional or local authorities to ensure that your sauna meets all safety and building standards.
Can I install an infrared sauna outdoors?
While it’s possible to install an infrared sauna outdoors, it’s essential to choose a sauna specifically designed for outdoor use and take additional precautions for weatherproofing and protection against the elements. It’s recommended to consult with a professional and ensure that the sauna is suitable for outdoor installation.
How much does it cost to build an infrared sauna at home?
The cost of building an infrared sauna at home can vary depending on factors such as size, materials, and additional features. On average, you can expect to spend between $1,500 to $5,000 for materials and equipment. However, it’s important to budget for any additional expenses such as electrical work or professional installation if needed.
Can I use my existing shower or bathroom space to build an infrared sauna?
It is possible to convert an existing shower or bathroom space into an infrared sauna, but it may require additional modifications and considerations such as proper ventilation and waterproofing. It’s recommended to consult with a professional to determine the feasibility and best approach for your specific situation.
How often should I clean and maintain my infrared sauna?
It’s important to clean and maintain your infrared sauna regularly to ensure optimal performance and longevity. The frequency of cleaning will depend on usage, but a general guideline is to clean the interior surfaces, wipe down the panels, and check the electrical connections every few weeks. It’s also recommended to follow the manufacturer’s instructions for any specific maintenance tasks.
Can I use my infrared sauna immediately after construction, or do I need to wait for it to “cure”?
It’s recommended to allow your infrared sauna to “cure” for a few days after construction to allow any odors or volatile organic compounds (VOCs) from the building materials to dissipate. This will ensure a more enjoyable and comfortable sauna experience. Ventilation during the curing process can help expedite the off-gassing process.
Are there any health risks or precautions I should be aware of when using an infrared sauna?
While infrared saunas are generally safe for most people, it’s important to take certain precautions. It’s recommended to stay hydrated, limit the duration of each session, and listen to your body’s signals. If you have any preexisting health conditions or concerns, it’s always best to consult with a healthcare professional before using an infrared sauna.

