Last Updated on 3 months by Francis
Are you looking to amp up your home gym without breaking the bank? Building your own DIY bench press rack is a cost-effective solution that allows you to optimize your workouts and lift safely. With just a few materials and some time, you can create a custom rack that suits your needs and budget.
- Save money by building your own bench press rack
- Customize the rack to fit your specific needs and preferences
- Create a sense of satisfaction by building something with your own hands
Contents
Key Takeaways:
- Building your own DIY bench press rack can help you save money and customize your home gym equipment to suit your needs and preferences.
- With a few materials and some time, you can create a cost-effective and personalized solution for safely lifting weights at home.
Benefits of a DIY Bench Press Rack
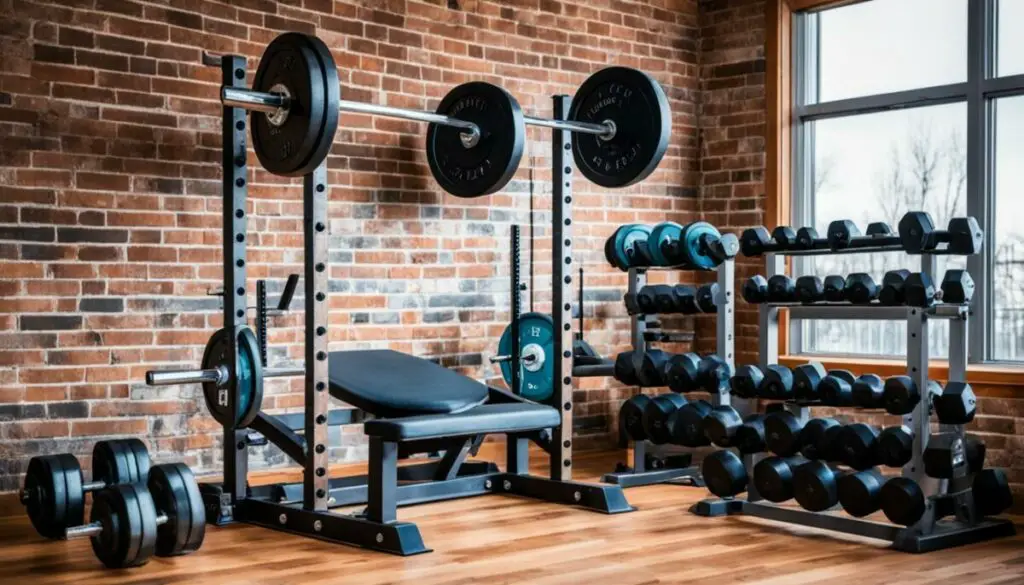
A DIY bench press rack offers several benefits. Firstly, it allows you to customize the rack to fit your specific needs and preferences. Whether you prefer a certain height, width, or design, building your own rack ensures that it’s tailored to you. You have the freedom to choose the materials, colors, and additional features that suit your style and workout routine.
Secondly, building your own rack can save you money compared to purchasing a pre-made option. Gym equipment can be expensive, and buying a bench press rack is no exception. By opting for a DIY approach, you can significantly reduce your costs without compromising on quality. With a bit of research and planning, you can build a reliable and durable rack at a fraction of the price.
Finally, a homemade bench press rack gives you the satisfaction of creating something with your own hands. Building your own equipment can be a rewarding experience, allowing you to showcase your DIY skills and craftsmanship. The process of designing, measuring, cutting, and assembling the rack can be a fulfilling project that adds a personal touch to your home gym.
“A DIY bench press rack offers customization, cost savings, and the satisfaction of building something yourself.” – Fitness enthusiast
| Benefits of a DIY Bench Press Rack |
|---|
| 1. Customizable to fit your specific needs and preferences |
| 2. Cost-effective compared to purchasing a pre-made rack |
| 3. Offers the satisfaction of creating something with your own hands |
Materials and Equipment Needed
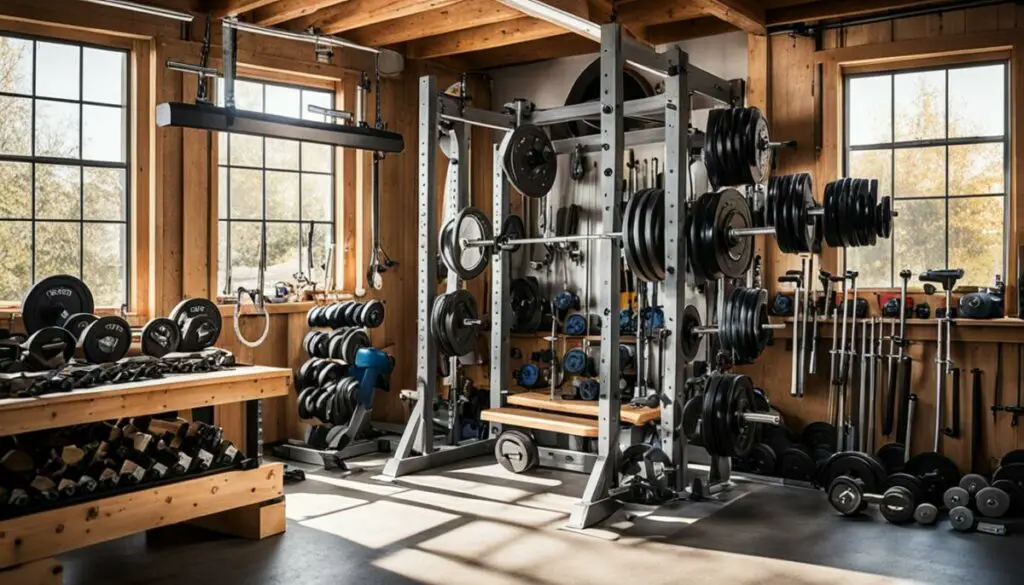
Before you start building your DIY bench press rack, make sure you have all the necessary materials and equipment. Here’s a list of what you’ll need:
- 3, 5-gallon buckets
- 3, 50lb bags of Quikrete
- 2, 8ft. 4x4s
- Skill saw or handsaw
- Duct tape
- Level
These materials can be easily found at your local hardware store. The 5-gallon buckets and Quikrete will serve as the base and support for your bench press rack, while the 4x4s will provide the structure.
Here’s a visualization of the materials needed:
| Materials | Quantity |
|---|---|
| 5-gallon buckets | 3 |
| 50lb bags of Quikrete | 3 |
| 8ft. 4x4s | 2 |
| Skill saw or handsaw | 1 |
| Duct tape | 1 roll |
| Level | 1 |
Having these materials ready will ensure a smooth and efficient building process. Now that you have everything you need, let’s move on to the step-by-step instructions to build your own DIY bench press rack.
Step-by-Step Instructions
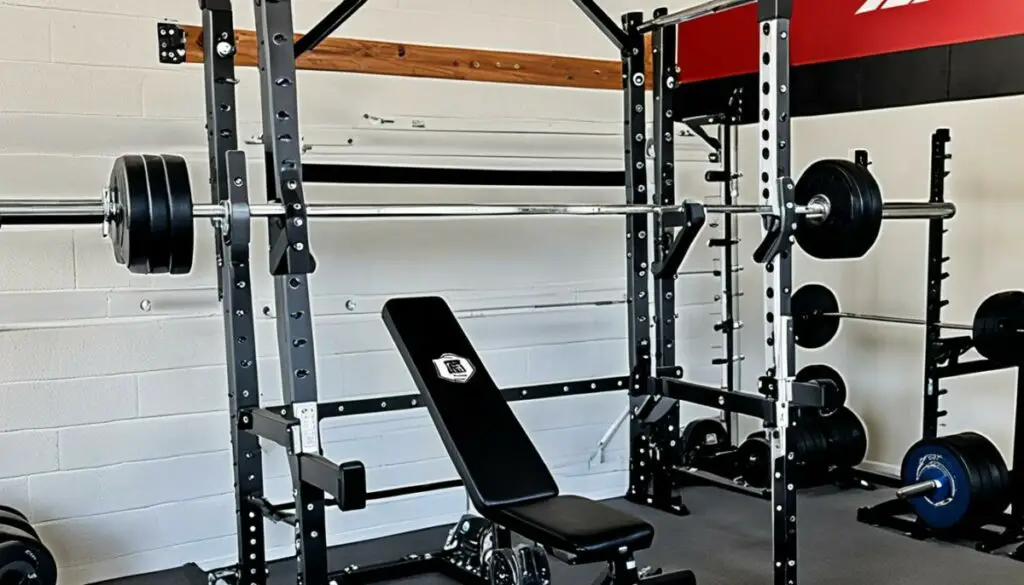
Now that you have gathered all the necessary materials and equipment, it’s time to start building your DIY bench press rack. Follow these step-by-step instructions:
- Begin by preparing the buckets. Cut off the bottoms of the buckets using a skill saw or handsaw. This will create the base for your rack.
- Next, mix the Quikcrete according to the manufacturer’s instructions. Fill each bucket with the mixed Quikcrete, ensuring they are evenly filled.
- Take the 8ft. 4x4s and cut them into four equal pieces, each measuring 2ft in length. These will serve as the uprights of your rack.
- Using duct tape, securely attach one 4×4 to the center of each bucket. Make sure they are level and centered.
- Allow the Quikcrete to dry and set according to the manufacturer’s instructions. This may take several days, so be patient.
- Once the Quikcrete is completely dry and set, your base and uprights should be solid and secure. Ensure everything is level and stable.
- Your DIY bench press rack is now complete! Place a bench between the uprights to create a sturdy and safe platform for your bench press workouts.
With these simple steps, you can now enjoy a homemade bench press rack in the comfort of your own home gym. Get ready to take your workouts to the next level!
Why Use Quikcrete?
Quikcrete is an ideal material for creating the base of your DIY bench press rack for several reasons:
- Strength and Durability: Quikcrete provides a solid and stable foundation that can safely support heavy weights.
- Ease of Use: Mixing and pouring Quikcrete is a straightforward process, even for beginners.
- Availability: Quikcrete is readily available at most hardware stores, making it convenient to purchase.
- Affordability: Quikcrete is a cost-effective option compared to other building materials.
By using Quikcrete, you can ensure the stability and longevity of your DIY bench press rack, allowing you to focus on your workouts with confidence.
| Materials | Quantity |
|---|---|
| 3, 5 gallon buckets | 3 |
| 3, 50lb bags of Quikcrete | 3 |
| 2, 8ft. 4x4s | 2 |
| Skill saw or handsaw | 1 |
| Duct tape | 1 roll |
| Level | 1 |
Tips for Building a DIY Bench Press Rack
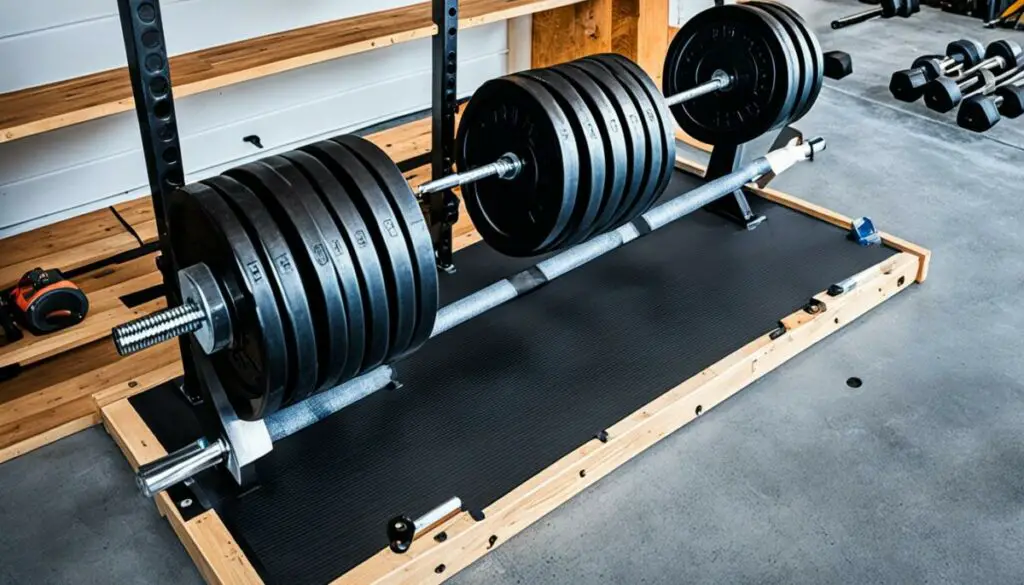
Building your own DIY bench press rack can be a rewarding and fulfilling project. To ensure that your homemade bench press rack is safe, functional, and meets your specific needs, consider the following tips:
1. Plan and Design
Before you start building your DIY bench press rack, take some time to plan and design the rack. Consider the dimensions, materials, and features you want for your rack. This will help you create a clear vision and guide your construction process.
2. Choose the Right Materials
When selecting materials for your bench press rack, opt for sturdy and durable options. Look for high-quality steel or strong lumber that can handle the weight and withstand the pressure of heavy lifting.
3. Ensure Stability
One of the most crucial aspects of a bench press rack is its stability. Make sure your rack is stable and secure by using proper bracing and reinforcement techniques. This will prevent any wobbling or tipping during your workouts, ensuring a safe lifting experience.
4. Customize to Fit Your Needs
One of the advantages of building your own bench press rack is the ability to customize it to your specific requirements. Consider factors such as adjustable features, additional safety bars, and storage options. This will help tailor your rack to suit your unique workout preferences.
5. Prioritize Safety
When building a DIY bench press rack, safety should always be a top priority. Follow proper construction techniques, use appropriate equipment, and ensure that all joints and connections are secure. Regularly inspect your rack for any signs of wear or damage and make any necessary repairs or replacements.
6. Test Your Rack
Before using your homemade bench press rack with heavy weights, it’s essential to test its strength and stability. Gradually increase the weight during your initial workouts to ensure that the rack can handle the load. If you notice any issues or weaknesses, address them promptly for a safer lifting experience.
7. Seek Inspiration and Guidance
Don’t hesitate to seek inspiration and guidance from others who have built their own bench press racks. Browse online forums and DIY communities to gather ideas and learn from their experiences. This can provide valuable insights and help you avoid common pitfalls during the construction process.
Remember, building a DIY bench press rack requires careful planning, attention to detail, and a commitment to safety. By following these tips, you can create a functional and reliable bench press rack that enhances your home gym workouts.
Alternatives to DIY Bench Press Racks
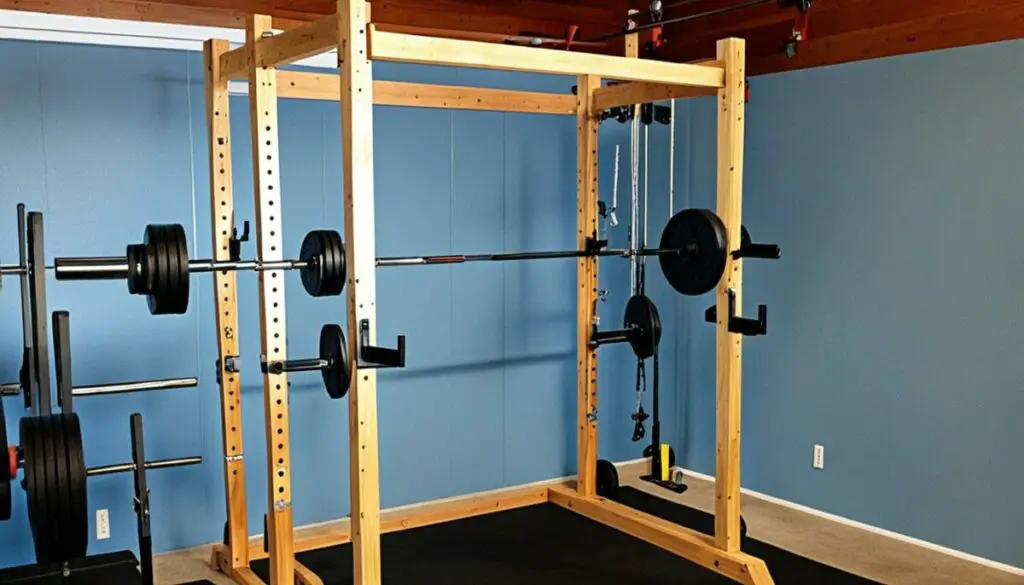
If building your own DIY bench press rack is not your preference, there are other options available. You can purchase pre-made bench press racks or power racks online or at fitness equipment stores. These options may offer more features and durability, but they tend to be more expensive than DIY alternatives.
Pre-Made Bench Press Racks
If you prefer the convenience of a ready-made solution, there are various pre-made bench press racks available on the market. These racks are specifically designed for bench press exercises and are constructed with sturdy materials for added stability. They often come with adjustable safety catches and built-in weight storage, providing ease of use and efficient space management in your home gym.
Power Racks
Another alternative to DIY bench press racks is a power rack. Power racks are versatile pieces of equipment that offer a wide range of exercise options, including bench press. They typically feature adjustable safety bars, plate storage pegs, and attachments for additional exercises. Power racks are known for their robust construction and durability, making them suitable for heavy lifting and intense workouts.
When considering pre-made bench press racks or power racks, be sure to research reputable brands and read customer reviews to ensure you’re getting a quality product that suits your needs.
Benefits of Pre-Made Options
“Pre-made bench press racks and power racks offer convenience and peace of mind. They are designed by professionals to provide optimal safety and functionality, allowing you to focus on your workout without worrying about the stability of your equipment.” – Fitness Expert
While pre-made options may come at a higher price point compared to DIY alternatives, they often come with warranties and professional assembly options, ensuring a hassle-free experience. Additionally, these racks are designed with precise measurements and engineering to provide optimal stability and safety for your lifting sessions.
Ultimately, the choice between DIY bench press racks and pre-made options depends on your budget, skill level, and personal preferences. Both options have their advantages, and it’s important to consider what works best for your specific needs and goals in building your home gym.
Inspiration from DIY Squat Rack Builds
Looking for ideas to build your own DIY bench press rack? Take inspiration from the numerous DIY enthusiasts who have shared their designs for homemade weightlifting racks and other strength training equipment online. By exploring these builds, you can find innovative ideas and creative solutions that suit your specific needs and available space.
Seeing the designs and materials used by others can spark your imagination and help you come up with unique ideas for your DIY bench press rack. Whether you are looking for a simple and minimalist design or a more elaborate setup with additional features, there is bound to be inspiration out there that resonates with your vision and objectives.
One popular approach is to repurpose used materials, such as lumber, steel pipes, or even car parts, to create a custom weightlifting rack. This not only allows you to exercise your creativity but also helps reduce costs by utilizing items that you may already have at home or can find at a lower price.
Another aspect to consider is the layout of your gym and the available space. Some enthusiasts have built space-saving racks that are compact yet sturdy, making them ideal for smaller home gyms or garage setups.
Notable DIY Squat Rack Builds
To provide you with some inspiration, here are a few notable DIY squat rack builds:
-
Build description and key features
-
Materials used
-
Estimated cost
-
Difficulty level
Lessons from DIY Squat Rack Builds
By examining these DIY squat rack builds, you can gain valuable insights and learn from the experiences of others. Consider the design choices, strengths, and limitations of each build, and think about how they align with your own goals and requirements.
“I was inspired by XYZ’s squat rack design to create my own using reclaimed lumber. It’s a sturdy rack that perfectly fits my garage gym and provides me with a safe and reliable platform for my bench press workouts. Plus, the feeling of accomplishment from building it myself is unbeatable!”
Remember, the key is to adapt these designs to suit your needs and available resources. You can modify measurements, incorporate additional safety features, or even combine elements from multiple designs to create a bench press rack that is truly unique.
Safety Measures for DIY Bench Press Racks
When building and using a DIY bench press rack, it is important to prioritize safety. Proper installation and maintenance are crucial to ensure safe lifting during your workouts. Here are some key safety measures to keep in mind:
1. Stability and Leveling
Before using your DIY bench press rack, make sure it is stable and level. Uneven surfaces or instability can lead to accidents and injuries. Use a level to ensure the rack is positioned correctly and adjust as necessary.
2. Proper Form and Technique
Always prioritize proper form and technique when lifting weights on your bench press rack. Correct form helps prevent strain or injury to your muscles and joints. If you are unsure about the correct technique, consider consulting a fitness professional for guidance or watching instructional videos.
3. Weight Capacity
Be aware of the weight capacity of your DIY bench press rack. Overloading the rack with more weight than it can handle may result in structural damage and potential injury. Follow the manufacturer’s guidelines or consult reliable sources for information on weight limits.
4. Regular Inspection and Maintenance
Regularly inspect your bench press rack for any signs of wear or damage. Check for loose bolts, cracks, or any other potential safety hazards. Make sure all components are properly tightened and secured. If you identify any issues, make the necessary repairs or replacements before using the rack again.
5. Spotter or Safety Bars
If you are lifting heavy weights, it is advisable to have a spotter present. A spotter can assist you during your lifts, providing an extra layer of safety. Alternatively, consider using safety bars or spotter arms as a precautionary measure to protect yourself in case you can’t complete a lift.
“Safety is paramount when working out with any equipment. Taking these precautions will help ensure a safe and effective bench press workout on your DIY rack.” – Fitness Expert
Conclusion
Building your own DIY bench press rack can be a rewarding and cost-effective way to enhance your home gym. By following the step-by-step instructions and considering safety measures, you can create a custom rack that meets your needs and allows you to lift safely.
Having a bench press rack in your home gym is a valuable addition. It provides you with a dedicated space to perform one of the most effective upper body strength exercises. Whether you choose to build your own or purchase a pre-made option, the benefits remain the same.
With a DIY bench press rack, you have the freedom to customize it to your specific requirements. You can choose the size, height, and additional features that cater to your workout routine. This level of personalization can greatly impact your overall training experience.
Enhance your strength training workouts by investing in a bench press rack for your home gym. Whether it’s a DIY project or a pre-made purchase, this piece of equipment will improve your ability to perform bench presses and other exercises safely and effectively.
FAQ
What are the benefits of building your own DIY bench press rack?
Building your own DIY bench press rack allows you to customize the rack to fit your specific needs and preferences. It also saves you money compared to purchasing a pre-made option and gives you the satisfaction of creating something with your own hands.
What materials and equipment do I need to build a DIY bench press rack?
To build a DIY bench press rack, you will need 3, 5-gallon buckets, 3, 50lb bags of Quikrete, and 2, 8ft. 4x4s. You will also need a skill saw or handsaw, duct tape, and a level.
What are the step-by-step instructions for building a DIY bench press rack?
Follow these steps to build your own DIY bench press rack:
1. Dig holes for the buckets and place them securely in the ground.
2. Mix and pour Quikrete into the buckets, making sure they are level.
3. Cut the 4x4s to your desired height and attach them securely to the buckets.
4. Use duct tape to enhance stability and prevent movement.
5. Ensure the rack is stable and level before using it.
What tips should I keep in mind when building a DIY bench press rack?
Here are some tips for building a DIY bench press rack:
– Take accurate measurements and plan your design beforehand.
– Use quality materials that can withstand heavy weights.
– Reinforce the rack’s stability by adding additional supports if needed.
– Regularly inspect and maintain the rack for any signs of wear or damage.
Are there alternatives to building a DIY bench press rack?
Yes, you can purchase pre-made bench press racks or power racks online or at fitness equipment stores. However, these options tend to be more expensive than DIY alternatives.
Where can I find inspiration for my DIY bench press rack?
Many DIY enthusiasts have shared their builds for squat racks and other strength training equipment online. These builds can serve as inspiration for your own DIY bench press rack. Look for designs and materials used by others that suit your specific needs and space.
How can I ensure the safety of my DIY bench press rack?
To prioritize safety when building and using a DIY bench press rack, make sure the rack is stable and level before using it. Always use proper form and technique when lifting weights. Regularly inspect the rack for any signs of wear or damage and make necessary repairs or replacements.

