Last Updated on 5 months by Francis
Welcome to the mesmerizing world of infrared photography! Unlike traditional photography, infrared photography captures invisible light and reveals a stunning new perspective on the world around us. In this comprehensive guide, you’ll learn all the techniques, camera settings, and tips you need to capture breathtaking infrared images easily.
Whether you’re an experienced photographer or a beginner, this guide will help you take your infrared photography to the next level. From understanding the fundamentals of infrared light to mastering advanced shooting techniques, you’ll discover everything you need to know to create stunning infrared images that will take your breath away.
Contents
Key Takeaways
- Learn the fundamentals of infrared light and how it affects photography.
- Discover the best equipment, including cameras, lenses, and filters, for capturing infrared light.
- Explore techniques for preparing for infrared photography, including subject selection and composition.
- Master shooting techniques, including understanding exposure settings and utilizing different shooting methods.
- Learn tips and tricks for post-processing infrared photos to bring out their full potential.
Understanding Infrared Light
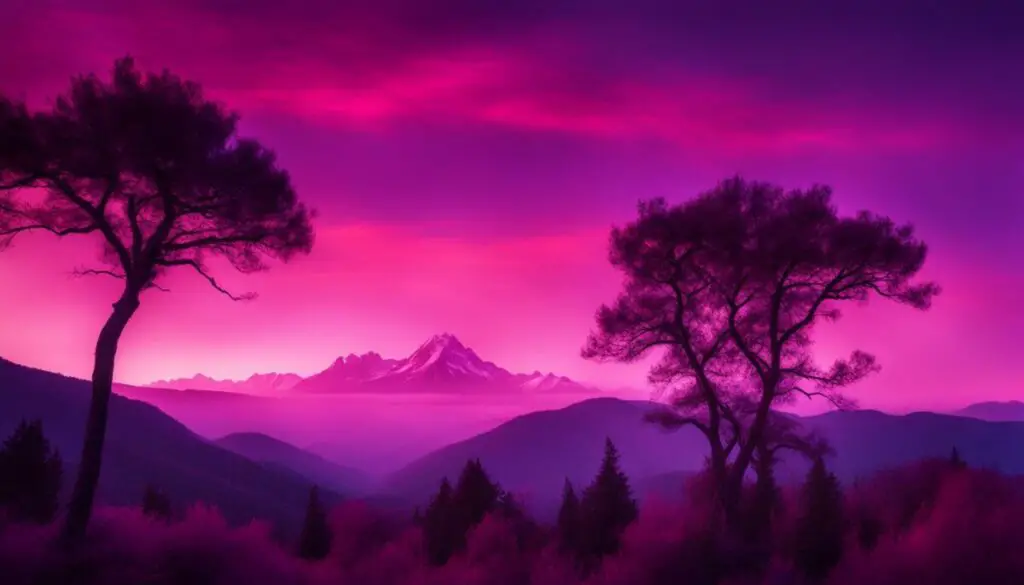
Before you dive into the exciting world of infrared photography, it’s essential to understand what infrared light is and how it affects photography.
The human eye can detect only a small portion of the electromagnetic spectrum, but infrared light falls beyond this visible range and is therefore invisible to the naked eye. Infrared radiation is characterized by longer wavelengths than visible light, which allows it to pass through some materials that visible light cannot penetrate.
When it comes to photography, capturing infrared images requires specialized equipment that allows the camera to detect infrared light. Infrared photography can produce some stunning and unique images, but they often require editing to enhance their visual impact.
Infrared Photography Guide
To get started with infrared photography, it’s essential to have a good understanding of the types of infrared light and the techniques for capturing and editing infrared images.
There are three types of infrared light that are commonly used in infrared photography:
- Near-Infrared (NIR): This type of infrared light is closest to the visible light spectrum and is often used for landscape photography. NIR images have a reddish or pinkish hue and require the least editing.
- Short-Wave Infrared (SWIR): This type of infrared light is often used for scientific or industrial purposes and requires specialized cameras to capture images.
- Thermal Infrared (TIR): This type of infrared light is often used for thermal imaging and requires specialized cameras to capture images.
Infrared Photo Editing
Infrared images require some degree of post-processing to bring out their full potential. There are various editing techniques that you can use to enhance your infrared photos, such as adjusting the white balance, contrast, and saturation levels. The goal is to achieve a balance between the visual impact of the image and maintaining its natural look and feel.
One of the key challenges of editing infrared images is the presence of hotspots, which are bright spots that can appear in the image where the infrared light is most intense. Removing hotspots can be tricky, but it’s essential to ensure that your final image is aesthetically pleasing.
“Infrared photography allows you to capture a unique perspective of the world around us, revealing details and textures that are invisible to the naked eye. With the right equipment and techniques, you can create stunning and captivating infrared images.”
Now that you have a better understanding of infrared photography and its potential, it’s time to explore the equipment needed for successful infrared photography. Section 3 will cover everything you need to know about choosing the right equipment for capturing stunning infrared images.
Choosing the Right Equipment
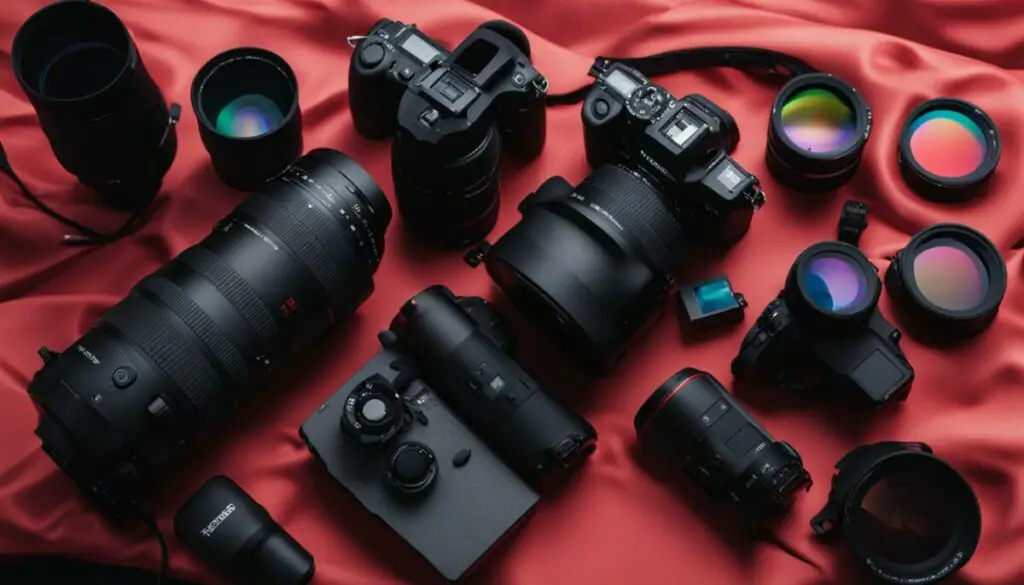
Successful infrared photography heavily depends on selecting the right equipment. Not all cameras, lenses, or filters are suitable for capturing infrared light. Here are some essential factors to consider when choosing the right infrared photography equipment:
| Equipment | Recommendations |
|---|---|
| Camera | Choose a camera that can be converted to infrared or has the ability to shoot it natively. Many photographers prefer converting an old camera to infrared to save money. When choosing an unconverted camera, look for one with good live view capabilities for easier focusing. |
| Lens | Suitable lenses for infrared photography are those that transmit infrared light well and produce minimal hotspots. Wide-angle lenses are particularly popular for capturing infrared landscapes. Consider investing in an infrared-specific lens if you plan to shoot frequently in this style. |
| Filters | Filters are crucial for blocking visible light and allowing only infrared wavelengths to reach the camera sensor. Consider investing in a high-quality filter that has a consistent transmission rate across the entire infrared spectrum. |
Once you have the right equipment, it’s time to adjust your camera settings to optimize your results. Most cameras have built-in settings for white balance, but these may not be suitable for capturing infrared light. You’ll need to tweak these settings to achieve the desired effect. Here are some tips for adjusting your camera settings:
- Switch your camera to manual mode with a low ISO.
- Increase exposure time to compensate for the low light infrared conditions.
- Use live view to focus, as autofocus may not be reliable in infrared.
Choosing the right equipment is only the beginning of your infrared photography journey. In the next section, we’ll provide tips on how to prepare yourself and your subject matter to ensure a successful infrared shoot.
Preparing for Infrared Photography
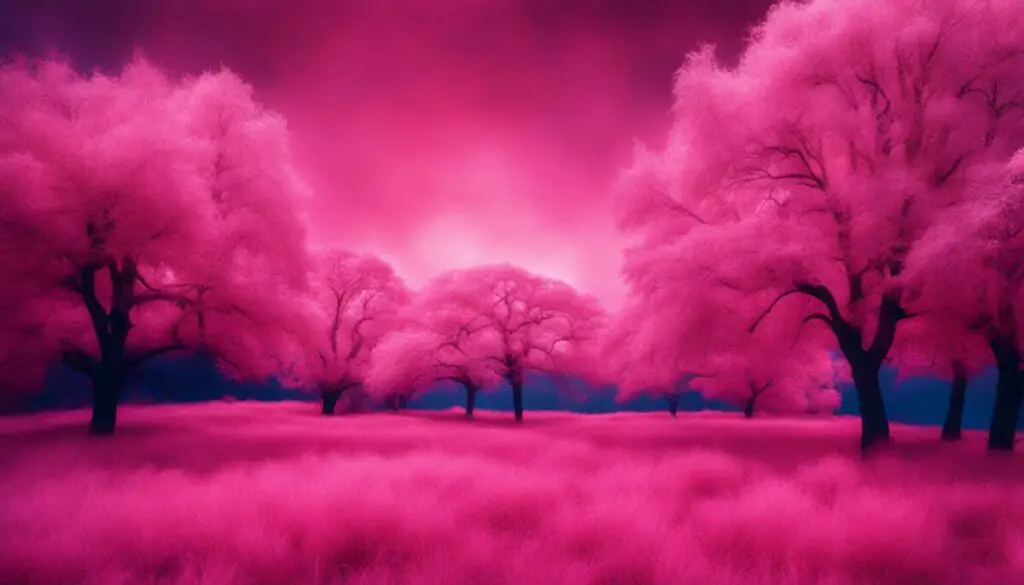
Before you head out to capture infrared images, it’s essential to prepare adequately. The right preparation will ensure that you’re set up for success and that you get the most out of your session. Here are some infrared photography techniques and tips to help you:
Choose the Right Time of Day
When it comes to infrared photography, the best time of day to shoot is usually during midday when the sun is high in the sky. This is because infrared light is most intense during this time, which means you’ll get the best results.
Select the Right Subject Matter
Some subjects work better than others when it comes to infrared photography. Green foliage, for example, reflects a lot of infrared light, making it appear white in your images. Choose a subject with a lot of green foliage to get stunning results. Other suitable subjects could include landscapes and architecture.
Understand Composition
Composition is essential when it comes to capturing beautiful infrared photos. Be mindful of elements such as lines, patterns, and textures to create visually appealing images. Experiment with different angles, focal lengths, and perspectives to showcase your subject in an interesting way.
Use a Tripod
Infrared photography often requires slower shutter speeds, which increases the risk of camera shake. To prevent blurry images, use a tripod to stabilize your camera. This will help you capture sharp, crisp images even in low light settings.
Check Your Camera Settings
Before you start shooting, ensure that your camera settings are optimized for infrared photography. You will need to switch your camera to manual mode and adjust the white balance settings to “custom”. Additionally, make sure to set your ISO low to minimize digital noise and adjust your shutter speed based on the lighting conditions.
By following these infrared photography tips and techniques, you’ll be well on your way to capturing stunning images that showcase the unique beauty of infrared light.
Shooting Infrared Pictures
Now that you’re familiar with the various techniques and camera settings, it’s time to start shooting infrared pictures. Whether you’re interested in capturing surreal landscapes or unique portraits, follow these steps to take stunning infrared photos.
Step 1: Choose the Right Subject
Select a subject that will highlight the unique qualities of infrared light. Look for subjects with contrasting colors or textures, such as foliage against a clear sky. Consider shooting during different times of the day to capture a diverse range of infrared images.
Step 2: Adjust Your Camera Settings
Set your camera to manual mode and adjust the white balance and exposure settings. Use a wide aperture to achieve a shallow depth of field, and adjust the shutter speed to avoid overexposure. Keep in mind that these settings may vary depending on the type of camera and infrared filter you’re using, so experiment to find what works best for you.
Step 3: Use the Right Filters
Choose the appropriate filters for your infrared photography. A standard infrared filter will block visible light, allowing only infrared light to pass through. A deep black filter will block both visible and infrared light, resulting in a more dramatic effect. Experiment with different filters to create various infrared effects.
Step 4: Utilize Different Shooting Techniques
Explore various shooting techniques to capture unique infrared images. Try using a tripod for long exposures, or experiment with different angles and perspectives. Consider shooting in both color and black and white to showcase the different qualities of infrared light.
Remember, practice makes perfect when it comes to infrared photography. Take your time to experiment with different techniques and settings to find what works best for you. With time and patience, you’ll be able to capture breathtaking infrared photos.
Post-Processing Infrared Photos
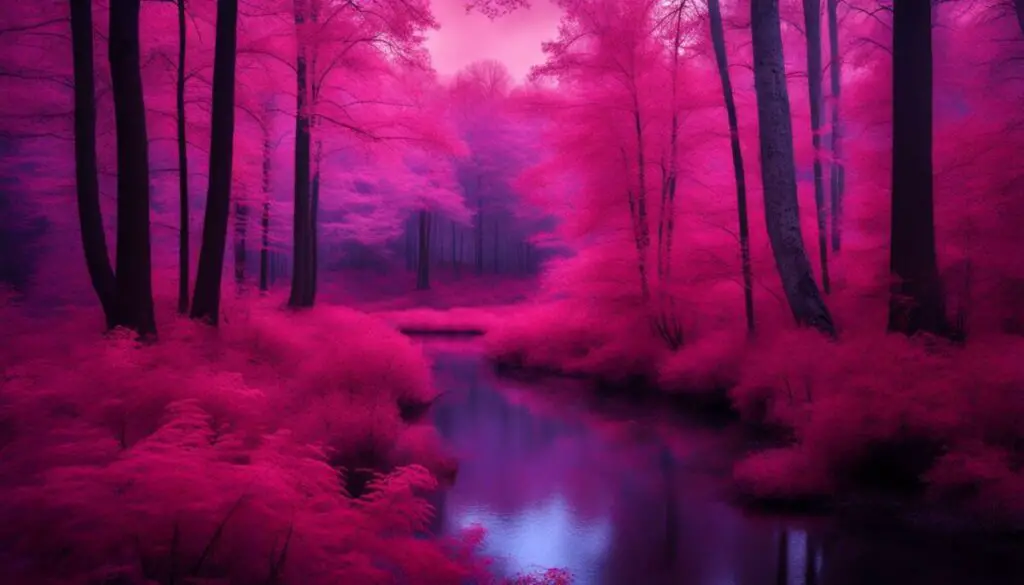
Post-processing is an essential step in creating stunning infrared images. In this section, we’ll explore various editing techniques and software options to help you enhance your images and bring out their full potential.
Infrared Photo Editing Techniques
One of the most common post-processing techniques used in infrared photography is channel swapping. Swapping the red and blue channels can result in striking colors and tones, adding depth and dimension to your images. Other editing techniques include adjusting contrast, saturation, and levels, as well as using filters and presets specifically designed for infrared photography.
When editing your infrared images, it’s essential to pay attention to the details. Fine-tune your images by correcting any hotspots, adjusting white balance, and removing any unwanted artifacts or blemishes. Remember to keep subtlety in mind, as over-editing can quickly ruin the natural beauty of your infrared images.
Software Options for Infrared Photo Editing
There are several software options available for post-processing your infrared images. Adobe Photoshop and Lightroom are popular choices, offering a range of editing tools and presets specifically designed for infrared photography. Other options include GIMP, Capture One Pro, and Alien Skin Exposure.
| Software | Pros | Cons |
|---|---|---|
| Adobe Photoshop | Extensive editing tools and presets, widely used and supported | Costly subscription model, steep learning curve for beginners |
| Lightroom | Intuitive interface, non-destructive editing, affordable subscription model | Less extensive editing tools compared to Photoshop |
| GIMP | Free and open-source, customizable interface | Less user-friendly compared to commercial software options |
| Capture One Pro | Powerful editing tools, RAW processing capabilities | Relatively expensive, less intuitive interface |
| Alien Skin Exposure | Extensive preset library, intuitive interface | Relatively expensive, limited editing tools compared to other options |
When choosing software, consider your level of experience, budget, and editing needs. It’s also essential to ensure that the software is compatible with your camera’s RAW file format.
Preserving Image Quality
When editing your infrared images, it’s crucial to preserve their quality and resolution. Save your images in a lossless file format such as TIFF or PSD to avoid compression artifacts. It’s also important to avoid over-sharpening and compressing your images, which can lead to loss of detail and quality.
With the right editing techniques and software, you can transform your infrared images into breathtaking works of art. Remember to experiment and explore different editing options to find the style that best suits your vision and creative expression.
Creative Applications for Infrared Photography
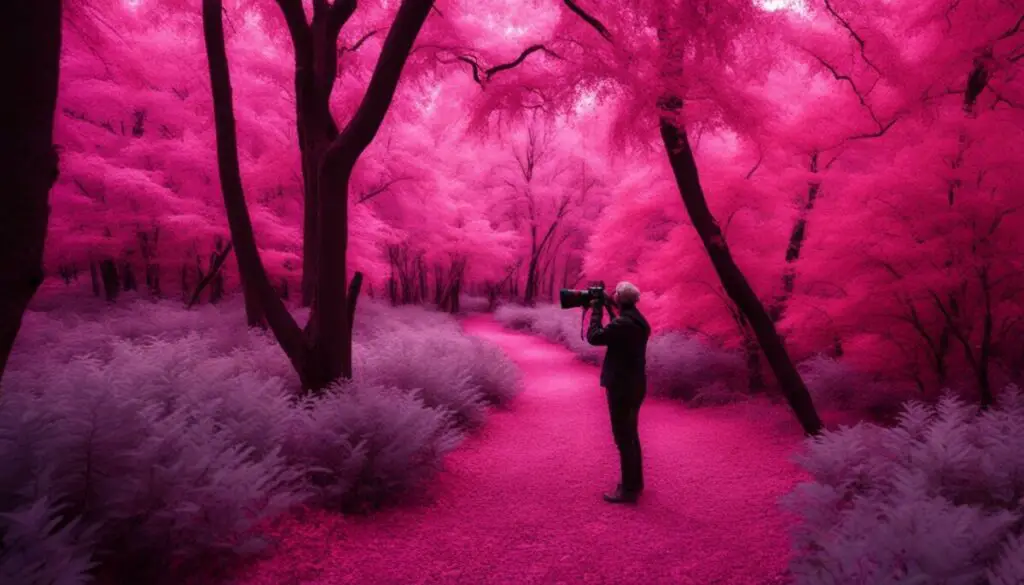
Infrared photography allows you to capture stunning images that are not visible to the human eye. This opens up a world of creative possibilities that can transform ordinary scenes into extraordinary works of art. Here are some creative applications for capturing infrared images.
Landscape Photography
Infrared photography can create stunning landscape photos that emphasize the texture and detail of the natural world. By capturing the infrared light reflecting off of leaves, grass, and other vegetation, you can create a surreal, dreamlike effect. Try shooting during golden hour or experiment with long exposures to create even more dramatic images.
Portrait Photography
Infrared photography can also be used to create unique and compelling portraits. Because infrared light is not visible to the human eye, skin tones and other features appear differently in infrared photos compared to traditional photos. The result is a haunting, ethereal quality that can make your portraits stand out.
Abstract Photography
Infrared photography is also well-suited for abstract photography. By capturing the invisible light reflecting off of various surfaces, you can create otherworldly images that blur the lines between reality and fantasy. Play with composition and experiment with different light sources to create truly unique and captivating images.
Whether you’re an experienced photographer or just starting out, infrared photography is a fascinating and rewarding technique to explore. With the right equipment and a creative eye, the possibilities are endless.
Overcoming Challenges in Infrared Photography
While infrared photography can produce stunning results, it also presents its own unique set of challenges. Here are some tips to help you overcome these obstacles:
Hotspots
Hotspots are bright white spots that often occur in the center of your image. This happens because some lenses are more prone to reflecting infrared light back onto the sensor. To avoid hotspots, you can try using a different lens or aperture setting, or simply move the hotspot out of the center during post-processing.
Lens Flare
Lens flare can be a problem when shooting infrared photos, especially if you’re shooting towards the sun. To avoid lens flare, try using a lens hood or shooting from an angle that doesn’t include the sun in the frame.
White Balance
White balance can be tricky in infrared photography, as the camera’s automatic white balance settings won’t be accurate due to the different wavelength of infrared light. To avoid color casts, try setting a custom white balance or adjust it during post-processing.
Use a Tripod
Longer exposures are often used in infrared photography, which can make the image more prone to blur. To keep your image sharp, use a tripod or another stabilizing device.
Experiment with Filters
Experimenting with different filters can help you achieve different results in infrared photography. For example, using a yellow filter can help improve contrast in foliage, while a red filter can create more dramatic skies.
Practice Makes Perfect
Like any other form of photography, practice is essential for success. Keep experimenting and trying new things to hone your skills in infrared photography.
Exploring Advanced Techniques
If you’re passionate about infrared photography and want to elevate your skills to the next level, exploring advanced techniques is the perfect way to do it. Through experimentation and practice, you can unlock your creative potential and capture breathtaking images that are truly unique.
Infrared Photography Tutorial
One of the best ways to learn advanced infrared photography techniques is through online tutorials. There are several resources available that can help you gain insights into new shooting techniques, post-processing tricks, and other creative approaches to infrared photography.
One technique that is particularly popular among infrared photographers is long exposure photography. This technique involves using a slow shutter speed to capture stunning images of landscapes, seascapes, and other outdoor scenes. By experimenting with different exposure times, you can create beautiful, dreamy images with a surreal quality.
Infrared Photography Equipment
Another way to take your infrared photography to the next level is by investing in specialized equipment. While you can take infrared photos with any camera, certain cameras, lenses, and filters are specifically designed for capturing infrared light.
Some popular infrared photography equipment includes:
| Equipment | Description |
|---|---|
| IR-Converted Camera | A camera that has been modified to capture infrared light. |
| Infrared Lens | A lens that is optimized for capturing infrared light. |
| Infrared Filter | A filter that blocks visible light and only allows infrared light to pass through. |
When choosing your equipment, it’s important to consider your photography goals and budget. While specialized equipment can be expensive, it can also produce stunning results that are impossible to achieve with regular cameras and lenses.
By exploring advanced techniques and investing in the right equipment, you can take your infrared photography to the next level and create unique and stunning images that capture the magic of invisible light.
Conclusion
Congratulations on reaching the end of this comprehensive guide to infrared photography! Armed with this knowledge, you’re ready to unlock the secrets of capturing stunning infrared images.
Remember, understanding the fundamentals of infrared light, selecting the right equipment, and taking the time to prepare are essential for success in infrared photography. Use the tips and techniques outlined in this guide to elevate your skills and capture the unique beauty of the world around you.
Continue to Experiment
Don’t be afraid to experiment with different shooting and editing techniques to create truly one-of-a-kind infrared photos. The creative possibilities with infrared photography are endless, so let your imagination run wild!
Finally, share your stunning infrared images with the world! Post your photos on social media and share them with photography groups to receive valuable feedback and recognition for your work.
Thank you for taking this journey with us, and happy shooting!
FAQ
How to take infrared photos?
To take infrared photos, you’ll need a camera that has been converted to capture infrared light or an infrared filter. Set your camera to manual mode and adjust the white balance to the appropriate setting for infrared. Experiment with different exposure settings and shooting techniques to achieve the desired effect.
What are the camera settings for infrared photography?
When shooting infrared photos, it’s recommended to use a low ISO setting, typically around 100 or 200, to minimize noise. Set your camera to manual mode and adjust the shutter speed and aperture based on the lighting conditions and desired depth of field. Experiment to find the optimal settings for your specific camera and infrared filter.
How does infrared light affect photography?
Infrared light is invisible to the naked eye but can be captured by specially modified cameras or filters. Infrared light can create a unique, ethereal look in photographs, with foliage appearing white or light-toned and the sky taking on a dark, dramatic tone. Understanding how infrared light interacts with your camera and adjusting your settings accordingly can result in striking images.
What equipment do I need for infrared photography?
For infrared photography, you’ll need either a camera that has been converted to capture infrared light or an infrared filter that can be used with a standard camera. Additionally, consider using a tripod to ensure stability and reduce the risk of camera shake, especially when using longer shutter speeds.
How do I edit infrared photos?
Editing infrared photos often involves adjusting the white balance, enhancing contrast, and fine-tuning the colors to achieve the desired look. Dedicated software such as Adobe Photoshop or Lightroom can be used for infrared photo editing. Experiment with different settings and techniques to bring out the unique qualities of your infrared images.
What are the challenges in infrared photography?
Infrared photography comes with its own set of challenges. Some common issues include hotspots, lens flare, and white balance discrepancies. It’s important to be aware of these challenges and learn how to overcome them through proper camera settings, lens selection, and editing techniques.
What are some creative applications for infrared photography?
Infrared photography allows for a range of creative applications. It can be used to capture stunning landscape images with otherworldly qualities, create unique portraits that emphasize the subject’s features, or produce abstract and artistic images. Explore different subject matter and experiment with composition to unleash your creativity.
What are some advanced techniques in infrared photography?
Once you have mastered the basics of infrared photography, you can explore advanced techniques such as long exposure infrared photography and panorama stitching. Long exposures can create a dreamy effect, while panorama stitching allows you to capture expansive infrared landscapes. Experiment with these techniques to push the boundaries of your infrared photography skills.
How do I overcome white balance issues in infrared photography?
White balance can be challenging in infrared photography due to the unique way infrared light is captured. It’s recommended to shoot in RAW format and adjust the white balance during post-processing to achieve accurate colors. This can be done using software tools such as Adobe Camera Raw or Lightroom, where you can adjust the temperature and tint to achieve the desired result.

