Last Updated on 6 months by Francis
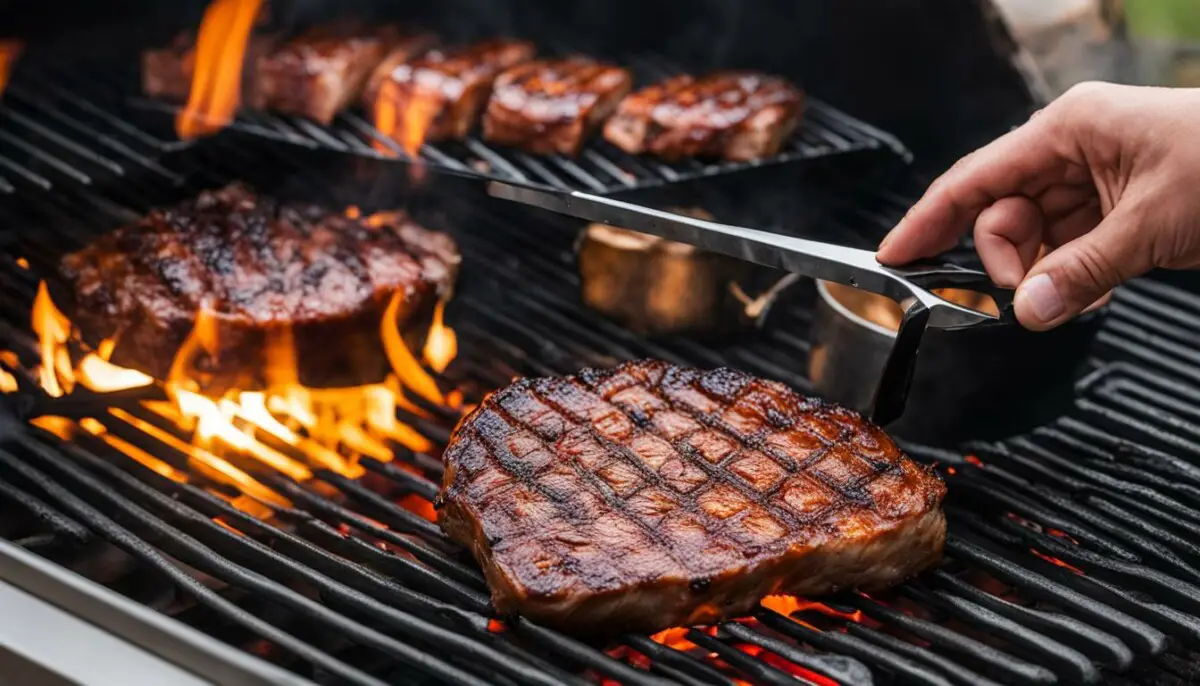
If you’re an avid griller, you know that the perfect sear is what takes your dishes from good to great. But achieving that restaurant-quality crust on your steaks, burgers, and other grilled meats can be easier said than done. That’s where an infrared searing burner comes in.
Using this technique on your grill can give you the sear you’ve been dreaming of, all while cooking your meats faster and more evenly. But before you start, it’s important to understand how to use an infrared searing burner effectively and safely.
In this article, we’ll dive into the technology behind infrared searing burners, guide you through the process of preparing your grill for searing, and share expert tips and techniques for achieving that perfect crust. Plus, we’ll discuss the benefits of using this method, explore different cooking techniques, and even provide some recipe inspiration.
Contents
Key Takeaways:
- Using an infrared searing burner can give you restaurant-quality sear on your grilled meats.
- Proper preparation and safety precautions are crucial for using an infrared searing burner effectively.
- Using an infrared searing burner offers several advantages, including faster cooking times, better heat distribution, and enhanced flavor development.
- There are a variety of cooking methods you can try with an infrared searing burner, from direct searing to smoking.
- Proper maintenance is key for keeping your infrared searing burner in top shape.
Understanding Infrared Searing Burner Technology
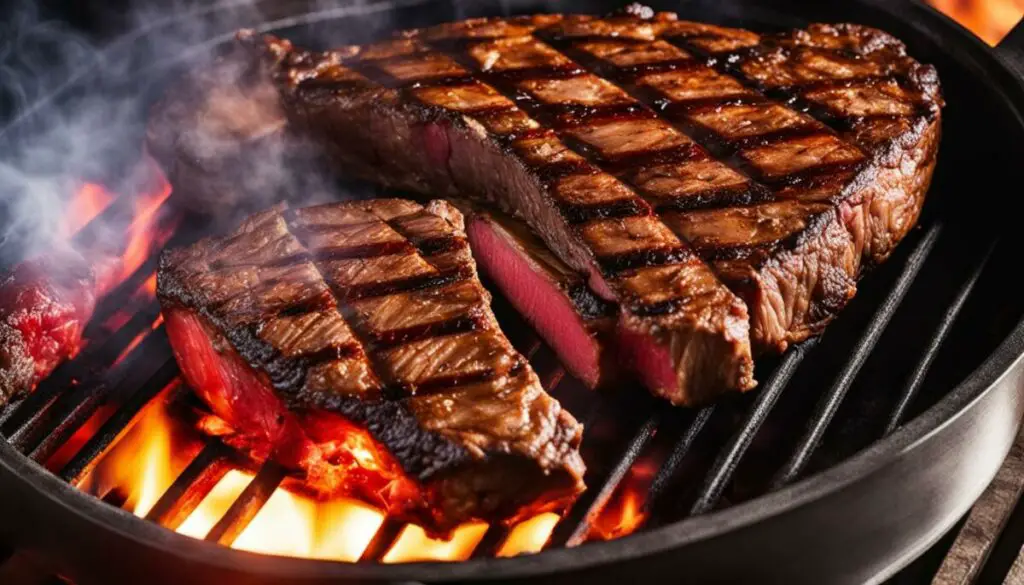
If you want to take your grilling game to the next level, understanding the technology behind infrared searing burners is essential. These innovative burners use infrared radiation to produce intense heat that can quickly and evenly sear your meats, delivering a restaurant-quality sear right at home.
So, what makes infrared searing burners so special? Unlike traditional gas burners that heat the air surrounding your food, infrared burners directly transfer heat energy to the surface of your meat. This results in a much hotter cooking surface, which is perfect for achieving that coveted crust on your steaks, burgers, and other meats.
Best Practices for Using Infrared Searing Burner
While using an infrared searing burner may seem intimidating at first, following a few best practices can help you achieve perfect results every time. Here are some tips to keep in mind:
- Preheat your infrared burner for at least 10 minutes before using it. This will ensure that the burner is evenly heated and ready to sear your meat.
- Use high-quality cuts of meat that are at least 1 inch thick.
- Keep a close eye on your meat as it cooks, as the intense heat can cause it to cook faster than you might expect.
- Be careful not to overcook your meat. Infrared searing burners are perfect for achieving a crusty exterior while keeping the inside of your meat juicy and tender.
Infrared Searing Burner Techniques
There are a few techniques you can use to maximize the benefits of your infrared searing burner:
- Direct Searing: This is the classic technique for using an infrared searing burner. Simply place your meat directly over the burner and sear for 1-3 minutes per side, depending on the thickness of your meat.
- Indirect Grilling: If you’re cooking thicker cuts of meat, you may want to try indirect grilling. This involves searing your meat over the infrared burner and then moving it to the cooler side of the grill to finish cooking. This allows your meat to cook more slowly and evenly, ensuring that the inside is cooked to perfection.
- Smoking: Infrared searing burners can also be used for smoking meats. Simply add some wood chips to your grill and let them smoke for a few minutes before searing your meat as usual. This will infuse your meat with a delicious smoky flavor.
By following these tips and techniques, you’ll be well on your way to mastering the art of using an infrared searing burner on your grill. With a little practice, you’ll be able to achieve perfect sears on all your favorite meats, impressing your friends and family every time.
Preparing Your Grill for Infrared Searing
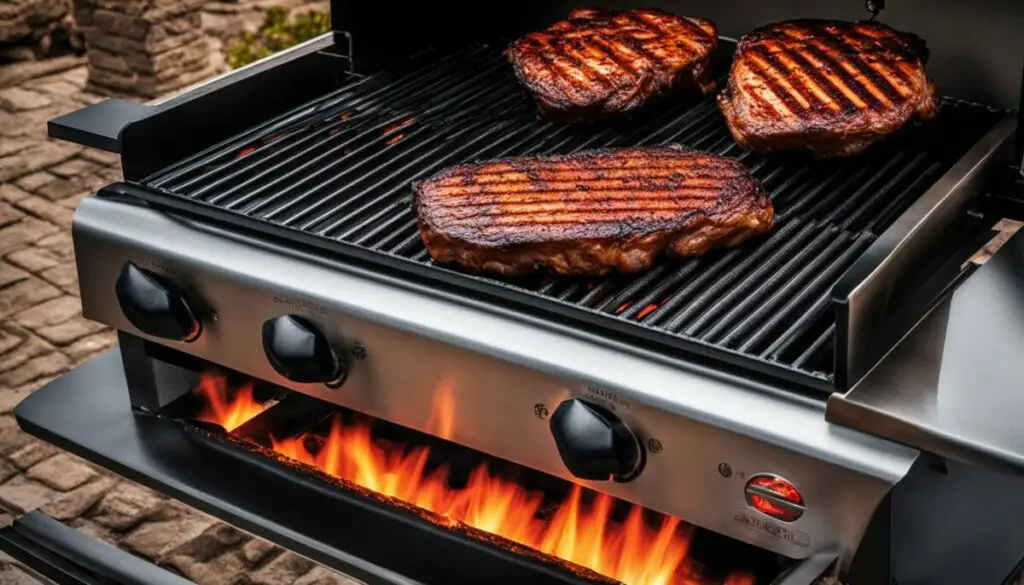
Before you start using your infrared searing burner, it’s important to properly prepare your grill. Here are some important instructions to follow:
- Clean your grill grates: Use a grill brush to remove any debris or leftover food particles on the grates. Then, wipe them clean with a damp cloth.
- Remove any excess grease: Use a paper towel to wipe away any excess grease or oil from the grates to prevent flare-ups.
- Adjust the height of the infrared searing burner: Depending on the type of grill you have, you’ll need to adjust the height of the infrared searing burner. Refer to the manufacturer’s instructions to ensure proper placement.
Once your grill is properly prepped, you’re ready to start using your infrared searing burner. Keep in mind that this type of burner reaches high temperatures quickly, so it’s important to follow safety precautions to avoid any accidents.
Safety Precautions When Using Infrared Searing Burner
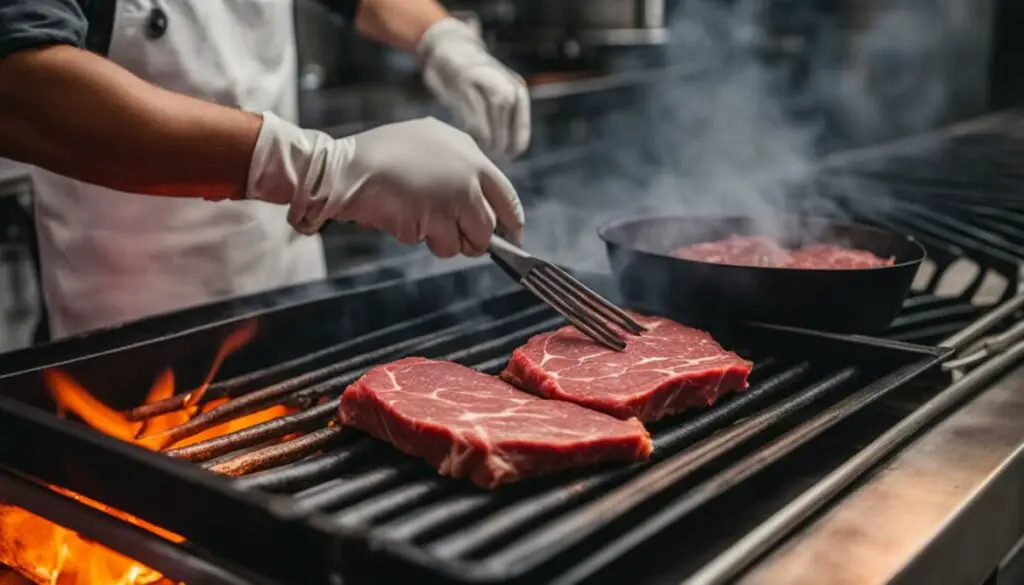
When it comes to grilling, safety should always be a top priority. The high temperatures produced by an infrared searing burner can pose a risk if not handled properly. Here are some essential safety precautions to keep in mind when using this type of burner:
- Handle with care: The searing burner can reach temperatures upwards of 700 degrees Fahrenheit, so always use caution when handling it. Wear heat-resistant gloves and avoid touching the grate or burner when it’s hot.
- Keep the lid open: Infrared searing burners require proper ventilation to prevent flare-ups and ensure even cooking. Keep the lid of your grill open while searing to allow for proper airflow.
- Avoid flare-ups: Grease and fat drippings can ignite when they come into contact with the searing burner. To minimize the risk of flare-ups, trim excess fat from your meat and use a drip tray to catch any drippings.
- Use indirect heat: Infrared searing burners are designed for direct high-heat cooking, but it’s important to also utilize indirect heat. Keep one side of the grill cooler than the other to prevent overcooking and burning.
- Clean regularly: Regular cleaning of your infrared searing burner is crucial for both safety and performance. Remove any debris and grease buildup after each use and inspect the burner for any signs of damage.
By following these safety precautions, you can enjoy the benefits of using an infrared searing burner without putting yourself or your guests at risk.
Infrared Searing Burner Tips and Techniques for the Perfect Sear
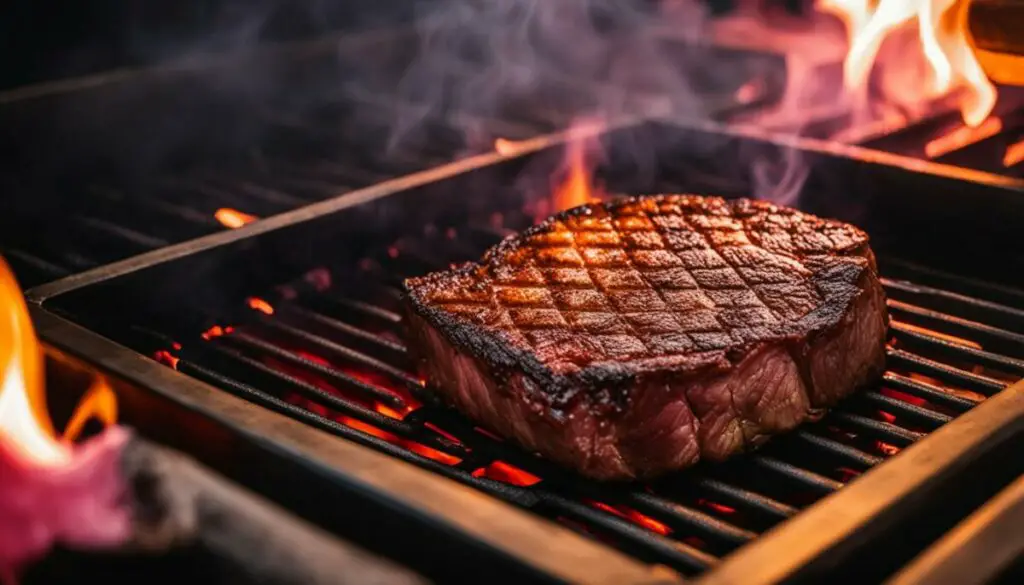
Using an infrared searing burner is an efficient way to achieve a perfect sear on your grilled meats. Here are some expert tips and techniques to help you get the most out of your infrared searing burner:
- Pat your meat dry: Before placing your meat on the grill, make sure to pat it dry with a paper towel. This will help ensure a crispy sear.
- Preheat the burner: It’s essential to preheat your infrared searing burner to high for at least 10-15 minutes before placing your meat on the grill. This will ensure that the burner is at the correct temperature and will give your meat a beautiful crust.
- Use the right cut of meat: The thickness of the meat is essential for the perfect sear. Choose cuts like ribeye, strip steak, or filet mignon that are at least one inch thick.
- Don’t move the meat: Once you place your meat on the grill, avoid moving it around. Let it sit for a few minutes to sear and develop a crust before flipping it.
- Flip only once: Resist the urge to flip your meat too often. Flipping it once will allow it to cook through evenly while still achieving a nice sear.
- Keep the lid open: When using an infrared searing burner, it’s best to keep the grill lid open. This will prevent excessive smoke buildup and ensure that your meat stays juicy.
- Rest the meat: After removing your meat from the grill, let it rest for a few minutes before slicing. This will help the juices redistribute, resulting in a more tender and flavorful final product.
By following these tips and techniques, you’ll be well on your way to achieving the perfect sear with your infrared searing burner.
Expert Tip:
For an added flavor boost, consider using a marinade or dry rub before grilling. This will impart extra flavor to your meat and help it achieve an even more delicious crust.
Infrared Searing Burner Benefits
Using an infrared searing burner can offer several advantages over traditional grilling methods. Here are some of the benefits:
- Faster cooking times: Infrared searing burners can reach higher temperatures much faster than traditional burners, allowing you to cook your food more quickly.
- Better heat distribution: The intense heat of an infrared searing burner provides even heat distribution, eliminating hot spots on your grill. This ensures that your food is cooked evenly and to perfection.
- Enhanced flavor development: The high heat of an infrared searing burner caramelizes the natural sugars in your food and creates a crisp, flavorful crust. This enhances the overall taste and texture of your grilled meats and vegetables.
- Energy efficient: Infrared searing burners use less energy than traditional burners, making them a more eco-friendly choice for grilling.
- Versatility: Infrared searing burners can be used for various cooking techniques, from direct searing to indirect grilling and even smoking. This makes them a versatile tool for any grilling enthusiast.
Overall, using an infrared searing burner can take your grilling experience to the next level by providing faster cooking times, better heat distribution, and enhanced flavor development. Plus, they are an energy-efficient and versatile choice for any grill master.
Different Cooking Methods with Infrared Searing Burner
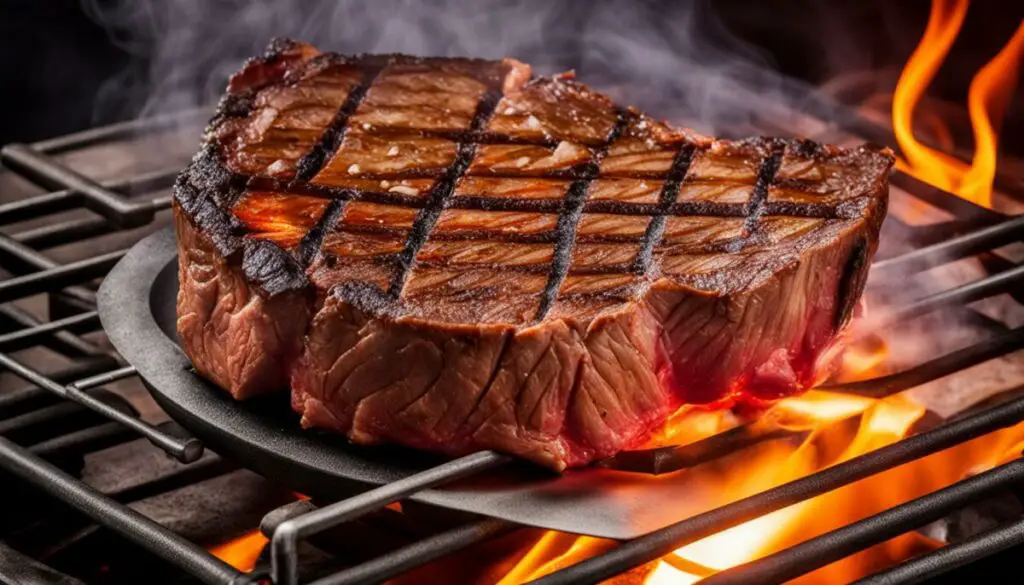
Infrared searing burners are versatile tools that allow you to experiment with different cooking methods. Here are some different techniques to try on your grill:
Direct Searing
Direct searing is the most traditional use of an infrared searing burner. This technique involves placing your meat directly over the burner at high temperatures to create a delicious crust on the outside while keeping the inside juicy and tender. It’s perfect for thicker cuts of meat like steak or pork chops.
To direct sear using your infrared searing burner, preheat your grill to high heat and turn on the searing burner. Once it’s heated, place your meat directly over the burner and sear for 1-2 minutes per side. Then, move the meat to a cooler part of the grill to finish cooking to your desired temperature.
Indirect Grilling
Infrared searing burners can also be used for indirect grilling. This method is great for cooking larger cuts of meat like whole chickens or roasts. Indirect grilling involves cooking the meat over indirect heat, away from the searing burner, to slowly cook the meat and infuse it with flavor.
To indirect grill using your infrared searing burner, preheat your grill to high heat and turn on the searing burner. Once it’s heated, turn it off and place your meat on the opposite side of the grill, away from the burner. Close the lid and let the meat cook for the desired time.
Smoking
Another technique you can try with your infrared searing burner is smoking. This method involves using wood chips to infuse your meat with smoky flavors.
To smoke using your infrared searing burner, preheat your grill to high heat and turn on the searing burner. Once it’s heated, turn it off and add your soaked wood chips to the burner. Place your meat on the opposite side of the grill, away from the burner, and close the lid. Let it smoke for the desired time, checking occasionally to make sure the chips are still producing smoke.
Infrared Searing Burner Maintenance: Keeping Your Grill in Top Shape
Proper maintenance is key to ensuring your infrared searing burner performs optimally and lasts for years to come. Here are some helpful tips to keep in mind:
- Clean your burner regularly: After each use, allow the burner to cool before wiping it down with a soft cloth. Use warm, soapy water to remove any stubborn stains or debris. Avoid harsh chemicals or abrasive materials that could damage the burner.
- Check for any issues: Regularly inspect your infrared searing burner for signs of wear and tear, such as rust or corrosion. If you notice any issues, address them promptly to prevent further damage.
- Replace any damaged components: If any parts of your infrared searing burner become damaged, such as the ceramic tiles or emitter plate, it’s important to replace them promptly. Using a damaged burner can compromise the quality of your grilled food and even pose a safety hazard.
- Ensure proper ventilation: Your grill should be situated in a well-ventilated area, with enough clearance around it to allow for proper air flow. If your grill is located in an enclosed space, such as a covered patio, make sure to open windows or use a fan to improve ventilation.
By following these simple maintenance tips, you can keep your infrared searing burner in top condition and enjoy perfectly seared meats and other grilled delicacies every time.
Enhancing Your Grill Skills with Infrared Searing
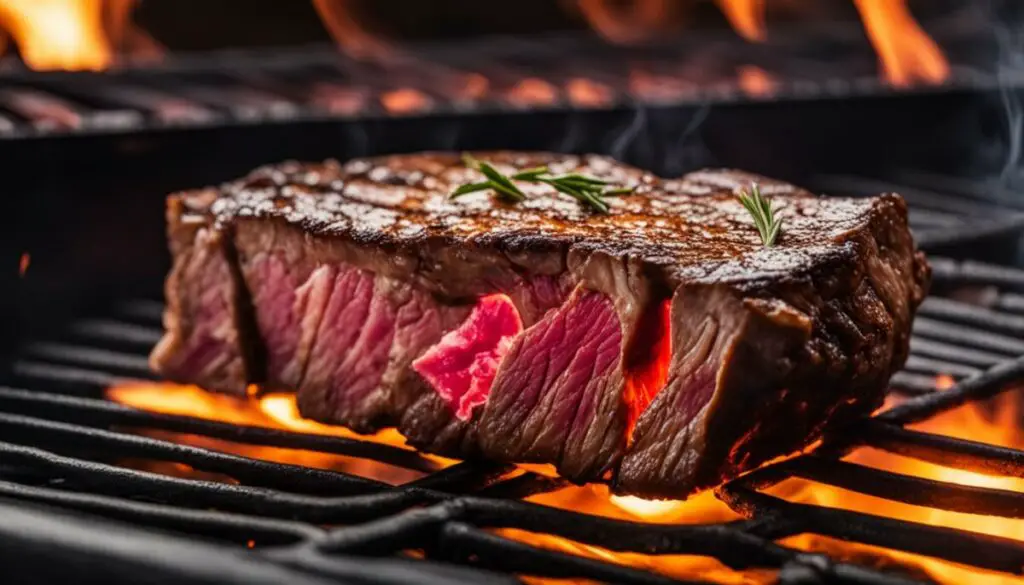
Using an infrared searing burner may seem intimidating at first, but with a little practice and patience, you can achieve incredible results on your grilled meats. Here are some tips and techniques to help you master the art of using an infrared searing burner:
1. Prepare Your Meat
Before you start searing, make sure your meat is at room temperature. This will help it cook more evenly. Pat your meat dry with a paper towel, then season it generously with salt and pepper. For added flavor, you can also rub it with your favorite spices or herbs.
2. Preheat Your Grill
Preheat your grill on high heat for at least 10-15 minutes before using the infrared searing burner. This will ensure that the burner is at the proper temperature for searing. It’s also a good idea to clean your grill grates before cooking to prevent sticking.
3. Use the Right Technique
To sear your meat, place it directly on the infrared burner for about 1-2 minutes per side, depending on the thickness of the meat. You should hear a sizzling sound when the meat is placed on the burner. Avoid moving the meat around too much, as this can prevent a good sear from forming.
4. Let Your Meat Rest
After searing, let your meat rest for a few minutes before slicing into it. This allows the juices to redistribute and results in a more tender and flavorful piece of meat. For thicker cuts of meat, you can also finish cooking them using indirect heat on the grill.
5. Experiment with Different Meats
While steak is a classic choice for searing, you can also try using an infrared burner for other types of meat, such as pork chops, chicken breasts, and even seafood. Each type of meat will require different cooking times and techniques, so don’t be afraid to experiment!
6. Practice, Practice, Practice
Like any new skill, using an infrared searing burner takes practice to master. Don’t get discouraged if your first attempts are not perfect. Keep practicing and trying new techniques until you find what works best for you and your grill.
By following these tips and techniques, you can use your infrared searing burner to take your grilling skills to the next level. Impress your friends and family with perfectly seared steaks and other delicious grilled meats. Happy grilling!
Exploring Recipes Made for Infrared Searing Burner
Now that you’re familiar with the benefits and techniques of using an infrared searing burner on your grill, it’s time to put your skills to the test with some delectable recipes. From succulent meats to flavorful vegetables, the possibilities are endless. Here are some ideas to get you started:
1. Perfectly Grilled Ribeye Steak
If you’re a steak lover, you’ll appreciate the mouth-watering crust that an infrared searing burner can produce. To make the perfect ribeye, season the meat with salt and pepper, and let it come to room temperature before grilling. Preheat your infrared searing burner to high heat, and then sear the steak on both sides for 1-2 minutes. Finally, move the steak to the cooler part of the grill and continue cooking to your preferred level of doneness.
2. Juicy Grilled Corn
Grilled corn is a classic summer side dish that’s even better when cooked on an infrared searing burner. Start by removing the husks and silk from the corn, and then brush each ear with butter and seasonings of your choice. Preheat your infrared searing burner to medium-high heat, and then cook the corn for 10-12 minutes, turning occasionally, until the kernels are tender and charred in spots.
3. Tender Grilled Pork Tenderloin
Pork tenderloin is a lean and flavorful cut that benefits from an infrared searing burner’s intense heat. Marinate the meat in your favorite sauce for at least an hour, and then preheat your infrared searing burner to high heat. Sear the pork on both sides for 1-2 minutes, and then move it to the cooler part of the grill to finish cooking. Use a meat thermometer to ensure it reaches an internal temperature of 145°F.
4. Smoky Grilled Eggplant
Vegetables take on a whole new dimension of flavor when cooked on an infrared searing burner. Slice a large eggplant into 1/2-inch rounds, and then drizzle them with olive oil and your favorite spices. Preheat your infrared searing burner to medium-high heat, and then grill the eggplant for 3-4 minutes per side, until they’re tender and have grill marks. Serve as a side dish or atop a salad for a delicious and healthy meal.
These are just a few examples of the many recipes you can create with an infrared searing burner. With some creativity and experimentation, you’re sure to come up with some crowd-pleasing dishes that will make you the grill master of your neighborhood.
Conclusion
Congratulations, you’ve made it to the end of our article on how to use an infrared searing burner! We hope you found our guide insightful and informative, and that you’re ready to take your grilling skills to the next level.
Using an infrared searing burner can be a game-changer for achieving that perfect sear on your grilled meats. By understanding the technology behind these burners, properly preparing your grill, and taking important safety precautions, you’ll be well on your way to cooking up mouth-watering dishes.
Keep Practicing!
Of course, mastering any skill takes practice, and using an infrared searing burner is no exception. Don’t be discouraged if your first few attempts don’t turn out as planned. Keep experimenting and refining your techniques until you find what works best for you and your grill.
We’d love to hear about your experiences using an infrared searing burner, and any tips and tricks you’ve picked up along the way. Share your successes with us in the comments below and keep the discussion going!
Thank you for reading, and happy grilling!
FAQ
How do I use an infrared searing burner on my grill?
To use an infrared searing burner on your grill, first, make sure your grill is preheated to a high temperature. Then, turn on the infrared searing burner and allow it to heat up for a few minutes. Once it’s hot, place your meat directly on the searing burner and sear it for a short amount of time on each side. This high heat will result in a delicious caramelized crust on your meat.
What are the benefits of using an infrared searing burner?
Using an infrared searing burner offers several advantages. It allows for faster cooking times, as the high heat quickly sears the meat, locking in juices and flavor. The infrared technology also provides better heat distribution, ensuring even and consistent cooking. Additionally, the intense heat from the searing burner creates a beautiful crust on the meat, enhancing the taste and visual appeal of your grilled dishes.
How should I prepare my grill for using an infrared searing burner?
Before using an infrared searing burner, ensure your grill is clean and in good working condition. Follow the manufacturer’s instructions for setting up the searing burner, including any specific steps or precautions they recommend. It’s also important to make sure your grill is properly preheated to a high temperature before using the searing burner.
Are there any safety precautions I should take when using an infrared searing burner?
Yes, safety should always be a priority when grilling. When using an infrared searing burner, handle the high temperatures with care and avoid touching the burner directly. Make sure your grill is placed in a well-ventilated area to prevent any build-up of gases. It’s also important to be aware of flare-ups and have a fire extinguisher nearby, just in case. Always follow the manufacturer’s safety guidelines and use common sense when grilling.
What are some tips and techniques for achieving the perfect sear with an infrared searing burner?
To achieve the perfect sear, make sure your meat is dry before placing it on the searing burner. This will help create a crisp crust. Additionally, limit the amount of flipping or moving the meat while it’s on the searing burner to allow for proper caramelization. Experiment with different cooking times and temperatures to find what works best for your desired level of doneness. Lastly, let the meat rest for a few minutes after searing to allow the juices to redistribute and ensure maximum flavor.

