Last Updated on 6 months by Francis
If you’re looking for a relaxing and therapeutic experience, building your own infrared sauna at home is a great option. Not only does it provide the perfect space for relaxation and detoxification, but it also offers the convenience of a sauna experience within the comfort of your home.
In this step-by-step guide, we will show you how to build your own infrared sauna from scratch. From understanding the basics of infrared saunas to gathering the necessary materials and tools, we will provide all the information you need to get started on your DIY project.
Whether you’re an experienced DIY’er or just starting, building an infrared sauna is a fun and rewarding project that will benefit your overall well-being.
Contents
Key Takeaways:
- Building your own infrared sauna can provide a relaxing and therapeutic experience at home.
- With this guide, you can create your own personal sauna space from scratch.
- Understanding the basics of infrared saunas and gathering the necessary materials and tools are essential for a successful DIY project.
- Proper electrical wiring and ventilation are crucial for the safety and functionality of your homemade infrared sauna.
- With these steps, you can enjoy the benefits of an infrared sauna within the comfort of your own space.
Understanding Infrared Saunas

Before starting your DIY infrared sauna project, it’s necessary to understand the basics of infrared saunas. Infrared saunas use infrared heaters to emit infrared light waves that penetrate the body, providing various health benefits, including relaxation, detoxification, and pain relief.
When it comes to infrared sauna construction tips, there are several things to consider:
Types of Infrared Heaters
There are three types of infrared heaters: ceramic, carbon, and medical-grade. Ceramic heaters emit short-wavelength infrared heat and are affordable. Carbon heaters emit long-wavelength infrared heat that is absorbed by the body and are energy-efficient. Medical-grade heaters emit mid-range infrared heat and have higher therapeutic benefits but can be expensive.
Sauna Sizes and Designs
Infrared saunas come in different sizes and designs to fit various spaces and aesthetic preferences. When building a DIY infrared sauna, consider the size of the space you have available and the number of people you want to accommodate. Also, consider the type of wood and finishes you want to use for both the interior and exterior of your sauna.
Benefits of Infrared Heat
Using an infrared sauna can provide various health benefits, including relaxation, detoxification, improved circulation, and pain relief. Infrared heat helps penetrate the body, increasing blood flow, and oxygenation, which can lead to a range of benefits for the body and mind. When building your own infrared sauna, you can customize it to your specific needs and preferences.
When following a step-by-step infrared sauna building guide, it’s important to keep these infrared sauna construction tips in mind. By doing so, you can create a personalized sauna space that meets your wellness needs and fits your lifestyle.
Planning Your Sauna Space
Before you start building your infrared sauna, you need to plan your sauna space. Choosing the right location for your sauna is crucial for creating a comfortable and relaxing experience. Here are some essential considerations when planning your sauna space:
Location
Choose a location with enough space to accommodate your sauna and with easy access to the electrical supply. It’s also important to consider the proximity to water sources and ventilation. Ideally, your sauna should be located in a dry and cool place, away from direct sunlight or moisture.
Measurements
Measure the space where you plan to build your sauna to ensure it will fit comfortably. You’ll need enough room for the sauna itself, a bench, and any other features you want to add, such as backrests or footrests. Make sure you leave enough space around the sauna for easy access and maintenance.
Electrical Requirements
Building an infrared sauna requires access to a dedicated electrical circuit, preferably one that can handle the high wattage required by the sauna. You may need to consult with an electrician to ensure that your electrical supply meets the necessary requirements.
Infrared Sauna Materials
Choosing the right materials for your sauna is crucial for its longevity and performance. The most common materials used for building infrared saunas include:
| Material Type | Pros | Cons |
|---|---|---|
| Hemlock | Durable, Resistant to cracking and warping | Expensive |
| Red Cedar | Naturally Resistant to moisture and decay, Aromatic | Expensive, Can cause allergic reactions in some people |
| Basswood | Affordable, Lightweight, Easy to work with | Less durable than Hemlock or Cedar, more prone to cracking and warping |
When choosing materials, it’s essential to consider your budget, desired aesthetics, and durability. You should also consider the specific needs of your home and the sauna’s location.
Ventilation and Insulation
Proper ventilation and insulation are critical for maintaining a safe and comfortable environment in your sauna. Ventilation helps to remove excess humidity and odors, while insulation helps to retain heat and prevent energy waste. Consider adding a vent and insulation materials as part of your planning process.
With careful planning and proper materials, you can create a comfortable and functional sauna space in your home. Understanding the key considerations before building your sauna will ensure that you have a successful and enjoyable DIY project.
Gathering Materials and Tools
Before embarking on your DIY infrared sauna project, you’ll need to gather all the necessary materials and tools. Here’s a comprehensive list of what you’ll need:
| Materials | Tools |
|---|---|
| Infrared heater panels | Electric drill |
| Sauna wood or kit | Wood saw |
| Vapor barrier | Hammer |
| Insulation material | Screwdriver |
| Bench materials | Staple gun |
| Lighting fixtures | Level |
| Thermometer and hygrometer | Tape measure |
| Fasteners and screws | Wire stripper |
| Electrical components | Multimeter |
| Sauna door | Utility knife |
| Finishing materials (stain, sealant, etc.) | Paintbrush |
Depending on the design of your sauna, you may also need additional materials and tools. Before purchasing, consult your sauna plans to ensure you have everything you need.
It’s important to note that some suppliers may offer a complete infrared sauna kit, including all necessary materials and hardware for assembly. This option can save time and effort in gathering materials and ensure compatibility between all components.
Preparing the Sauna Framework

A sturdy and durable framework is essential to ensure that your infrared sauna remains strong and stable for years to come. The process is straightforward and can be completed in a few easy steps:
- Choose the right type of wood: When selecting wood for your framework, choose a type that is resistant to moisture and heat. Cedar and hemlock are recommended for sauna construction because they are both durable and have a pleasant aroma.
- Measure and cut the wood: Use a saw to cut the wood to the appropriate length and width, depending on the size of your infrared sauna. Ensure that your measurements are accurate to avoid any issues with the assembly.
- Assemble the frame: Begin assembling the framework by connecting the walls using straight brackets or metal channels. Use screws to secure the joints. Be sure to align the walls correctly before attaching them to the base.
- Secure the frame to the base: Once the framework is assembled, secure it to the base using screws. This step ensures that the sauna is sturdily in place.
- Install the door: Most sauna doors come with their own framing, so install the door according to the manufacturer’s instructions. Ensure the door is installed correctly to prevent any heat from escaping.
Following these steps will ensure that your sauna framework is strong and stable, and ready for the next stage of the process.
Installing Infrared Heaters
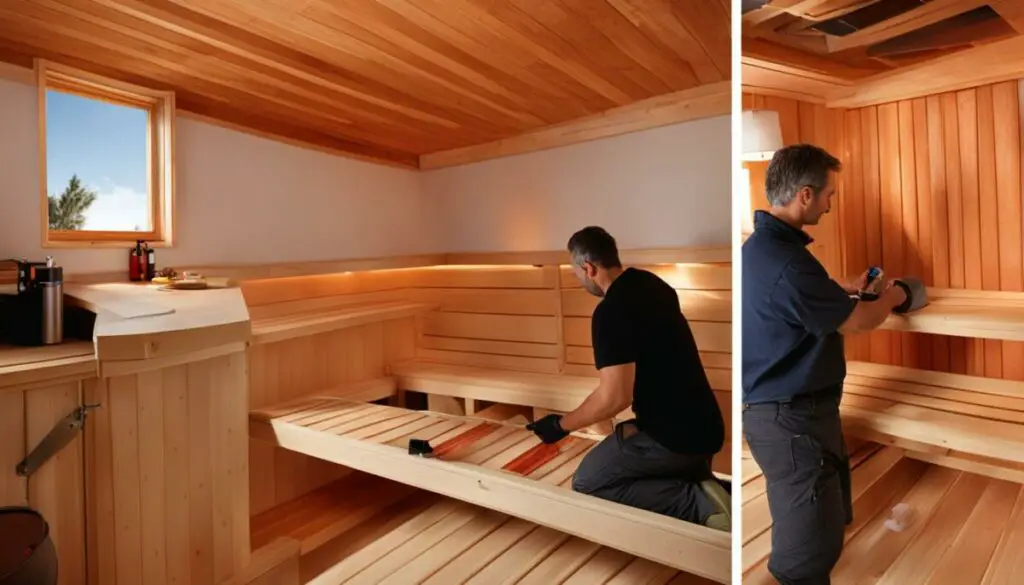
Now that you have your sauna framework established, it’s time to install the infrared heaters. This step is crucial as these heaters are responsible for providing the therapeutic heat that will make your sauna experience relaxing and rejuvenating. Follow these step-by-step instructions for a successful installation:
- Choose the right infrared heater: There are several types of infrared heaters available in the market, including ceramic, carbon, and quartz. Choose the one that suits your sauna’s size and electrical capacity.
- Positioning of the heater: The positioning of the infrared heater is critical for maximum heat distribution. Place it at a height that matches your height while seated so that the heat can directly penetrate your body.
- Wiring: Follow the manufacturer’s instructions on wiring your infrared heaters. Incorrect wiring can damage the heater or pose a safety hazard.
- Number of heaters: Depending on the size of your sauna, you’ll need multiple infrared heaters to provide optimal heat distribution.
- Placement: Place the infrared heaters strategically, so they provide heat to all areas of the sauna.
- Test: Once you’ve installed your infrared heaters, test them to ensure they’re working correctly.
By following these steps, you’ll successfully install your infrared heaters and create a relaxing and therapeutic sauna experience.
Insulating and Sealing the Sauna
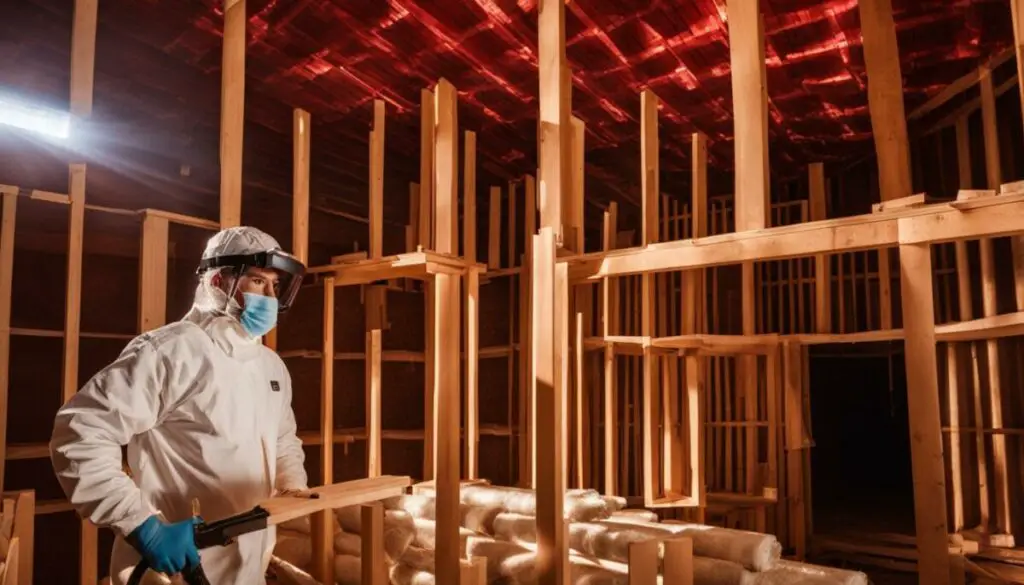
To ensure optimal performance and energy efficiency of your infrared sauna, proper insulation and sealing are crucial. Here are some infrared sauna construction tips and steps to follow:
- Choose the right insulation material: There are various types of insulation materials available, including fiberglass, mineral wool, and foam board. Make sure to choose insulation with a high R-value for maximum heat retention.
- Insulate the walls and ceiling: Apply the insulation material to the walls and ceiling of the sauna, making sure to fill any gaps or spaces. Use insulation tape to secure the insulation and prevent heat loss.
- Seal any gaps or leaks: Inspect the sauna for any gaps or leaks that need sealing. Apply caulk or foam sealant to seal any openings around doors, windows, or vents.
- Install vapor barrier: A vapor barrier prevents moisture from entering the sauna and damaging the insulation. Install a vapor barrier between the insulation and the interior panels.
Proper insulation and sealing not only increase the energy efficiency and performance of your infrared sauna but also prevent any potential damage to the sauna structure. Make sure to follow these steps carefully to create a safe and long-lasting infrared sauna space.
Adding Benches and Interior Features

Adding benches and interior features to your infrared sauna can greatly enhance your sauna experience. You want to create a comfortable and practical space within your sauna that allows you to fully enjoy the benefits of infrared heat. Here are some tips and ideas to consider when planning your sauna interior:
Bench Design
The size and height of your benches should be based on your personal preference as well as the size and shape of your sauna. Generally, the upper bench should be higher than the lower bench to allow for better air circulation and heat distribution. You can also add a backrest to provide additional support and comfort.
Material Selection
The material you choose for your benches should be able to withstand high temperatures and moisture. Popular options include cedar, basswood, and hemlock. Consider the aesthetic appeal and durability of the material when making your selection.
Lighting
Adding lighting to your sauna can create a warm and inviting ambiance. You can choose from a variety of lighting options, including LED lights, colored lights, and recessed lighting. Make sure to select lighting fixtures that are rated for use in high-temperature environments.
Mirror
A mirror can provide a useful addition to your sauna space. It may help to alleviate feelings of confinement when looking at your reflection, and it can also be useful for applying lotions or checking your form during stretching or yoga exercises.
Accessories
Consider adding accessories to your sauna space to enhance your experience. You can add a towel rack, a robe hook, and a cup holder for added convenience. You can also incorporate aromatherapy using essential oils to create a relaxing and soothing atmosphere.
By adding these interior features to your infrared sauna, you will create a warm and inviting space that allows you to fully enjoy the therapeutic benefits of infrared heat. With careful planning and attention to detail, you can create a personal oasis for relaxation and wellness.
Infrared Sauna Installation Guide
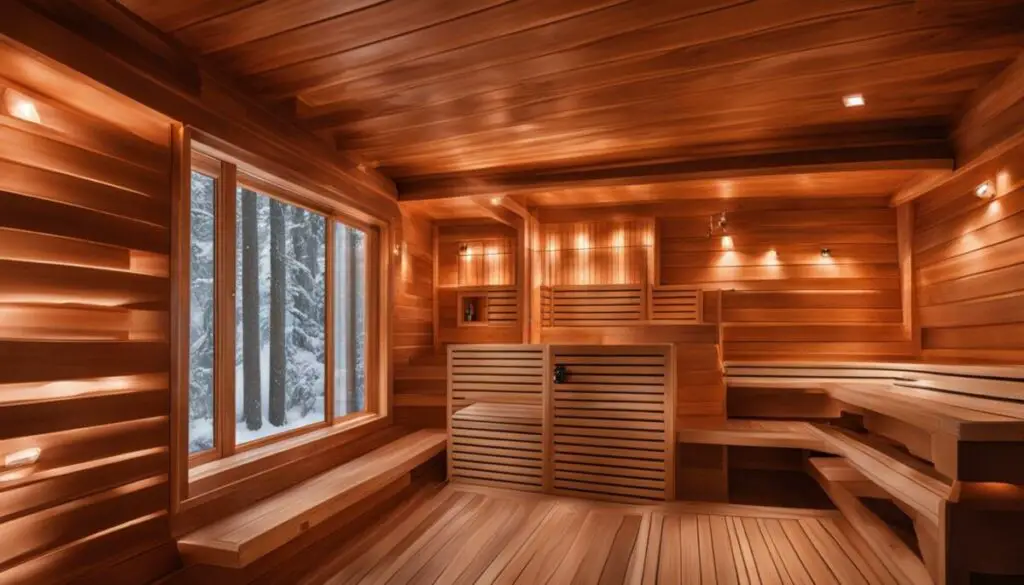
When it comes to the installation of your infrared sauna, ensuring proper electrical wiring and safety measures is crucial. Follow our step-by-step guide to safely and effectively install your home sauna.
Electrical Requirements
Before starting the installation process, it’s essential to ensure you have the appropriate electrical requirements for your infrared sauna. Most saunas require a dedicated 20-amp circuit and a 120-volt outlet.
You’ll also need a junction box to connect the wiring from the sauna to the circuit breaker. It’s important to hire a licensed electrician to install the dedicated circuit and junction box to ensure safety and compliance with local building codes.
Wiring Instructions
Once you have the necessary electrical requirements in place, you can begin wiring your infrared sauna. Start by running the wiring from the junction box to the sauna’s control box. Connect the control box wiring to the heaters and power supply following the manufacturer’s instructions.
Ensure the wires are connected securely and avoid over-tightening or over-loosening the screws. Once the wiring is complete, double-check all connections and perform a test run to ensure everything is functioning correctly.
Safety Precautions
When installing your infrared sauna, it’s important to take the necessary safety precautions to avoid any potential hazards. Always turn off the power supply before starting any installation or maintenance work on your sauna.
Ensure there are no flammable materials or objects within close proximity to the sauna. Also, avoid using extension cords or power strips for your sauna as they can overload and overheat, posing a potential fire risk.
Additional Tips
Consider installing a surge protector to prevent any potential electrical surges or outages that could damage your sauna’s electrical components. Additionally, regularly clean the control box and wiring connections to prevent any potential buildup or corrosion.
Following these infrared sauna installation guidelines will help ensure a safe and functional at-home sauna experience. By taking the necessary precautions and following the manufacturer’s instructions, you can enjoy all the benefits of infrared heat in the comfort of your own space.
Ventilation and Air Circulation
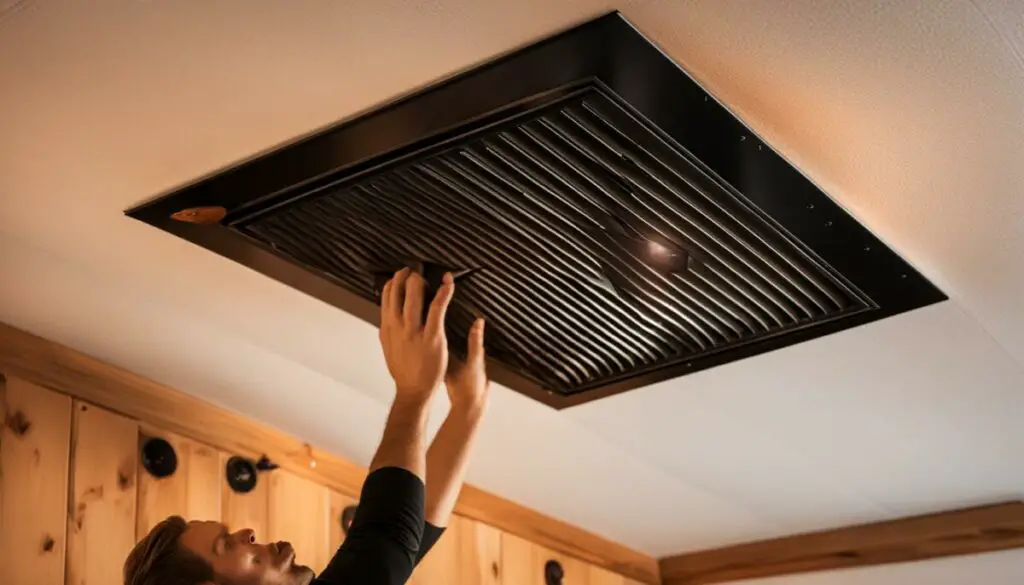
Proper ventilation and air circulation are essential for maintaining a safe and comfortable infrared sauna environment. In this section, we will discuss the importance of ventilation and provide tips for ensuring optimal air circulation in your homemade infrared sauna.
Why is ventilation important?
Proper ventilation ensures that fresh air is circulating within the sauna, preventing the buildup of excess humidity and maintaining air quality. Inadequate ventilation can lead to discomfort, condensation, and potential health risks.
Ventilation Options
There are several ventilation options to consider when building your infrared sauna. The most common include:
- Door vents: These are vents installed on the door to allow fresh air to flow into the sauna and circulate.
- Wall vents: These are vents installed in the walls of the sauna to allow air to flow in and out.
- Exhaust fan: An exhaust fan can be installed to draw out excess moisture and maintain air quality.
Tips for Optimal Air Circulation
In addition to proper ventilation, there are several tips you can follow to ensure optimal air circulation in your infrared sauna:
- Use a wooden bench: Wooden benches are recommended over metal benches, as they retain less heat and promote better air circulation.
- Keep the sauna door slightly open: Keeping the door slightly ajar promotes air circulation and helps prevent excess humidity buildup.
- Use a hygrometer: A hygrometer measures humidity levels and can help you determine if ventilation adjustments are necessary.
“Proper ventilation is crucial for the safety and effectiveness of your infrared sauna experience. Make sure to consider ventilation options and follow tips for optimal air circulation to maintain a comfortable and healthy sauna environment.”
Final Touches and Maintenance
Congratulations! You have successfully built your own homemade infrared sauna. Now, it’s time to add those finishing touches that will make your sauna experience even more enjoyable.
Adding Personal Touches
No two saunas are the same, and that’s the beauty of building your own. You can add personal touches and decorations to make your sauna uniquely yours. Consider adding plants, candles, or decorative stones to create a serene ambiance.
Cleaning and Maintenance
Keeping your sauna clean is essential for maintaining optimal performance. Regularly wipe down the interior with a damp cloth to remove any sweat or residue. Use a mild detergent to clean any spills or stains, and make sure to dry the interior thoroughly after cleaning.
It’s also crucial to perform routine maintenance checks to ensure that the sauna is operating correctly. Check the electrical connections and wiring for any signs of damage or wear, and replace any faulty components immediately. Regularly inspect the sauna frame and benches for stability and tighten any loose screws or bolts as needed.
Getting the Most out of Your Homemade Infrared Sauna
Now that your sauna is up and running, it’s time to reap the benefits. Start by setting a timer for your session and gradually increase your time in the sauna as your body becomes accustomed to the heat.
Make sure to hydrate before and after your sauna session to replace any fluids lost through sweating. And don’t forget to relax! Use your time in the sauna to meditate, read a book, or simply unwind and enjoy the heat.
With proper care and maintenance, your homemade infrared sauna can provide years of relaxation and wellness. So sit back, relax, and enjoy the fruits of your labor!
Conclusion
Building your own infrared sauna at home is an exciting and fulfilling project that can bring many benefits to your health and well-being. By following this DIY guide, you can create a personal oasis for relaxation, detoxification, and rejuvenation.
Taking Care of Your Sauna
After completing your sauna, it’s essential to maintain it to ensure optimal performance and longevity. Regular cleaning and maintenance, including wiping down the interior with mild soap and water, will help keep your sauna in excellent condition. Additionally, keeping an eye out for any signs of wear and tear, such as cracked or broken heaters, and addressing them promptly will help avoid any potential hazards or malfunctions.
Enjoy Your Sauna
Now that your infrared sauna is complete, it’s time to enjoy its many benefits! Relax and unwind after a long day, or use it as part of your wellness routine to soothe sore muscles, reduce stress, and boost your immune system.
Final Thoughts
Building your own infrared sauna is a significant investment in your health and well-being. With a little effort and dedication, you can create the perfect personal oasis for relaxation, rejuvenation, and overall wellness within the comfort of your own home. We hope this DIY guide has been helpful, and we wish you all the best in your sauna-building journey!
FAQ
How difficult is it to build your own infrared sauna?
Building your own infrared sauna requires some basic DIY skills, but with proper planning and following our step-by-step guide, it can be a manageable project for most homeowners.
Do I need any special tools or equipment?
Yes, you will need basic hand tools such as a drill, screwdriver, and saw, as well as electrical tools for wiring. We will provide a detailed list of tools and materials needed in our guide.
Can I customize the size and design of my infrared sauna?
Absolutely! Building your own infrared sauna allows you the flexibility to customize the size and design according to your preferences and available space. Our guide will provide tips for planning and designing your sauna.
How much does it cost to build an infrared sauna at home?
The cost of building an infrared sauna can vary depending on the size, materials, and features you choose. However, building your own sauna is generally more cost-effective compared to buying a pre-built unit.
Is it safe to install electrical wiring for the sauna myself?
While electrical wiring should be done by a licensed electrician, we will provide detailed instructions and safety precautions for you to understand the process. It’s crucial to ensure proper electrical installation for safety reasons.
How long does it typically take to build an infrared sauna?
The duration of the project can vary depending on your level of experience, the size of the sauna, and other factors. However, you can expect the process to take several days to weeks to complete.
Can I dismantle and move my DIY infrared sauna if needed?
Yes, one of the advantages of building your own infrared sauna is the ability to dismantle and move it if necessary. However, proper planning during the construction phase is crucial to ensure easy disassembly.
What kind of maintenance does a DIY infrared sauna require?
Regular maintenance for your DIY infrared sauna includes cleaning the interior surfaces, replacing any faulty components, and ensuring proper ventilation. We will provide detailed instructions on how to maintain your sauna in our guide.


