Last Updated on 5 months by Francis
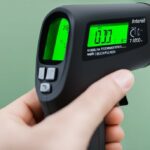
Welcome to our guide on how to check the accuracy of an infrared thermometer. If you rely on temperature measurements for various purposes, it is crucial to ensure the readings are precise and reliable. In this article, we will walk you through the steps and methods for verifying the accuracy of your infrared thermometer.
Using an infrared thermometer can provide quick and convenient temperature readings, but it is important to remember that they can be affected by various factors. By regularly checking the accuracy of your infrared thermometer, you can have confidence in its reliability and make informed decisions based on accurate temperature measurements.
Contents
Key Takeaways:
- Regularly check the accuracy of your infrared thermometer to ensure precise temperature measurements.
- Use a stable surface of known temperature to perform the accuracy check.
- Clean the lens or IR sensor to eliminate any potential interference.
- Understand the distance to target ratio and field of view for accurate measurements.
- Consider performing an ice water test or using an infrared comparator cup for field checks.
The Importance of Verifying Infrared Thermometer Accuracy
Ensuring the accuracy of an infrared thermometer is crucial for obtaining precise temperature measurements. Inaccurate readings can lead to incorrect conclusions or decisions, compromising the effectiveness of temperature monitoring. By conducting regular accuracy checks, users can have confidence in the reliability of their infrared thermometers and maximize health safety.
One of the key benefits of verifying infrared thermometer accuracy is the ability to trust the temperature measurements obtained. Whether used in medical settings, food safety applications, or industrial environments, accurate readings are essential for proper decision-making and maintaining quality standards. By following the recommended accuracy check methods, temperature-related errors can be minimized, resulting in improved overall performance.
Furthermore, verifying infrared thermometer accuracy promotes consistency and comparability. When multiple infrared thermometers are being used simultaneously, it is essential to ensure that they provide consistent and comparable results. By confirming the accuracy of each thermometer, users can ensure that temperature measurements across different devices are aligned and reliable. This is particularly important in situations where temperature data from multiple sources needs to be synchronized and analyzed collectively.
Overall, the importance of verifying infrared thermometer accuracy cannot be overstated. Not only does it guarantee precise temperature measurements, but it also instills confidence in the reliability of the instrument and the obtained readings. By following the recommended accuracy check methods and practicing regular validation and calibration, users can maintain accuracy, maximize health safety, and make informed decisions based on reliable temperature data.
Factors Affecting Infrared Thermometer Accuracy
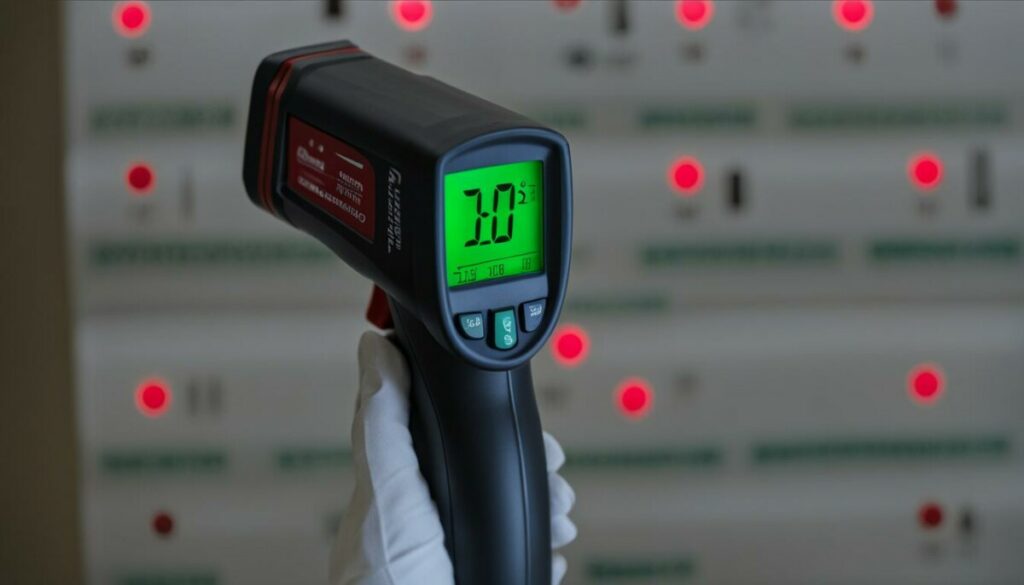
When verifying the accuracy of an infrared thermometer, it is essential to consider several factors that can affect its readings. By understanding and addressing these factors, users can ensure reliable and precise temperature measurements. The following are some key factors to consider:
Distance to Target Ratio
The distance to target ratio refers to the distance between the infrared thermometer and the object being measured. This ratio is crucial as it determines the size of the spot being measured. A smaller spot size allows for more accurate readings, while a larger spot size may include surrounding objects and affect measurement accuracy. It is important to position the thermometer at the correct distance for the specific target being measured.
Field of View
The field of view of an infrared thermometer is the area from which it can effectively measure temperature. It is important to be aware of the field of view and ensure that the target being measured is within this range. Objects outside the field of view may not be accurately measured, leading to inaccurate temperature readings.
Cleanliness of the Lens or IR Sensor
Keeping the lens or IR sensor of an infrared thermometer clean is crucial for accurate measurements. Dust, dirt, or smudges on the lens or sensor can interfere with the infrared energy detection, leading to incorrect readings. Regular cleaning and maintenance of the thermometer’s lens or sensor will help ensure accurate temperature measurements.
Emissivity Setting
Emissivity is the measure of an object’s ability to emit infrared energy. Different materials have different emissivity values, and the accuracy of an infrared thermometer is highly dependent on setting the correct emissivity value. It is important to match the emissivity setting of the thermometer to the material being measured to achieve accurate temperature readings.
By considering these factors and implementing proper calibration methods, users can verify the accuracy of their infrared thermometers and ensure reliable temperature measurements in various applications.
Field Check Methods for Infrared Thermometer Accuracy
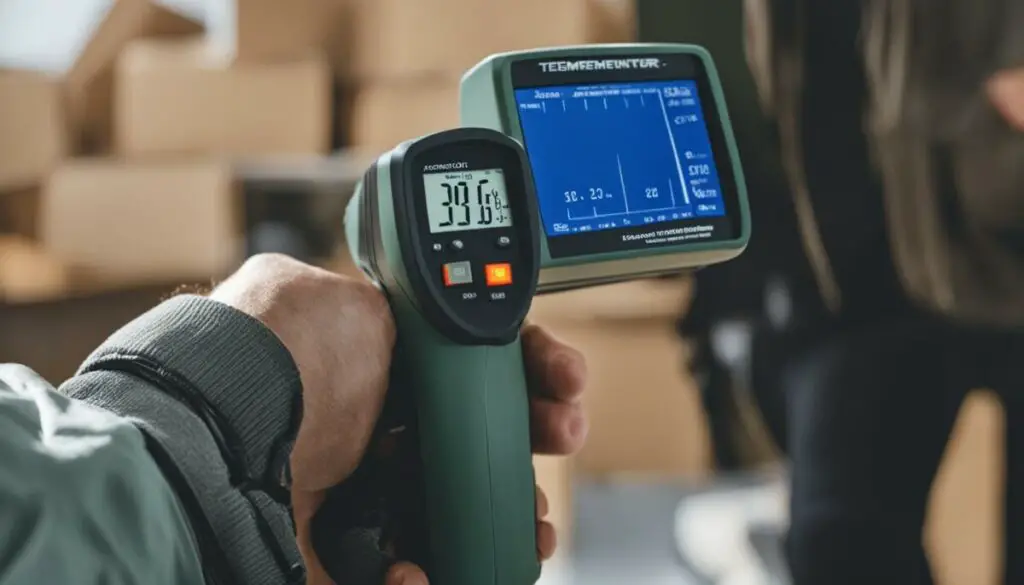
When it comes to verifying the accuracy of an infrared thermometer, there are several field check methods that can be employed. These methods help ensure that the thermometer is providing accurate readings within the specified accuracy standards. Two commonly used field check methods are the ice water test and the infrared comparator cup.
Ice Water Test: This method involves placing the infrared thermometer above a mixture of ice and water. The thermometer should be positioned at a precise distance from the surface of the mixture, as specified by the manufacturer. The reading on the infrared thermometer should be within a certain range of the expected temperature of the mixture, allowing for a determination of accuracy.
Infrared Comparator Cup: This method utilizes a specially designed cup that allows for comparison between the readings of the infrared thermometer and a calibrated immersion type thermometer. The cup contains a material with known emissivity and temperature that can be measured accurately. By comparing the readings between the two thermometers, any discrepancies in accuracy can be identified and addressed.
| Field Check Method | Procedure |
|---|---|
| Ice Water Test | 1. Prepare a mixture of ice and water. |
| 2. Position the infrared thermometer at the specified distance from the surface of the mixture. | |
| 3. Take a reading and compare it to the expected temperature of the mixture. | |
| Infrared Comparator Cup | 1. Place the infrared thermometer and the calibrated immersion type thermometer in the cup. |
| 2. Take readings from both thermometers and compare them. | |
| 3. Identify any discrepancies in accuracy and adjust the infrared thermometer if necessary. |
“Verifying the accuracy of an infrared thermometer is crucial for obtaining reliable temperature measurements. By utilizing field check methods such as the ice water test and the infrared comparator cup, users can ensure that their thermometers are operating within the desired accuracy standards.”
It is important to note that the use of these field check methods should be done in accordance with the manufacturer’s guidelines and recommendations. Regular calibration and validation of infrared thermometers are essential to maintain accurate readings and promote safety in various applications.
Using Another Trusted Pyrometer for Accuracy Confirmation
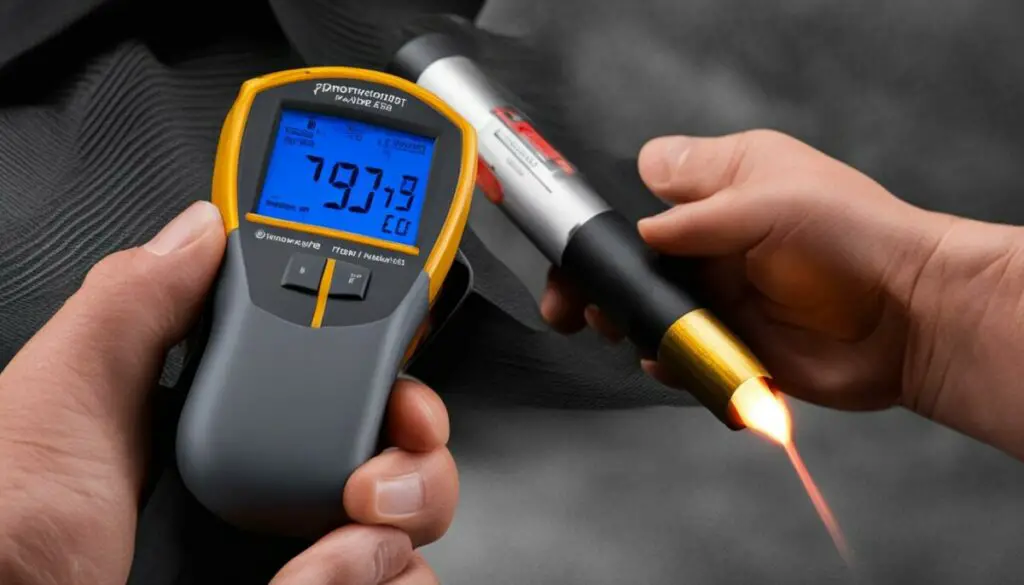
In some cases, troubleshooting infrared thermometer accuracy issues can involve using another trusted pyrometer to verify the readings. By comparing the measurements between the two pyrometers, users can determine if there is a discrepancy and make the necessary adjustments to calibrate the new infrared thermometer.
When using another pyrometer for accuracy confirmation, it is important to ensure that both devices are properly calibrated. This means checking that the calibration certificates are up to date and that the pyrometers have been calibrated against a known reference source. By having two calibrated pyrometers, users can compare their measurements and identify any inconsistencies.
Comparing the readings from multiple pyrometers can help identify if there are any issues with the accuracy of the infrared thermometer. If the measurements differ significantly, it may indicate a problem with the calibration or performance of the thermometer. This information can guide users in troubleshooting and resolving any accuracy issues that may be present.
It is worth noting that using another trusted pyrometer for accuracy confirmation should be done as part of a comprehensive approach to troubleshooting infrared thermometer accuracy issues. It can be a helpful step in the process, but it should not be the sole method used. Other factors, such as emissivity, cleanliness, and temperature stability, should also be considered when verifying and troubleshooting the accuracy of an infrared thermometer.
Using a Blackbody for Accuracy Confirmation
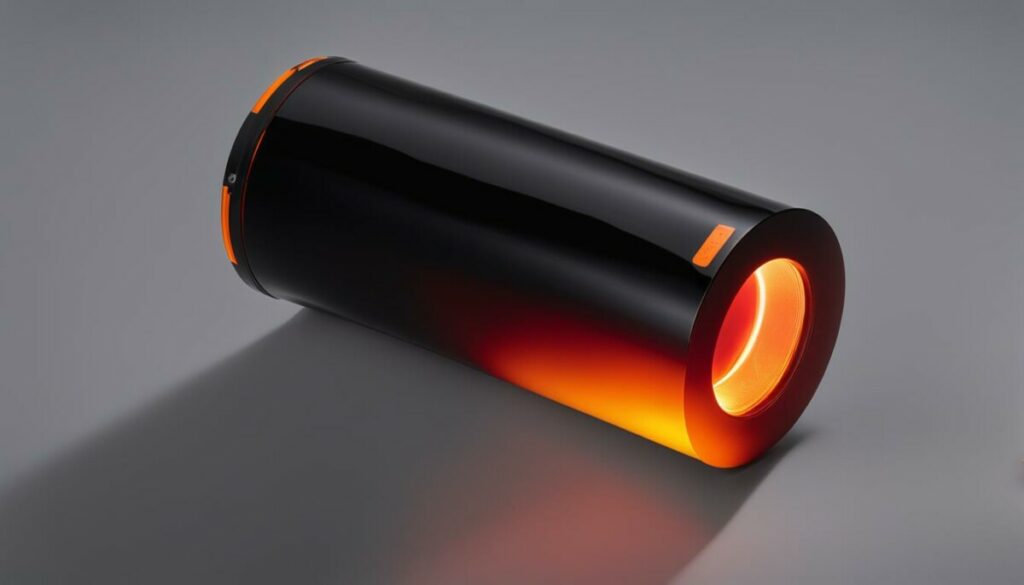
When it comes to checking the accuracy of an infrared thermometer, one valuable tool to consider is a blackbody calibrator. Blackbody calibrators emit a known amount of infrared energy at various temperatures, making them ideal for calibrating pyrometers, including infrared thermometers. While they may be more commonly used by manufacturers for calibration before sale, blackbodies can also be utilized for accuracy confirmation in the field.
By using a blackbody calibrator, you can ensure that your infrared thermometer is providing accurate temperature readings. These devices emit a controlled amount of infrared radiation, allowing you to compare the readings from the thermometer with the known temperature of the blackbody. If there are any discrepancies, you can adjust the calibration of the infrared thermometer accordingly.
It’s worth noting that blackbody calibrators can be expensive and less practical for field use. However, if you have access to one, it can provide a reliable method for confirming the accuracy of your infrared thermometer.
Overall, utilizing a blackbody calibrator can be a valuable addition to your toolkit for infrared thermometer accuracy confirmation. By verifying the readings against a known temperature source, you can ensure that your thermometer is providing accurate measurements, giving you confidence in your temperature readings.
Table: Pros and Cons of Using a Blackbody Calibrator
| Pros | Cons |
|---|---|
| Provides a known temperature source for calibration | May be expensive and less practical for field use |
| Allows for comparison of thermometer readings with a controlled temperature | Requires access to a blackbody calibrator |
| Can help adjust the calibration of an infrared thermometer for accurate measurements | Not readily available in all settings |
Thermocouple Calibration for Accuracy Confirmation
Thermocouple calibration is a reliable method for confirming the accuracy of an infrared thermometer. By using a thermocouple alongside the infrared thermometer, users can compare the temperature readings obtained from both devices. This allows for adjustments to be made to the infrared thermometer’s calibration, ensuring accurate and precise temperature measurements.
It is important to note that thermocouples may not be as accurate as pyrometers, which are specialized instruments for measuring high temperatures. Therefore, it is essential to independently verify the accuracy of the thermocouple before using it for calibration purposes.
To calibrate the infrared thermometer using a thermocouple, follow these steps:
- Place the thermocouple probe on the surface of the object whose temperature is being measured.
- Simultaneously, point the infrared thermometer towards the same surface and take a reading.
- Compare the temperature readings obtained from the thermocouple and the infrared thermometer.
- If there is a significant difference between the two readings, adjust the calibration of the infrared thermometer accordingly.
By utilizing thermocouple calibration, users can have greater confidence in the accuracy of their infrared thermometers and improve the reliability of temperature measurements.
Table: Thermocouple Calibration Process
| Step | Description |
|---|---|
| 1 | Place the thermocouple probe on the surface of the object. |
| 2 | Simultaneously, point the infrared thermometer towards the same surface and take a reading. |
| 3 | Compare the temperature readings obtained from the thermocouple and the infrared thermometer. |
| 4 | If there is a significant difference, adjust the calibration of the infrared thermometer accordingly. |
The Role of Emissivity in Infrared Thermometer Accuracy
When it comes to checking the accuracy of an infrared thermometer, understanding and setting the correct emissivity value is crucial. Emissivity refers to a material’s ability to emit infrared energy, and different surfaces have different emissivity values. It is important to match the emissivity setting on the infrared thermometer to the emissivity of the object being measured. Failure to do so can result in inaccurate temperature readings.
To check the accuracy of an infrared thermometer using emissivity, start by identifying the material of the object you want to measure. Common objects like metal, plastic, and wood have different emissivity values. Consult a reference table for emissivity values or use a dedicated emissivity chart to find the correct value for the material.
Once you have determined the correct emissivity value, set it on the infrared thermometer. Some thermometers allow users to manually adjust the emissivity, while others have pre-programmed settings for common materials. Make sure to follow the manufacturer’s instructions for setting the emissivity.
By understanding and properly setting the emissivity, you can ensure accurate temperature measurements with your infrared thermometer, providing reliable data for various applications.
Table: Common Emissivity Values for Different Materials
| Material | Emissivity Value |
|---|---|
| Metal (polished) | 0.05 – 0.10 |
| Metal (oxidized) | 0.60 – 0.90 |
| Plastic | 0.90 – 0.95 |
| Wood | 0.90 – 0.95 |
| Glass | 0.90 – 0.95 |
Equipment Required for Verifying Infrared Thermometer Accuracy
When it comes to checking the accuracy of an infrared thermometer, having the right equipment is crucial. Two essential tools that you will need are a thermometer comparator and a high-accuracy, calibrated ‘master’ thermometer.
The thermometer comparator consists of an aluminum cup with a solid matte black base. This base acts as the target surface for temperature measurements. The ‘master’ thermometer, on the other hand, is used to measure the internal temperature of the base, providing a reference for comparison.
With these two tools in hand, you can now proceed to verify the accuracy of your infrared thermometer. To do this, simply point the infrared thermometer straight down into the comparator and take a measurement. Then, compare the reading from the infrared thermometer with the temperature measured by the ‘master’ thermometer. This will allow you to determine if your infrared thermometer is providing accurate readings within an acceptable range.
| Equipment | Description |
|---|---|
| Thermometer Comparator | An aluminum cup with a solid matte black base, used as the target surface for temperature measurements. |
| ‘Master’ Thermometer | A high-accuracy, calibrated thermometer used to measure the internal temperature of the comparator base, providing a reference for comparison. |
By using the thermometer comparator and ‘master’ thermometer, you can ensure that your infrared thermometer is providing accurate readings. This is particularly important in applications where precise temperature measurements are critical, such as in medical settings or food handling industries. Regular calibration and validation of your infrared thermometer will help maintain accurate readings and ensure the safety and well-being of those relying on its measurements.
Steps to Validate a Temperature on an IR Instrument
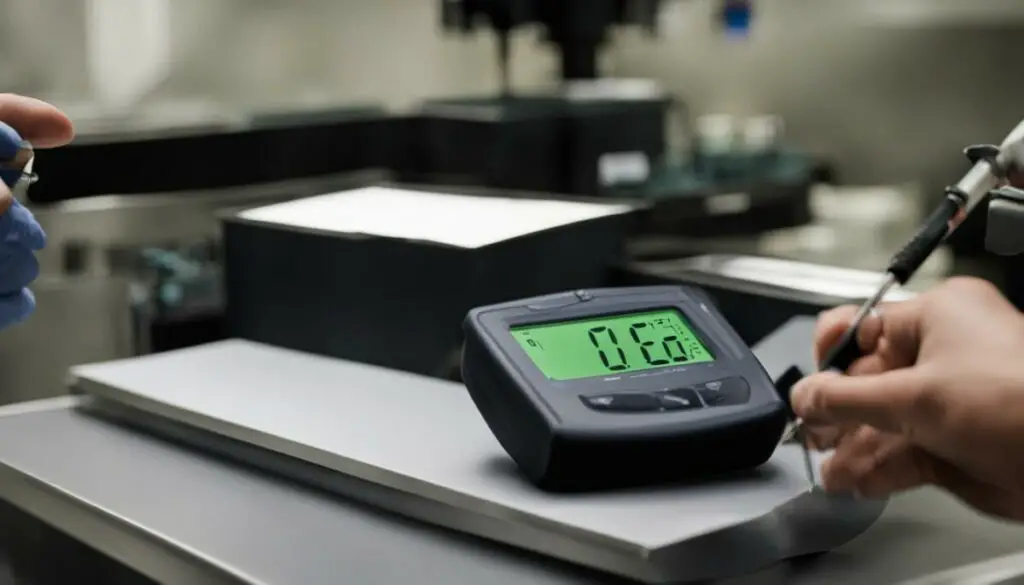
Validating the temperature readings on an infrared thermometer is essential to ensure accurate measurements. By following the steps below, users can verify the precision and reliability of their IR instruments.
Step 1: Prepare the Comparator and Thermometer
To begin the validation process, make sure both the comparator and the infrared thermometer are clean and free from any debris or substances that could affect their accuracy. Dust or residue on the lens or sensor can impact temperature readings.
Step 2: Position the Comparator
Place the comparator on a flat and stable surface. It is important to ensure that the comparator is not tilted or inclined as this can lead to inaccurate results. The base of the comparator should be parallel to the ground to provide an accurate reference point.
Step 3: Insert the ‘Master’ Thermometer Probe
Insert the probe of the ‘master’ thermometer into the base test hole of the comparator. This will allow for a direct comparison between the temperature readings of the infrared thermometer and the calibrated ‘master’ thermometer.
Step 4: Set Emissivity and Take the Measurement
If the infrared thermometer has an adjustable emissivity setting, ensure that it is properly set for the surface being measured. Point the infrared thermometer straight down into the comparator, ensuring that it is positioned perpendicular to the base. Take the temperature measurement and note the reading.
Step 5: Compare the Readings
Compare the temperature reading from the infrared thermometer with the reading from the ‘master’ thermometer. The two readings should be within a close range, depending on the accuracy of the infrared thermometer being validated. If there is a significant difference between the two readings, it may indicate calibration issues or the need for further adjustment.
By following these steps, users can validate the accuracy of their infrared thermometers and ensure reliable temperature measurements. Regular validation and calibration are essential to maintain the performance and integrity of these important instruments.
Temperature Validation and Thermal Stability
When checking the accuracy of an infrared thermometer, it’s important to validate the temperature at a stable point. However, it’s worth noting that the accuracy of an infrared thermometer can vary depending on the ambient room temperature. For the most accurate results, it is recommended to validate the thermometer at a temperature of 22°C.
In environments where the temperature exceeds or falls below 22°C, it is crucial to consider the thermal instability factor. This means that adjustments should be made to account for the temperature variations and ensure accurate temperature validation. By understanding and addressing these variations, users can maintain the reliability of their infrared thermometers and obtain precise temperature measurements.
To summarize, when verifying the accuracy of an infrared thermometer, it is important to validate the temperature at a stable point. Keep in mind that the thermometer is most accurate at an ambient room temperature of 22°C. Adjustments should be made for temperatures above or below this range to account for thermal instability. By following these steps, users can ensure accurate temperature validation with their infrared thermometers.
Key Takeaways:
- Validate the temperature at a stable point when testing the accuracy of an infrared thermometer.
- The accuracy of an infrared thermometer is highest at an ambient room temperature of 22°C.
- Adjustments should be made for temperatures above or below 22°C to account for thermal instability.
Conclusion
Verifying the accuracy of an infrared thermometer is essential for ensuring precise temperature measurements. By following the recommended field check methods and considering the factors that affect accuracy, users can have confidence in the reliability of their infrared thermometers.
Regular validation and calibration of infrared thermometers contribute to maintaining accurate temperature readings and maximizing health safety. Remember to check the thermometer against a stable surface of known temperature, clean the lens or IR sensor, understand the distance to target ratio and field of view, set the correct emissivity, and perform an ice water test or use an infrared comparator cup. These steps are crucial in determining the accuracy of your infrared thermometer.
So, whether you use an infrared thermometer for medical, industrial, or personal purposes, taking the time to verify its accuracy is a smart move. By ensuring the reliability of temperature measurements, you can make informed decisions and prevent potential errors. Keep your infrared thermometer calibrated and validated, and you’ll be on your way to accurate temperature readings every time.
FAQ
How can I test the accuracy of an infrared thermometer?
To test the accuracy of an infrared thermometer, it is important to have access to a stable surface of known temperature. Comparing it to an immersion type thermometer or measuring human skin will not yield accurate results. Boiling water is also not a preferred test method. To perform a field check of an infrared thermometer at moderate temperatures, follow these steps: ensure the thermometer is at or near the room temperature, clean the lens or IR sensor, understand the distance to target ratio and field of view, set the emissivity if adjustable, and perform an ice water test or use an infrared comparator cup.
Why is it important to verify the accuracy of an infrared thermometer?
Verifying the accuracy of an infrared thermometer is important to ensure precise temperature measurements. Inaccurate readings can lead to incorrect conclusions or decisions. By checking the accuracy of an infrared thermometer, users can have confidence in the reliability of their temperature measurements and maximize health safety.
What factors can affect the accuracy of an infrared thermometer?
Several factors can affect the accuracy of an infrared thermometer. These include the distance to target ratio, field of view, cleanliness of the lens or IR sensor, and the emissivity setting. Understanding and addressing these factors is crucial when verifying the accuracy of an infrared thermometer.
What are some field check methods for verifying the accuracy of an infrared thermometer?
There are several field check methods to verify the accuracy of an infrared thermometer. These include the ice water test, where the thermometer is placed above ice and water, and the infrared comparator cup, which allows comparison with a calibrated immersion type thermometer. These methods help ensure that an infrared thermometer is providing accurate readings within the specified accuracy standards.
Can I use another trusted pyrometer to confirm the accuracy of an infrared thermometer?
Yes, in some applications, using another trusted pyrometer can help confirm the accuracy of an infrared thermometer. By comparing measurements between the two pyrometers, users can adjust the calibration of the new infrared thermometer to match the existing one, ensuring consistency and reliability in temperature measurements.
What is a blackbody calibrator and how can it be used to calibrate infrared thermometers?
Blackbody calibrators are useful for calibrating infrared thermometers. These devices emit a known amount of infrared energy at various temperatures, allowing for accurate calibration of the pyrometer. While blackbody calibrators can be expensive and less practical for field use, they are commonly used by manufacturers to calibrate infrared thermometers before sale.
Can I use a thermocouple to validate the accuracy of an infrared thermometer?
Yes, using a thermocouple can help confirm the accuracy of an infrared thermometer. By measuring the temperature of an object with both the thermocouple and the infrared thermometer, users can compare the readings and adjust the infrared thermometer accordingly. It is important to note that thermocouples may not be as accurate as pyrometers and should be independently verified for accuracy.
How does emissivity affect the accuracy of an infrared thermometer?
Emissivity plays a significant role in the accuracy of infrared thermometers. It is a measure of a material’s ability to emit infrared energy and can vary depending on the surface being measured. Understanding and setting the correct emissivity value is crucial for obtaining accurate temperature readings with an infrared thermometer.
What equipment is required for verifying the accuracy of an infrared thermometer?
To verify the accuracy of an infrared thermometer in the field, a thermometer comparator and a high-accuracy, calibrated ‘master’ thermometer are required. The comparator consists of an aluminum cup with a solid matte black base, while the ‘master’ thermometer is used to measure the internal temperature of the base. By comparing the readings from the infrared thermometer with the ‘master’ thermometer, users can verify accuracy.
What are the steps to validate a temperature on an infrared thermometer?
To validate a temperature on an infrared thermometer, ensure the comparator and thermometer are clean, place the comparator on a flat surface, insert the ‘master’ thermometer probe into the base test hole, set the emissivity if adjustable, and point the infrared thermometer straight down into the comparator for a measurement. The reading should be within a close range of the ‘master’ thermometer reading, depending on the accuracy of the thermometer.
How does temperature validation and thermal stability affect the accuracy of an infrared thermometer?
The accuracy of an infrared thermometer can be validated at any stable temperature, but it is more accurate at 22°C ambient room temperature. In environments with temperatures above or below 22°C, an adjustment factor should be considered to account for thermal instability. Users should be aware of these temperature variations to ensure accurate temperature validation.

