Last Updated on 3 months by Francis
If you’ve experienced an air mattress pop and need a quick and easy fix, you’re in the right place. Our guide offers effective solutions to rapidly repair your inflatable bed and prevent future bursts. We’ll walk you through the steps to patch the hole, clean the surface, apply the patch, and test the seal. With these simple steps, you can have your air mattress back in working condition in no time.
Contents
Key Takeaways:
- Repairing an air mattress pop is a straightforward process that can be done at home.
- Start by locating the hole in the mattress using visual inspection or the soapy water method.
- Clean the surface around the hole using a gentle cleanser and allow it to dry completely.
- Apply the patch in a precise manner, covering the hole completely.
- Allow the patch to cure for at least 8 hours before testing the seal.
How to Patch an Air Mattress
Patching an air mattress is a straightforward process that requires a few basic materials. To effectively repair your mattress and prevent air leaks, gather the following supplies:
- Gentle cleanser: Use dish soap or detergent to clean the surface around the hole.
- Sponge or cleaning towel: Dampen and cleanse the air mattress.
- Tissue: Use to spot escaping air.
- Air mattress patch kit: If your mattress came with a manufacturer’s patch kit, it will contain adhesive, an applicator, and patches that match the material of the mattress. If you don’t have a kit, you can purchase an air mattress patch kit online or at a retailer.
- Alternative patch material: If you prefer, you can craft a patch from thin plastic material like a shower curtain liner.
- Adhesive: Use an adhesive specifically designed for plastic or one that dries airtight to secure the patch in place.
- Flat, heavy object: This will be needed to apply pressure and allow the patch to cure.
With these materials on hand, you’ll be ready to restore your air mattress and enjoy a comfortable night’s sleep.
How to Locate the Hole in an Air Mattress
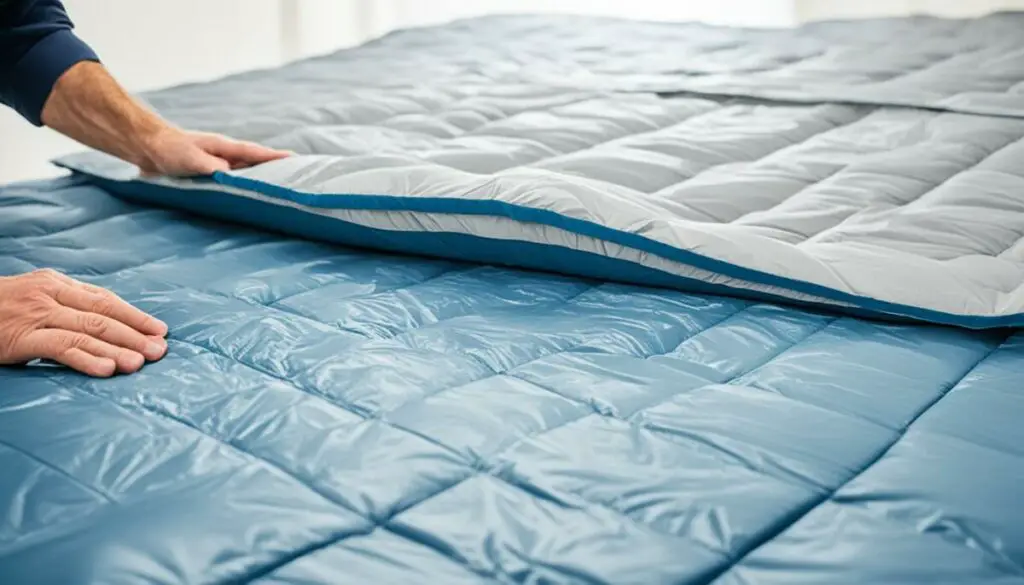
Locating the hole in an air mattress can be challenging, but there are several methods you can try. Start by visually inspecting the mattress for scuffs, tears, or damage. If you can’t see any visible issues, run your hand over the surface of the mattress to feel for escaping air. Another method involves using a tissue or paper towel to spot escaping air. You can also try the soapy water method, which involves applying a damp sponge or cloth with a gentle cleanser to the mattress and looking for growing bubbles. By using these techniques, you can pinpoint the location of the hole and proceed with the patching process.
| Method | Instructions |
|---|---|
| Visual Inspection | Examine the mattress for any scuffs, tears, or visible damage. |
| Tactile Sensation | Run your hand over the surface of the mattress to feel for escaping air. |
| Tissue or Paper Towel | Hold a tissue or paper towel close to the surface of the mattress and observe if any air is escaping and causing movement. |
| Soapy Water Method | Apply a damp sponge or cloth with a gentle cleanser to the mattress and look for bubbles forming, indicating the location of the hole. |
By using these techniques, you can easily locate the hole in your air mattress and proceed with the necessary patching steps to bring your mattress back to its former comfort.
Cleaning the Surface of the Air Mattress

Before applying the patch, it’s crucial to clean the surface of the air mattress to ensure proper adhesion and prevent any further air leaks. Follow these steps to effectively clean the surface:
- Moisten a wet cleaning cloth with water.
- Gently scrub the area around the hole using the damp cloth.
- If needed, use a gentle cleanser like dish soap or detergent to remove dirt and debris from the surface.
- Rinse off the cloth and wipe away any soap residue from the mattress.
- Allow the surface to air dry completely before proceeding with the patching process.
Cleaning the surface of the air mattress removes any contaminants that may interfere with the patch’s ability to adhere properly. By ensuring a clean surface, you increase the effectiveness of the patch and reduce the risk of future punctures.
Quote:
“Cleaning the surface ensures that the patch and adhesive will stick effectively, preventing any further air leaks.”
Benefits of Cleaning the Surface:
| Benefits | Description |
|---|---|
| Enhanced Patch Adhesion | A clean surface provides better contact for the patch, ensuring a strong bond and preventing air leaks. |
| Prolonged Patch Lifespan | By removing dirt and debris, the patch is less prone to premature wear and tear, extending its lifespan. |
| Prevention of Future Punctures | A clean surface minimizes the chances of debris causing additional holes in the air mattress, preventing future leaks. |
By taking the time to clean the surface of your air mattress before applying the patch, you ensure a more durable and long-lasting repair.
Applying the Patch to the Air Mattress
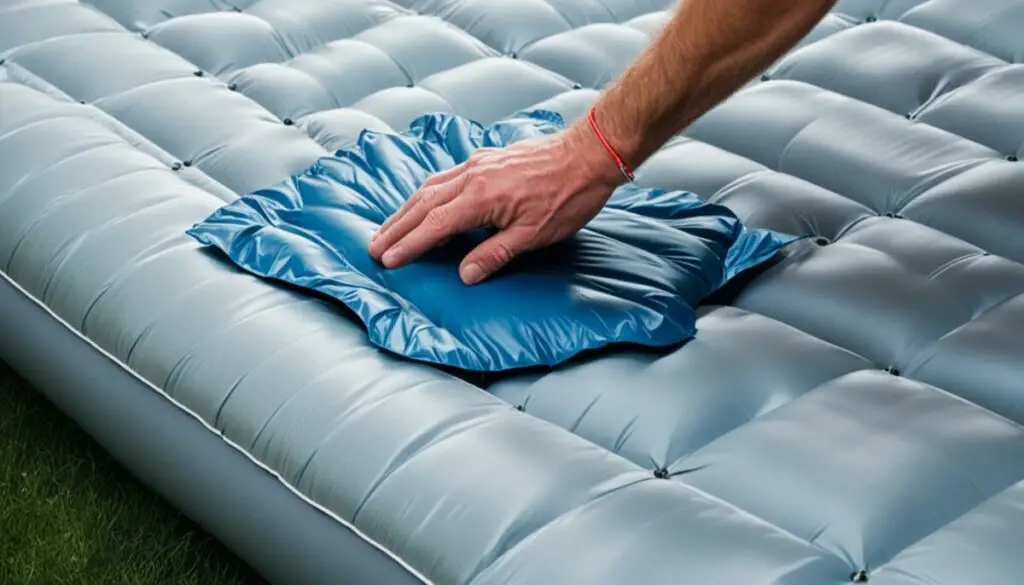
Once you have cleaned the surface of the air mattress, it’s time to apply the patch. If you have a manufacturer or third-party patch kit, follow the provided instructions for optimal results. Ensure that you apply the adhesive and patch precisely, covering the hole completely to prevent any further leaks.
If you don’t have a patch kit, don’t worry! You can still effectively patch your air mattress using duct tape or vinyl tape. Cut a piece of tape larger than the hole and press it firmly onto the mattress, making sure there are no raised edges or wrinkles. The goal is to create a secure and tight seal that will effectively repair the leak.
Regardless of the method you choose, whether it’s using a patch kit or tape, the key is to ensure that the patch is securely adhered to the surface of the air mattress. This will help maintain the integrity of the repair and prevent any further air leakage.
Allowing the Patch to Cure
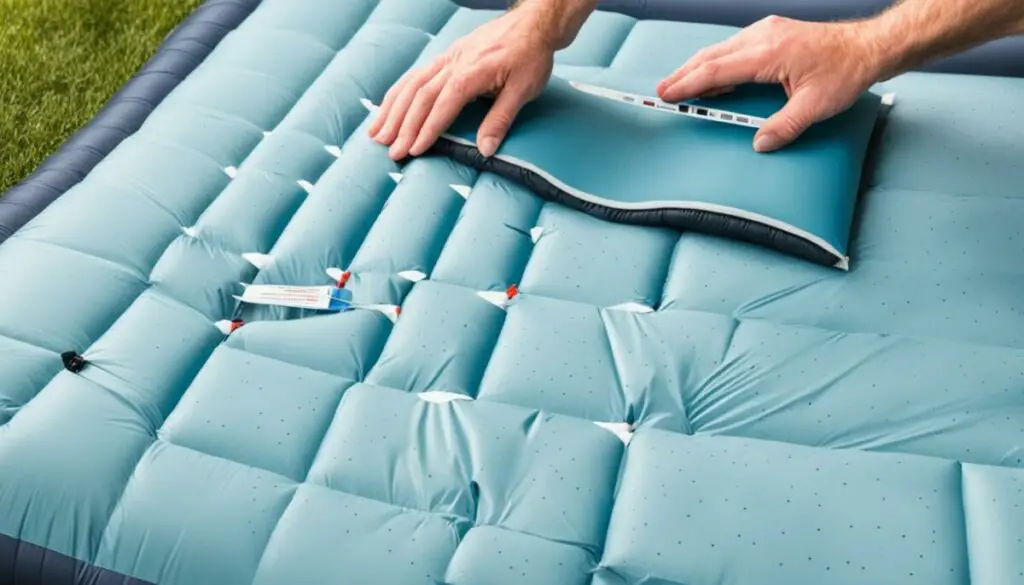
Once the patch has been applied, it’s important to give it sufficient time to cure. This step ensures that the patch and adhesive fully adhere to the surface of the air mattress, creating a strong and durable seal.
To apply the right amount of pressure on the patch, place a heavy, flat object on top of the patched area. A book or a box filled with heavy items works well for this purpose. The weight of the object will help prevent the patch from slipping or coming loose during the curing process.
Leave the air mattress in this state for approximately 8 hours. This time allows the adhesive to harden and the patch to cure completely. Avoid disturbing or moving the mattress during this period to ensure the best results.
After the curing time has passed, carefully remove the heavy object from the patched area. With the patch fully cured, it’s now time to test the seal and ensure that the air mattress is ready for use.
Testing the Seal of the Patch
The final step in the process of mattress leak repair is to test the seal of the patch. To do this, follow these steps:
- Inflate the air mattress fully.
- Lay the mattress on the ground.
- Press on the patched area.
- Direct air toward the patch.
- Check for any escaping air or signs of deflation.
If the seal appears tight and the mattress does not lose air, then the hole has been successfully repaired. Congratulations! You can now enjoy a good night’s sleep on your repaired air mattress. However, if you notice any air escaping or the mattress continues to deflate, you may have a second hole that needs to be located and repaired.
If this happens, don’t worry! Simply start from the beginning of the process to identify and fix any additional leaks. Remember, thorough testing is essential to ensure the integrity of the repair.
Testing the seal of the patch is crucial to ensure that your air mattress is restored to its original functionality. By following these steps, you can have confidence in the durability and reliability of your repaired air mattress.
Best Air Mattresses for Durability
To prevent future air mattress pops, it’s crucial to invest in a durable air mattress. Some top-rated options known for their durability include the Intex Dura-Beam series, the SoundAsleep Dream Series Air Mattress, and the Coleman SupportRest Elite PillowTop Double-High Inflatable Mattress. These mattresses are designed with strong materials and reinforced construction to resist punctures and leaks.
When purchasing an air mattress, look for features such as puncture-resistant materials, reinforced seams, and built-in air pumps for easy inflation. By choosing a durable air mattress, you can minimize the risk of experiencing a pop and enjoy a long-lasting inflatable bed.
Top-Rated Air Mattresses for Durability:
- Intex Dura-Beam series
- SoundAsleep Dream Series Air Mattress
- Coleman SupportRest Elite PillowTop Double-High Inflatable Mattress
“Investing in a durable air mattress is a smart choice to prevent unexpected air mattress pops and enjoy long-lasting comfort.” – Sleep Expert
Tips for Preventing Air Mattress Leaks
While it’s essential to know how to fix an air mattress pop, it’s even better to prevent leaks from happening in the first place. Here are some tips to help you prevent air mattress leaks:
- Inflate with care: When inflating your air mattress, be gentle and avoid over-inflating. Excessive pressure can strain the seams and increase the risk of leaks.
- Clear the area: Before setting up your air mattress, make sure the surrounding area is free from sharp objects or debris that could puncture the mattress. Clear any rocks, sticks, or other potential hazards.
- Protect the surface: Use a mattress protector or a thick blanket under your air mattress to provide an extra layer of protection against punctures. This can help prevent sharp objects from penetrating the mattress.
- Avoid rough surfaces: When using your air mattress, place it on a smooth and clean surface. Avoid rough or abrasive surfaces that could cause friction and lead to leaks.
- Inspect before use: Before inflating your air mattress, visually inspect it for any signs of damage or wear. Look for cuts, tears, or weak spots in the material. If you notice any issues, repair them promptly.
- Store properly: When not in use, store your air mattress in a cool and dry place. Avoid storing it in areas where it could be exposed to sharp objects or extreme temperatures that could cause damage.
- Be mindful of pets: If you have pets that share your living space, be cautious when allowing them near your air mattress. Their claws or teeth can accidentally puncture the mattress, so it’s best to keep them away from it.
By following these preventive measures, you can significantly reduce the risk of air mattress leaks and ensure that your inflatable bed stays in great condition for a long time.
The benefits of preventing air mattress leaks:
Preventing air mattress leaks not only saves you time and effort in fixing them but also prolongs the lifespan of your mattress. It ensures that you can enjoy a comfortable and uninterrupted night’s sleep without worrying about waking up on a deflated bed. By being proactive and implementing these preventive measures, you can promote the longevity of your air mattress and maximize your investment.
| Tips for Preventing Air Mattress Leaks |
|---|
| Inflate with care |
| Clear the area |
| Protect the surface |
| Avoid rough surfaces |
| Inspect before use |
| Store properly |
| Be mindful of pets |
Conclusion
Fixing a popped air mattress doesn’t have to be a daunting task. By following the step-by-step guide we’ve provided – locating the hole, cleaning the surface, applying the patch, allowing it to cure, and testing the seal – you can easily repair your air mattress and prevent future leaks. Remember, investing in a durable air mattress, such as the Intex Dura-Beam series or the SoundAsleep Dream Series Air Mattress, can significantly reduce the risk of experiencing an air mattress pop.
To further protect your air mattress, it’s important to practice preventive measures. Avoid placing the mattress on rough or sharp surfaces, and keep it away from pets or sharp objects that may cause punctures. Additionally, regularly inspect the mattress and use a mattress cover or protector to prevent accidental damages. By taking these precautions, you can enjoy a comfortable night’s sleep on your repaired and protected air mattress for years to come.
Fixing a popped air mattress is not only a cost-effective solution but also a way to prolong the life of your inflatable bed. With the right knowledge, materials, and preventive measures, you can easily handle any unexpected air mattress pops. So, don’t let a deflated mattress deflate your mood – follow our guide and get your air mattress back in shape for a restful and rejuvenating slumber.
FAQ
What do I need to patch an air mattress?
To patch an air mattress, you will need a cleanser, such as dish soap or detergent, a sponge or cleaning towel, a tissue, an air mattress patch kit or thin plastic material, an adhesive, and a flat, heavy object.
How can I locate the hole in an air mattress?
There are several methods to locate the hole in an air mattress. You can visually inspect the mattress for scuffs or tears, run your hand over the surface to feel for escaping air, use a tissue or paper towel to spot escaping air, or try the soapy water method to look for growing bubbles.
How do I clean the surface of an air mattress?
To clean the surface of an air mattress, use a moistened cloth with water and a gentle cleanser like dish soap or detergent. Gently scrub the area around the hole, rinse off the soap, and allow the surface to air dry completely.
How do I apply the patch to an air mattress?
If you have a manufacturer or third-party patch kit, follow the instructions provided to apply the adhesive and patch precisely. If not, you can use duct tape or vinyl tape to cover the hole. Press the tape firmly onto the mattress, ensuring no raised edges or wrinkles.
How long does the patch need to cure on an air mattress?
After applying the patch, it’s essential to allow it to cure for approximately 8 hours. Place a heavy, flat object on top of the patched area to apply pressure and prevent the patch from coming loose.
How can I test the seal of the patch on an air mattress?
Inflate the mattress fully, lay it on the ground, and press on the patched area while directing air toward the patch. Check for any escaping air or signs of deflation. If the seal appears tight and the mattress does not lose air, then the hole has been successfully repaired.
What are the best air mattresses for durability?
Some top-rated air mattresses known for their durability include the Intex Dura-Beam series, the SoundAsleep Dream Series Air Mattress, and the Coleman SupportRest Elite PillowTop Double-High Inflatable Mattress.
How can I prevent air mattress leaks?
To prevent air mattress leaks, it’s important to invest in a durable air mattress with features such as puncture-resistant materials, reinforced seams, and built-in air pumps. Additionally, avoid placing sharp objects near the mattress, and inspect it regularly for any signs of damage or wear.

