Last Updated on 3 months by Francis
Is your doorbell not working? Don’t worry, we’ve got you covered! In this easy doorbell repair guide, we’ll walk you through the troubleshooting process and provide tips on how to fix a doorbell yourself. Say goodbye to the frustration of a silent doorbell and hello to a perfectly functioning entryway.
From testing and replacing the doorbell button to checking the doorbell circuit and replacing the transformer, we’ll cover everything you need to know to get your doorbell back in working order. No technical expertise required!
Contents
Key Takeaways:
- Learn how to test and replace the doorbell button
- Discover the steps to replace the doorbell chime unit
- Find out how to replace a faulty doorbell transformer
- Understand how to troubleshoot the doorbell circuit
- Inspect and repair damaged doorbell wiring
Test and Replace the Doorbell Button
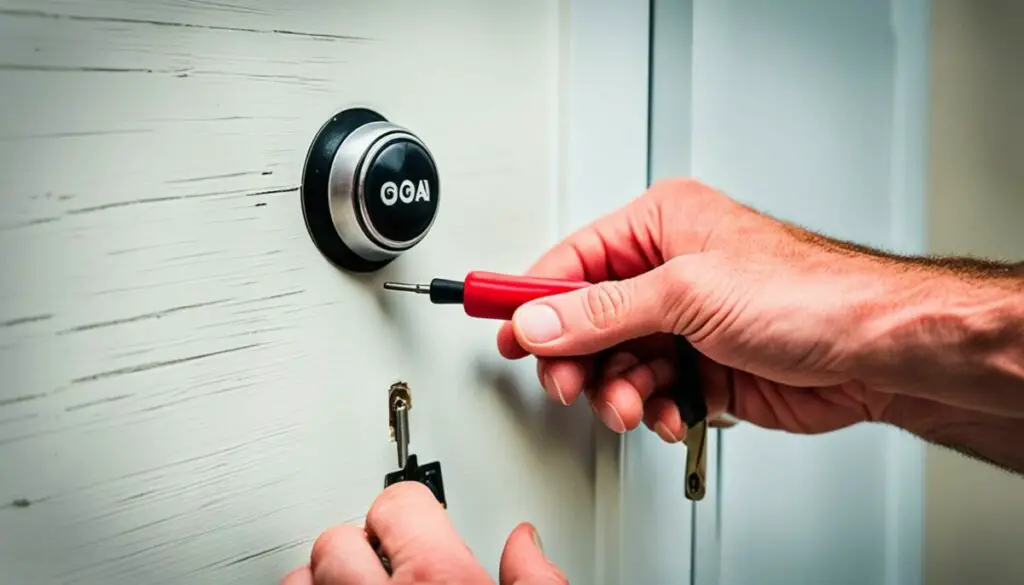
The doorbell button is an essential component of your doorbell system. When it stops working, it can be frustrating, but fear not – testing and replacing the doorbell button is a relatively simple task that you can tackle yourself. By following the steps below, you’ll be able to determine if the button is the cause of the issue and learn how to install a new one.
Locating and Removing the Doorbell Button
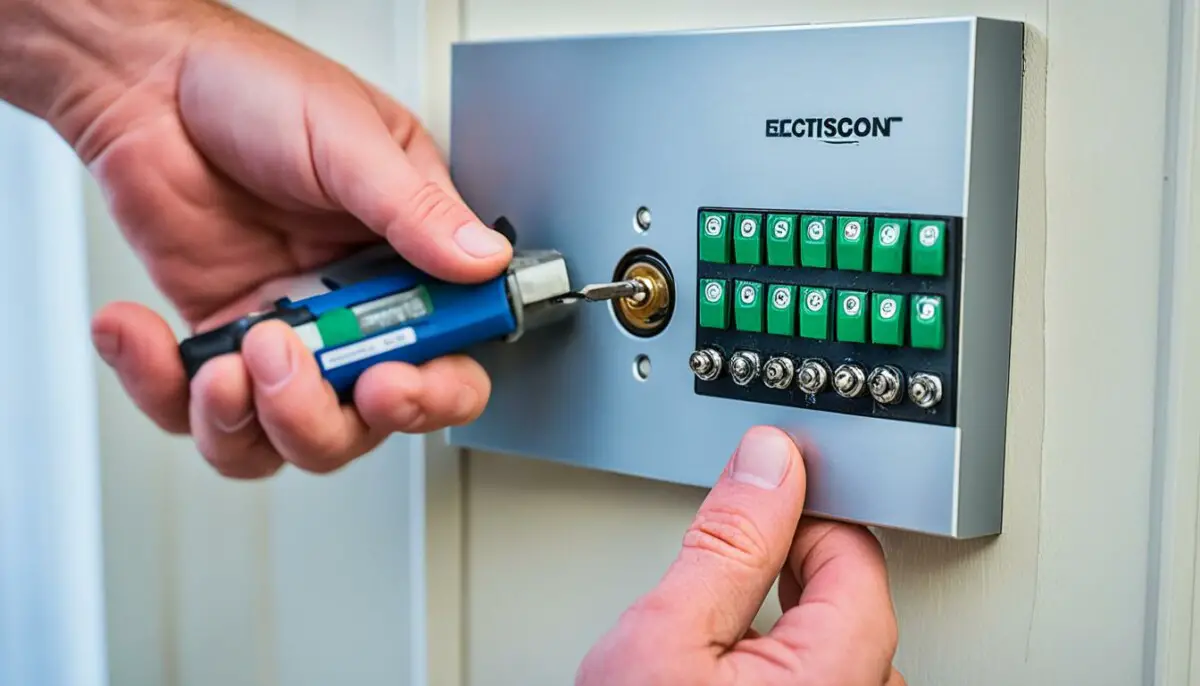
To begin, you’ll need to locate the doorbell button on the door frame or wall near your front door. It’s typically a small button with a round or rectangular shape. Once you’ve found it, grab a screwdriver and remove the screws that hold the button in place. This will allow you to access the wiring behind it.
Testing the Doorbell Button
With the doorbell button exposed, you can now test if it’s the source of the problem. Start by disconnecting the wires from the back of the button. Be sure to make a note of which wire corresponds to each terminal on the button for easy reconnection later. Once the wires are disconnected, take the two exposed ends and gently touch them together. If the doorbell rings, congratulations – you’ve successfully identified the faulty button!
Replacing the Doorbell Button
Now that you know the doorbell button needs to be replaced, it’s time to install a new one. Start by securing the wires to the wall or door frame, making sure they are neatly tucked away. Next, turn off the power supply to the doorbell system at the circuit breaker to ensure your safety during the installation process.
Attach the wires to the corresponding terminals on the new doorbell button, making sure they are securely connected. Once the wires are in place, mount the new button on the wall or door frame using the provided screws. Make sure it is positioned correctly and level.
Now that the new button is installed, it’s time to restore power to the doorbell system. Go back to the circuit breaker and turn the power back on. Finally, give your new doorbell button a test – press it to see if the doorbell chimes. If all goes well, you’ve successfully replaced the doorbell button!
By testing and replacing the doorbell button, you can troubleshoot one of the common issues that cause a doorbell to stop working. It’s a relatively quick and simple repair that you can easily do yourself. However, if you’re uncertain or uncomfortable with electrical repairs, it’s always wise to consult a professional electrician for assistance.
Replace the Doorbell Chime Unit
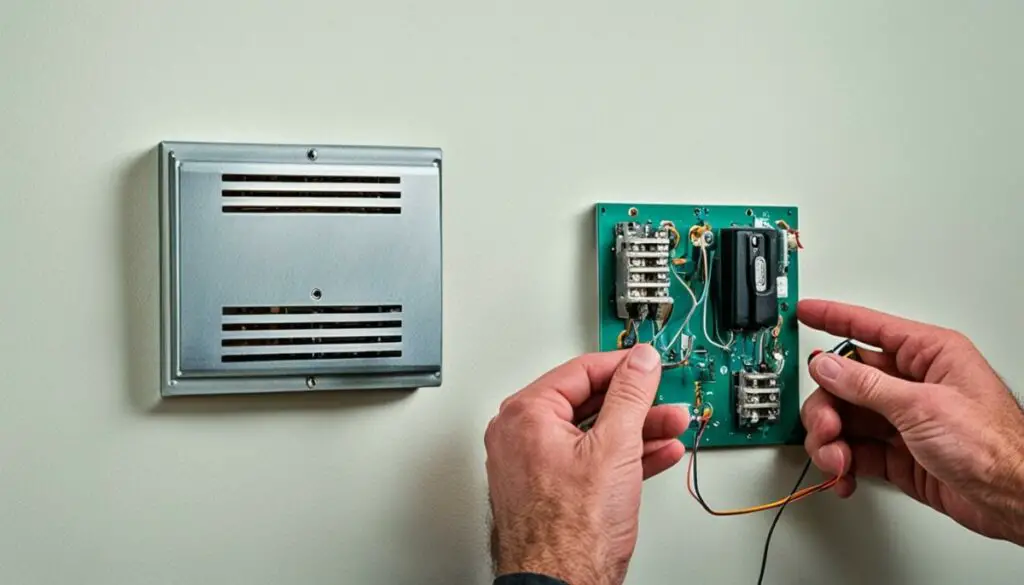
If the doorbell button is not the problem, the doorbell chime unit may be faulty. Follow these steps to replace the doorbell chime unit:
- Turn off the power to the doorbell circuit.
- Remove the cover of the chime unit.
- Using a voltage meter, check if current is flowing through the wires. If there is no current, it indicates a faulty chime unit that needs to be replaced.
- Disconnect the wires from the old chime unit.
- Connect the wires to the appropriate terminals of the new chime unit.
- Mount the new chime unit on the wall and secure it.
- Put the cover back on the chime unit.
- Turn the power back on.
After completing these steps, test the doorbell chime to ensure it is functioning properly.
Replacing the doorbell chime unit is an effective solution for troubleshooting doorbell issues. By following these steps, you can restore the functionality of your doorbell and enjoy the convenience it provides.
Replace the Transformer
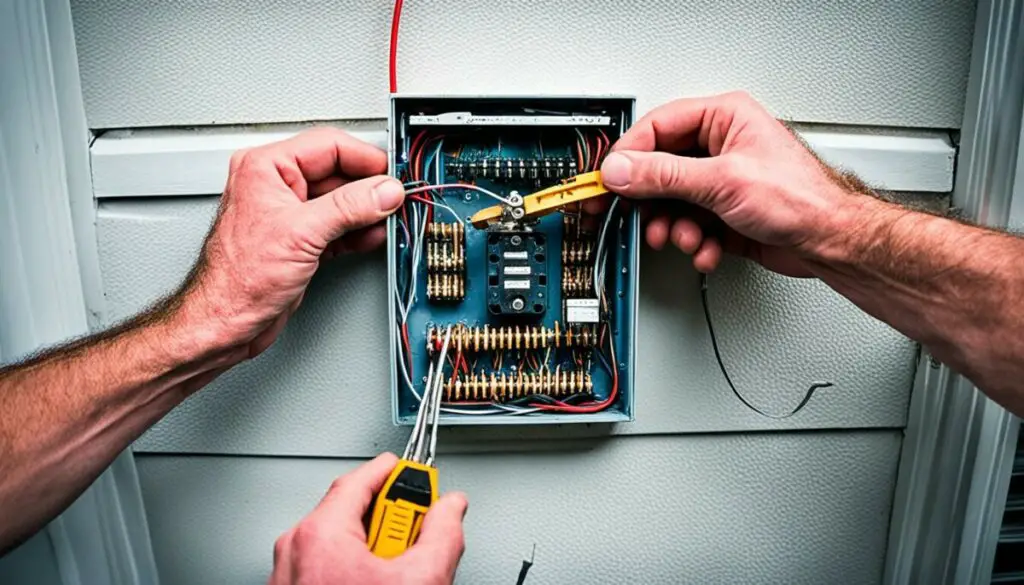
In order for your doorbell to function properly, it relies on a doorbell transformer to reduce the household voltage to the appropriate level. If your doorbell is experiencing issues, it may be necessary to replace the transformer. Follow these steps to install a new doorbell transformer:
- Begin by turning off the power to the doorbell system. This ensures your safety during the installation process.
- Next, disconnect the wires from the old transformer. It’s important to label the wires during this step to ensure proper reconnection later on.
- Remove the old transformer from its mounting location.
- Install the new transformer in the same location as the old one, ensuring that it is securely attached.
- Connect the labeled wires to the appropriate terminals on the new transformer.
- Once all connections are secure, turn the power back on and test the voltage using a multimeter to ensure that the new transformer is functioning correctly.
By replacing the doorbell transformer, you can address issues related to improper voltage and restore the functionality of your doorbell system.
| Steps to Replace the Doorbell Transformer |
|---|
| 1. Turn off the power to the doorbell system. |
| 2. Disconnect the wires from the old transformer, labeling them for future reference. |
| 3. Remove the old transformer from its mounting location. |
| 4. Install the new transformer, securely attaching it in the same location. |
| 5. Connect the labeled wires to the appropriate terminals on the new transformer. |
| 6. Turn the power back on and test the voltage using a multimeter. |
Check the Doorbell Circuit
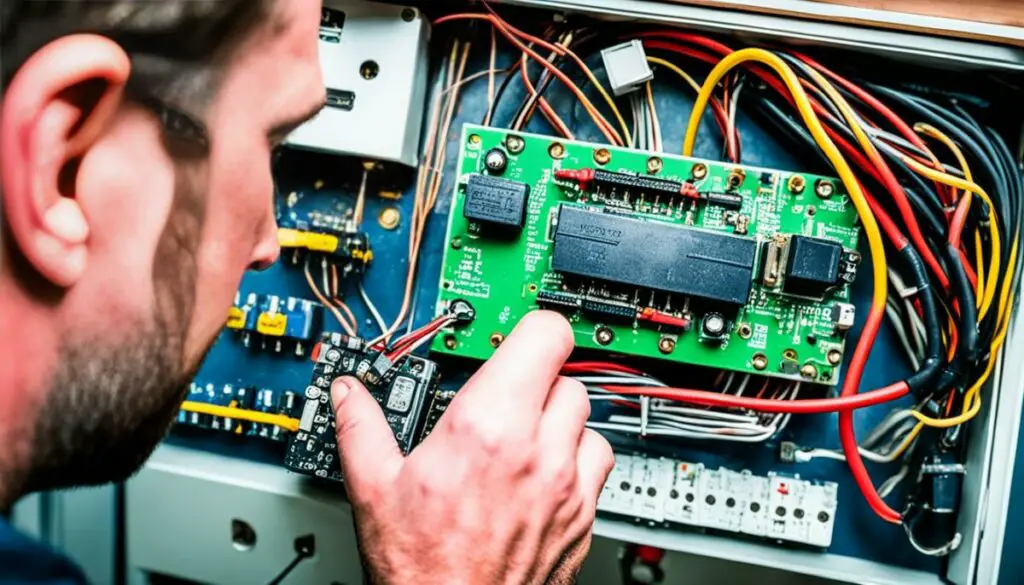
If the doorbell button, chime unit, and transformer are all in working order, the issue may lie in the doorbell circuit wiring.
Begin by checking for any visible damage or loose connections along the wiring. Inspect the wiring carefully for any signs of wear or fraying. Make sure all connections are tight and secure.
Next, use a multimeter to test each segment of the wiring for continuity. This will help you identify any breaks or interruptions in the circuit. If a break is found, you can splice or rewire the damaged section to restore continuity.
If the wiring is inaccessible or the damage is extensive, it may be necessary to run a new segment of doorbell wiring. This can be a complex task and it is recommended to hire a professional electrician to handle the installation.
Note: Hiring a professional for complex wiring repairs is always a good idea to ensure safety and proper installation.
Inspect the Wiring
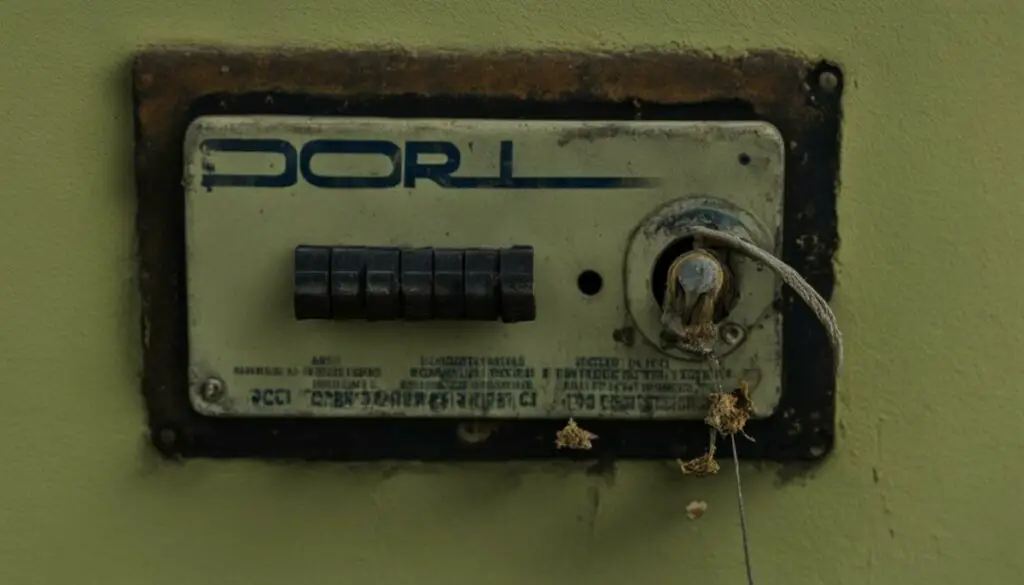
Inspecting the doorbell wiring is crucial to identify any damage that may be affecting the functionality of your doorbell. Follow these steps to ensure a thorough inspection:
- Start by checking for exposed or damaged wires near the transformer. Look for any signs of wear and tear, such as frayed insulation or broken wires.
- Next, inspect the visible areas of your home where the doorbell wiring is accessible. Pay close attention to any areas where the wiring may have been compromised, such as corners or entry points.
- If you come across any broken or damaged wires, take the following steps to repair them:
Create a clean working environment to safely strip and reconnect the wire ends. Use wire strippers to remove the damaged portion of the wire, ensuring a clean, exposed end.
Once the wire ends are stripped, use wire connectors to join the sections together. Make sure to match the colors of the corresponding wires for proper connection.
If there is limited slack in the wire, you can add a short section of wire between the broken ends. This will provide the necessary length and flexibility to ensure a secure connection.
When making repairs, it’s essential to use the appropriate gauge wire. For doorbell repairs, 18-gauge wire is commonly used.
By inspecting and repairing any damaged doorbell wiring, you can ensure the smooth operation of your doorbell system and resolve any issues related to wire damage.
Inspect the Wiring Checklist:
| Steps | Actions |
|---|---|
| 1 | Check for exposed or damaged wires near the transformer |
| 2 | Inspect visible areas of the home for signs of wire damage |
| 3 | If broken wires are found, strip the ends and rejoin them with wire connectors |
| 4 | Add a short section of wire if there is limited slack in the wire |
| 5 | Use 18-gauge wire for repairs |
Check the Chime
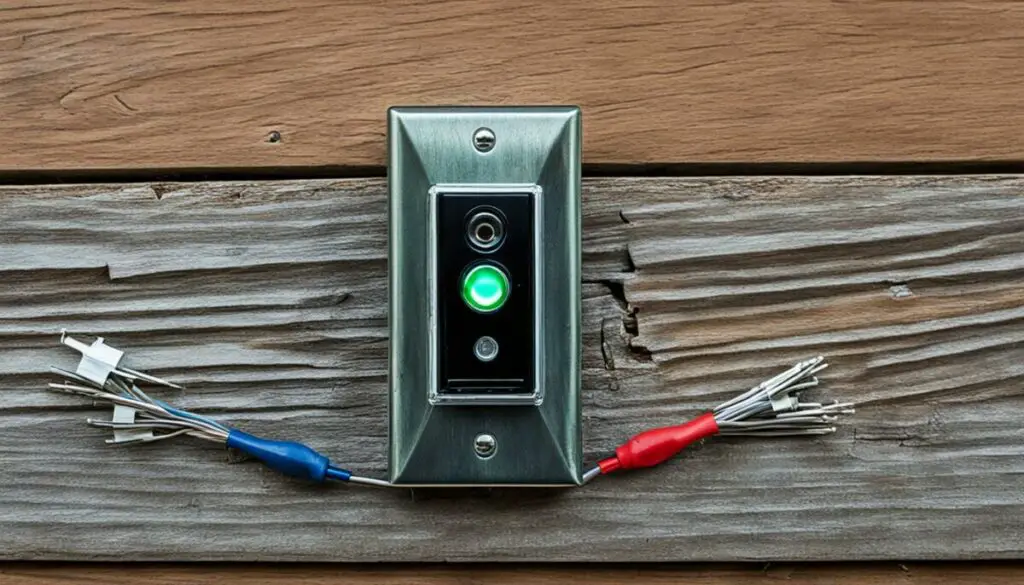
The doorbell chime is an essential component responsible for producing the pleasant sound when the doorbell is pressed. If your doorbell button is working correctly, but the chime remains silent, it’s time to check the chime itself.
To start, gently remove the cover of the chime unit to access the inner workings. You may need a screwdriver or follow the manufacturer’s instructions for your specific chime model.
Once the cover is removed, use a voltage meter to test for current while someone pushes the doorbell button. If the tester lights up but the chime does not ring, it indicates that the armatures inside the chime may be sticking or in need of cleaning.
Did you know? Cleaning the armatures inside the chime could restore its functionality without the need for replacement.
To clean the armatures, you’ll need rubbing alcohol and a soft cloth or cotton swabs. Dampen the cloth or swab with rubbing alcohol and gently wipe away any dust, debris, or residue that may be preventing the armatures from moving freely.
After cleaning the armatures, replace the chime cover, ensuring it fits securely. Then, have someone press the doorbell button again to test if the chime produces sound.
If the cleaning process doesn’t resolve the issue and the chime still does not ring, it may be necessary to replace the chime unit. Refer to the manufacturer’s instructions or consult a professional for further assistance.
| Problem | Solution |
|---|---|
| The chime does not ring when the doorbell button is pressed. | Clean the armatures inside the chime using rubbing alcohol and a soft cloth or cotton swabs. |
| The cleaning process did not resolve the issue. | Consider replacing the chime unit or consult a professional for further assistance. |
Test the Transformer
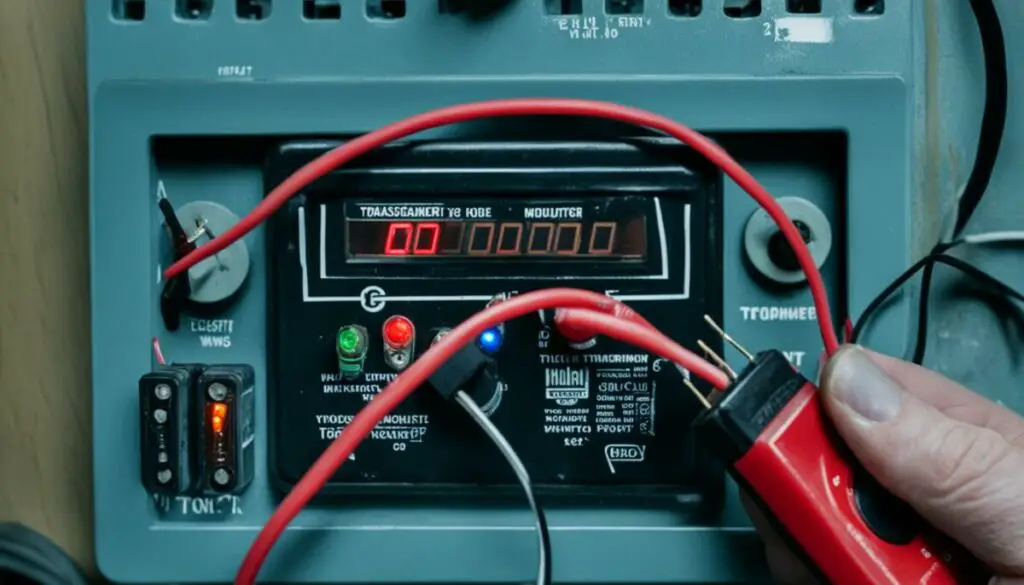
The doorbell transformer is a crucial component that converts the household voltage to the low voltage required for the doorbell to function properly. Testing the transformer can help determine if it is the cause of your doorbell issue.
To test the doorbell transformer, follow these steps:
- Turn off the power to the doorbell system.
- Locate the transformer, which is usually found near the main electrical panel.
- Using a low-voltage test light or multimeter, touch the screw terminals on the transformer.
- If the test light does not illuminate or the multimeter does not show any voltage, it indicates that the transformer may be faulty and needs to be replaced.
If you determine that the doorbell transformer needs to be replaced, you can follow these instructions:
- Disconnect the wires from the old transformer, making sure to label them for easy reconnection.
- Install the new transformer, ensuring that the doorbell button and chime wires are properly connected.
- Turn on the power to the doorbell system and test the doorbell to ensure it is functioning correctly.
Doorbell Transformer Testing Process:
“Testing the doorbell transformer is a crucial step in troubleshooting doorbell problems. By following the proper testing procedures, you can easily identify and replace a faulty transformer, restoring your doorbell’s functionality.”
| Steps to Test the Doorbell Transformer | Results |
|---|---|
| Turn off the power to the doorbell system. | No power flow to the doorbell system. |
| Locate the transformer near the main electrical panel. | Transformer is found in the expected location. |
| Touch the screw terminals on the transformer with a low-voltage test light or multimeter. | Test light illuminates or multimeter displays voltage. |
| No illumination of the test light or no voltage indicated on the multimeter. | Transformer may be faulty and needs replacement. |
Troubleshooting Tips for Doorbell Repair
In addition to the specific repair steps mentioned earlier, there are some general troubleshooting tips that can help address common doorbell issues. By following these tips, you may be able to fix your doorbell yourself and avoid unnecessary repairs.
Check the Circuit Breaker
Before diving into complex repairs, start by checking the circuit breaker. Sometimes, a tripped breaker can cause the doorbell to stop working. Locate the circuit breaker panel in your home and look for any breakers that are in the “off” position. If you find a tripped breaker, switch it back on and test the doorbell.
Clean the Doorbell Button and Chime Contacts
Dirt and debris can accumulate on the doorbell button and chime contacts over time, affecting their functionality. To clean them, gently wipe the surfaces with a clean cloth or use a cotton swab dipped in rubbing alcohol. This simple maintenance task can often restore proper functionality to your doorbell.
Ensure Secure Wiring Connections
Loose or corroded wiring connections can cause the doorbell to malfunction. Inspect the wiring connections at the doorbell button, chime unit, and transformer. If you notice any loose or corroded wires, tighten the connections or replace them if necessary. Clean off any corrosion with a wire brush or sandpaper before reconnecting.
Maintain Regular Doorbell Maintenance
Just like any other electrical device, regular maintenance can help prevent future problems with your doorbell. Take the time to visually inspect the doorbell components, including the button, chime unit, and transformer, for any signs of damage or wear. Clean off any dirt or debris, and consider lubricating moving parts if necessary. By keeping your doorbell in good condition, you can prolong its lifespan and avoid frequent repairs.
Remember, while some doorbell issues can be easily fixed with DIY troubleshooting and maintenance, more complex electrical repairs should be handled by a professional electrician. If you’re unsure or uncomfortable with electrical work, it’s always best to seek help from a qualified expert.
| Troubleshooting Tips | Benefits |
|---|---|
| Check the circuit breaker | Ensures power supply is active |
| Clean the doorbell button and chime contacts | Removes dirt and debris for optimal functionality |
| Ensure secure wiring connections | Prevents loose or faulty connections |
| Maintain regular doorbell maintenance | Prevents future issues and prolongs lifespan |
Consider Wireless Doorbell Options
If you prefer a simpler and more convenient option, consider installing a wireless doorbell. Wireless doorbells are easy to install and offer a wide range of designs and features. They eliminate the need for complex wiring and can be placed anywhere in your home or business. Battery-operated wireless doorbells are available with various sound choices and can be a stylish addition to your decor.
With a wireless doorbell, you can enjoy the following benefits:
- Easy installation: No need to hire an electrician or deal with complicated wiring. Simply mount the doorbell button and plug in the chime unit.
- Flexible placement: Choose the ideal location for your doorbell button and chime unit without being restricted by wiring limitations.
- Enhanced convenience: Receive doorbell alerts anywhere in your home or business, so you never miss a visitor.
- Customizable options: Wireless doorbells offer a variety of sound choices, allowing you to personalize the chime to your preference.
- Expandable systems: Some wireless doorbell systems can be expanded to include multiple buttons and chime units, perfect for larger properties or multiple entrances.
Wireless Doorbell Installation:
Installing a wireless doorbell is a straightforward process:
- Choose a suitable location for the doorbell button near your front door.
- Mount the doorbell button using the provided adhesive or screws, depending on the type of surface.
- Place the chime unit indoors, preferably within a reasonable range of the doorbell button.
- Plug in the chime unit to a standard electrical outlet.
- Follow the manufacturer’s instructions to pair the doorbell button and chime unit, ensuring they are communicating with each other.
Once installed, your wireless doorbell is ready to use, providing you with a reliable and convenient way to be alerted when someone is at your door.
| Benefits of Wireless Doorbells | Traditional Wired Doorbells |
|---|---|
| No complex wiring required | Requires professional installation for wiring |
| Flexible placement options | Restricted by wiring limitations |
| Easy installation process | Requires technical knowledge for installation |
| Customizable sound choices | Limited sound options |
| Expandable systems for multiple entrances | Limited to single doorbell connection |
Wireless Doorbell Brands:
- Ring
- Nest
- Heath Zenith
- Arlo
- Honeywell
Wireless Doorbell Price Range:
The price of wireless doorbell systems varies depending on the brand, features, and included components. On average, wireless doorbell kits range from $20 to $100.
Conclusion
Fixing a malfunctioning doorbell is not as complicated as it may seem. With the knowledge and tools provided in this easy doorbell repair guide, you can confidently troubleshoot and resolve common doorbell issues on your own. Whether it’s testing and replacing the doorbell button, replacing the chime unit or transformer, or checking the doorbell circuit, these DIY fixes can get your doorbell up and ringing again.
However, it’s important to prioritize your safety and comfort level when it comes to electrical repairs. If you’re unsure or uncomfortable working with electrical components, it’s always recommended to consult a professional electrician. They have the expertise and experience to handle complex wiring repairs and ensure proper installation.
By following the steps in this guide, you can save time and money by avoiding unnecessary service calls and easily resolve doorbell issues. Remember to regularly clean and inspect your doorbell components to prevent future problems. With a little DIY know-how, you can keep your doorbell functioning seamlessly to welcome guests and ensure your peace of mind.
FAQ
Start by locating the doorbell button on the door frame or wall near your front door. Use a screwdriver to remove the screws and disconnect the wires from the back of the button. Gently touch the wires together to see if the doorbell rings. If it does, the button needs to be replaced. Install the new button by securing the wires to the wall, attaching them to the new button, and mounting it on the wall. Test the doorbell button after turning the power back on.
How do I replace the doorbell chime unit?
To replace the doorbell chime unit, start by turning off the power and removing the cover of the chime unit. Use a voltage meter to check if current is flowing through the wires. If there is no current, the chime unit needs to be replaced. Disconnect the wires from the old chime unit and connect them to the appropriate terminals of the new chime unit. Mount the new chime unit on the wall and put the cover back on. Test the doorbell chime after turning the power back on.
How do I replace the doorbell transformer?
Start by turning off the power and disconnecting the wires from the old transformer. Label the wires and remove the old transformer. Install the new transformer and connect the labeled wires to the appropriate terminals. Test the voltage to ensure the new transformer is working correctly.
How do I check the doorbell circuit?
Begin by checking for any visible damage or loose connections along the wiring. Use a multimeter to test each segment of the wiring for continuity. If a break is found, splice or rewire the damaged section. Consider hiring an electrician for complex wiring repairs.
How do I inspect the doorbell wiring?
Start by checking for exposed or damaged wires near the transformer or in visible areas of the home. If any broken wires are found, strip the ends and rejoin them with wire connectors. If there is limited slack in the wire, add a short section of wire between the broken ends. Be sure to use 18-gauge wire for the repair.
How do I check the doorbell chime?
Remove the cover of the chime and use a voltage meter to test for current while someone pushes the doorbell button. If the tester lights up but the chime does not ring, clean the armatures inside the chime with rubbing alcohol and try pressing the button again.
How do I test the doorbell transformer?
Touch the screw terminals of the transformer with a low-voltage test light. If the tester does not light up, the transformer may need to be replaced. Locate the transformer near the main electrical panel, disconnect the wires, install the new transformer, and connect the doorbell button and chime wires.
What are some troubleshooting tips for doorbell repair?
Start by checking the circuit breaker, cleaning the doorbell button and chime contacts, and ensuring wiring connections are secure and free from corrosion. Regular maintenance, such as cleaning and inspecting the doorbell components, can help prevent issues in the future.
What are the benefits of a wireless doorbell?
Wireless doorbells are easy to install and offer a wide range of designs and features. They eliminate the need for complex wiring and can be placed anywhere in your home or business. Battery-operated wireless doorbells are available with various sound choices and can be a stylish addition to your decor.
Can I fix my doorbell myself, or should I consult a professional?
By following the steps outlined in this easy doorbell repair guide, you can troubleshoot and fix common doorbell issues yourself. However, if you’re unsure or uncomfortable with electrical repairs, it’s always best to consult a professional electrician.

