Last Updated on 3 months by Francis
Do you love using your headphones but dread the unpleasant smell that often accompanies them? Smelly headphones can be quite bothersome and can even ruin your listening experience. But fear not, as there are effective fixes to get rid of that bad odor and freshen up your headphones. In this article, we’ll explore why headphones can develop bad odors and provide you with some helpful tips to eliminate those unpleasant smells.
Contents
Key Takeaways:
- Regularly cleaning your headphones helps to prevent bad odors and maintain their performance.
- Using the right materials and techniques for cleaning is crucial to avoid damaging your headphones.
- You can clean different types of headphones, including over-ear headphones, earbuds, and true wireless earbuds’ charging cases.
- Properly cleaning the headphone jack ensures optimal connectivity and audio performance.
- Preventive measures, such as using protective covers and wiping down your headphones after use, can help prevent bad odors.
The Importance of Clean Headphones
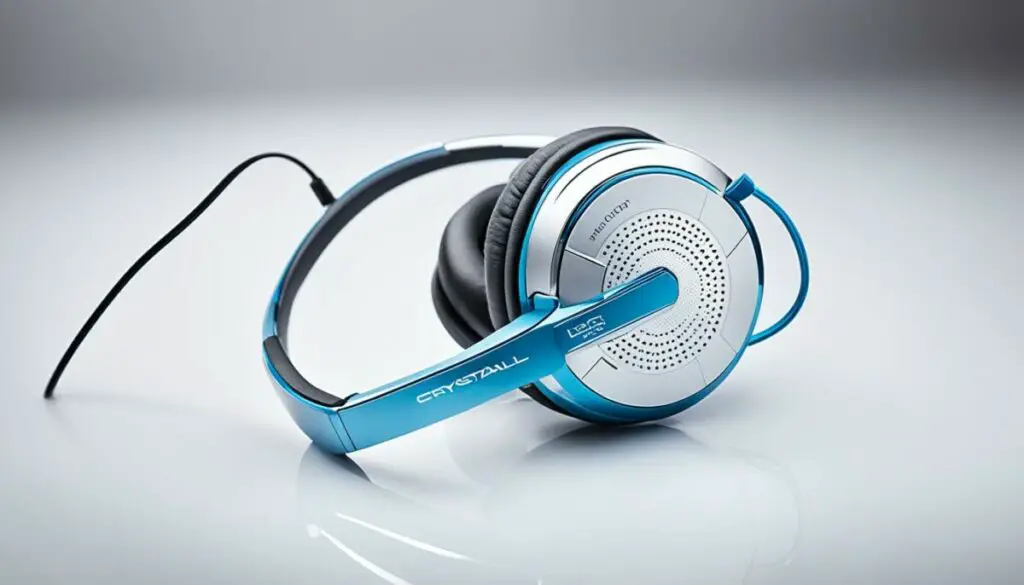
Cleaning your headphones regularly is not only important for maintaining hygiene but also has various benefits for the overall performance and longevity of your headphones. By keeping your headphones clean, you can prevent the development of bad odors, improve sound quality, and reduce the risk of ear infections.
When headphones are used over time, dirt, sweat, and earwax can accumulate on the ear cups or earbuds. This buildup can affect not only the appearance of your headphones but also the sound clarity and volume. Additionally, bacteria can thrive in a dirty environment, increasing the chance of ear infections or other discomforts. By cleaning your headphones, you optimize the audio performance and ensure a better listening experience.
Moreover, regular cleaning helps to prolong the lifespan of your headphones. Dust, dirt particles, or moisture can damage the internal components and compromise their functionality. By removing these contaminants, you reduce the risk of internal damage, ensuring that your headphones stay in good working condition for longer.
Clean headphones also maintain their comfort. Imagine wearing headphones that have a strong odor or feel sticky due to accumulated dirt. Cleaning your headphones not only eliminates bad smells but also provides a fresh and comfortable experience, particularly during long listening sessions.
Overall, the importance of clean headphones cannot be overstated. By preventing bad odors, enhancing sound quality, promoting hygiene, and prolonging their lifespan, regular cleaning is essential for every headphone user. It ensures a pleasant and hygienic listening experience while preserving the investment you made in your headphones.
Materials for Cleaning Headphones
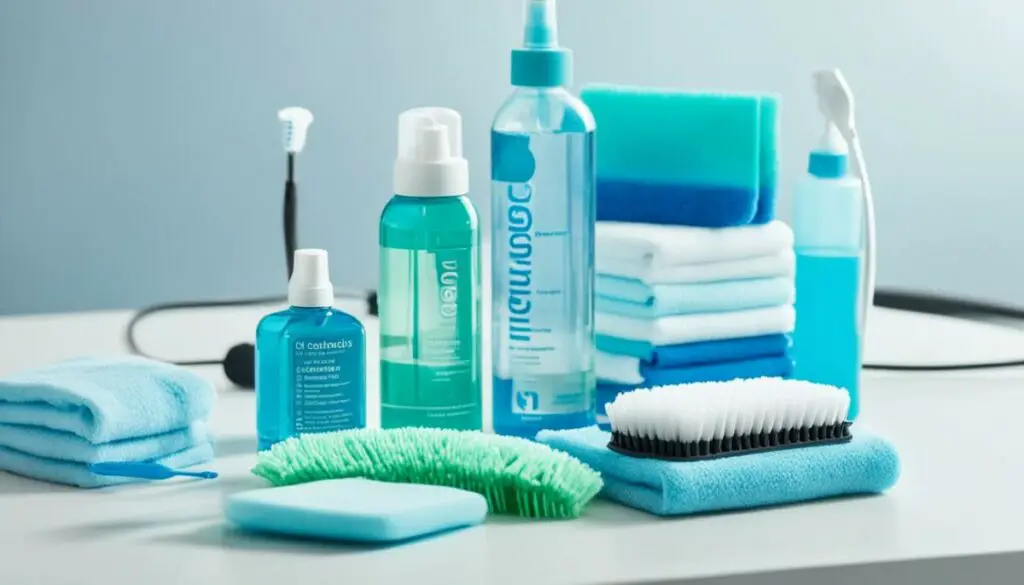
Properly cleaning your headphones requires a few essential materials to ensure effective and safe results. By using the right tools and cleaning agents, you can keep your headphones in excellent condition and eliminate any unpleasant odors.
Here is a list of materials you will need:
| Materials | Description |
|---|---|
| Soft-bristled toothbrush | A toothbrush with soft bristles is perfect for gently scrubbing and removing dirt from the headphone surfaces without causing any damage. |
| Cotton swabs | Cotton swabs are useful for reaching small crevices and tight spaces that are difficult to clean with a cloth or brush. |
| Soapy solution | A soapy solution made by mixing one part mild liquid soap with two parts warm water provides a gentle yet effective cleaning agent for removing dirt and grime. |
| Isopropyl alcohol | Isopropyl alcohol helps disinfect and sanitize the surfaces of your headphones, eliminating bacteria and germs that can cause odors. |
| Lint-free cloth or paper towel | Using a lint-free cloth or paper towel ensures that no residue or fibers are left behind after cleaning, leaving your headphones spotless. |
| Wooden toothpick | A wooden toothpick is handy for gently dislodging and removing dirt or debris from small crevices and hard-to-reach areas. |
| Tweezers (optional) | Tweezers can be useful for removing any larger debris or particles that are stuck in the headphones. |
It’s essential to avoid using sharp tools and abrasive cleaning agents as they can damage the materials of your headphones. Following the proper cleaning techniques and utilizing these materials will help keep your headphones in good condition and prevent the buildup of bad odors.
How to Clean Over-Ear Headphones
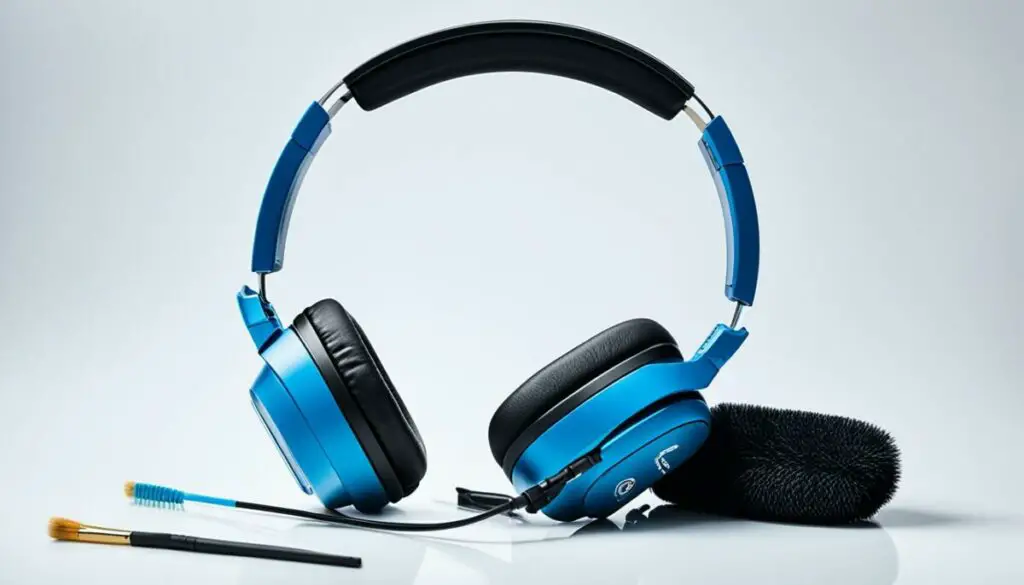
Over-ear headphones are a popular choice for many music enthusiasts due to their comfort and superior sound quality. However, it’s important to keep them clean to ensure optimal performance and prevent the development of bad odors. Here’s a step-by-step guide on how to effectively clean your over-ear headphones:
- Remove the ear pads: Start by gently removing the ear pads from the headphones. Carefully detach them according to the manufacturer’s instructions.
- Wipe the ear pads: Dampen a soft cloth with a mixture of warm water and mild soap. Gently wipe the ear pads to remove any dirt, sweat, or oil buildup. Make sure not to soak the pads or use excessive moisture.
- Clean the base and drivers: Use a lint-free cloth dampened with isopropyl alcohol to clean the base of the ear pads and the headphone drivers. This will effectively remove any accumulated grime and help eliminate odors.
- Reach harder-to-clean areas: For smaller crevices and hard-to-reach areas, use cotton swabs or toothpicks. Be gentle to avoid damaging the headphone components.
- Allow the parts to dry: After cleaning, give the ear pads, base, and drivers enough time to air dry completely. This will help prevent moisture buildup and potential damage.
- Reassemble the headphones: Once the parts are dry, carefully reattach the ear pads to the headphones following the manufacturer’s instructions.
By following these simple steps, you can effectively clean your over-ear headphones, removing dirt, debris, and unpleasant odors. Remember to clean your headphones regularly to maintain their performance and enjoy a fresh listening experience.
How to Clean Earbuds
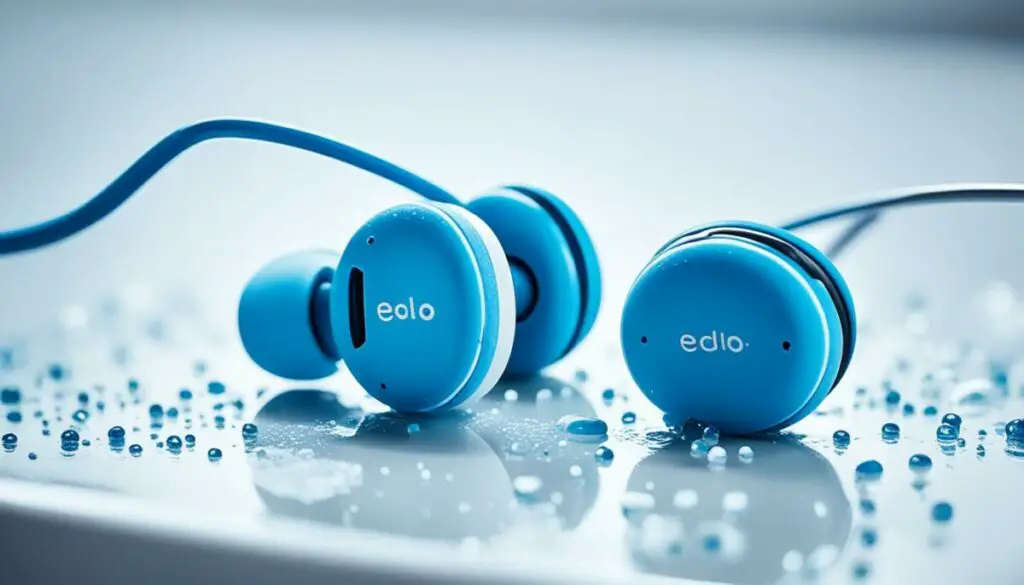
Cleaning your earbuds is essential to maintain their performance and prevent the buildup of dirt, earwax, and bad odors. Follow these simple steps to keep your earbuds clean and fresh:
- Remove the ear tips: If your earbuds have detachable ear tips, gently remove them from the earbuds.
- Submerge the ear tips: Fill a small bowl with warm soapy water (1 part soap to 2 parts water) and place the ear tips in the bowl. Let them soak for a few minutes to loosen any dirt or debris.
- Wipe down the ear tips: After soaking, take each ear tip and wipe it down with a clean, damp cloth. Make sure to remove any remaining dirt or soap residue.
- Clean the crevices: Use cotton swabs dipped in isopropyl alcohol to clean the crevices of the ear tips. Gently scrub the areas where dirt can accumulate.
- Clean the earbud speakers and mesh: Use a toothbrush or a toothpick to clean the speakers and mesh of the earbuds. Be careful not to apply too much pressure to avoid damaging the delicate components.
- Wipe the earbuds: Take a lint-free cloth dampened with isopropyl alcohol and wipe the rest of the earbuds, including the cords and the main body, to remove any dirt or oils.
Remember to allow the ear tips and the earbuds to dry completely before reassembling and using them again. By regularly cleaning your earbuds, you can enjoy a hygienic listening experience with improved sound quality.
“Regular cleaning of earbuds helps prevent the buildup of dirt, earwax, and bad odors.”
How to Clean True Wireless Earbuds’ Charging Case
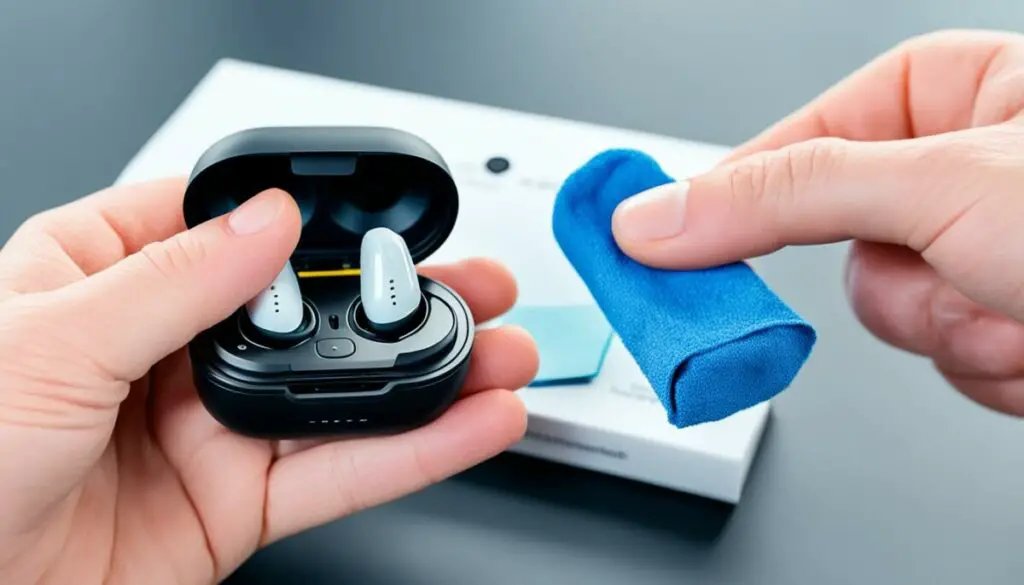
Cleaning true wireless earbuds’ charging case is crucial for maintaining its functionality and preventing the buildup of dirt and bad odors. Follow these simple steps to keep your charging case clean and in good condition:
- Start by wiping the outside of the charging case with a lint-free cloth dampened with alcohol. This will help remove any smudges or dirt on the surface.
- Next, use a cotton swab to clean the inside of the case. Gently remove any dirt or debris that may have accumulated.
- To clean the edges of the case, you can use a wooden toothpick. Be careful not to exert too much force to avoid damaging the charging ports or other delicate components.
- After cleaning, make sure to let the case dry completely before using it again. This is important to prevent any potential issues with charging and connecting the earbuds.
Regularly cleaning your true wireless earbuds’ charging case will help maintain its functionality and prevent the formation of bad odors. By following these cleaning steps, you can ensure that your charging case remains in optimal condition.
How to Clean the Headphone Jack
Cleaning the headphone jack is essential for maintaining proper connectivity between your headphones and device. Over time, dust and lint can accumulate in the jack, leading to connectivity issues and subpar audio performance. By regularly cleaning the headphone jack, you can ensure optimal audio quality and prevent any disruptions in your listening experience.
There are several methods you can use to clean the headphone jack:
- Compressed air: Using a can of compressed air, gently blow air into the headphone jack to dislodge any dust or lint trapped inside. Be sure to hold the can upright and use short bursts of air to avoid exerting too much pressure on the jack.
- Interdental brush: An interdental brush is a small brush with bristles that can fit into narrow spaces. Insert the brush into the headphone jack and move it in a circular motion to remove any debris.
- Pipe cleaner: Similar to an interdental brush, a pipe cleaner can be used to clean the headphone jack. Twist the pipe cleaner to create a small brush-like tip, insert it into the jack, and rotate it gently to remove dust and lint.
- Bent paper clip with double-sided tape: Straighten a paper clip and bend one end into a small loop. Attach a small piece of double-sided tape to the loop, and then carefully insert it into the headphone jack. The sticky tape will pick up any debris it comes into contact with.
Regardless of the method you choose, it’s crucial to be gentle when cleaning the headphone jack to avoid damaging the delicate metal interior. Avoid using excessive force or sharp objects that could scratch or dislodge the components inside the jack.
Regularly cleaning the headphone jack will help maintain a strong and reliable connection between your headphones and device. It’s recommended to clean the jack every few months or whenever you notice a decrease in audio quality or connectivity issues.
Remember, a clean headphone jack ensures optimal audio performance and a seamless listening experience.
Tips for Preventing and Removing Bad Odors from Headphones
Are you tired of dealing with unpleasant smells coming from your headphones? Don’t worry, we’ve got you covered. Here are some handy tips to help you prevent and eliminate bad odors, ensuring that your headphones always smell fresh and clean.
1. Use Protective Covers
Protective covers are an excellent way to prevent bad odors from developing in your headphones. These covers act as a barrier, preventing sweat, dirt, and oils from coming into direct contact with the headphone pads and speakers. With a wide variety of covers available in the market, you can easily find one that fits your headphones perfectly.
2. Store Your Headphones Properly
Proper storage is crucial for avoiding headphone odors. When not in use, make sure to store your headphones in a clean and dry case or pouch. This helps protect them from dust, moisture, and other elements that can contribute to unpleasant smells. Additionally, storing your headphones in a case reduces the chances of them coming into contact with dirt and debris, keeping them fresh for longer.
3. Wipe Down Your Headphones After Each Use
To keep your headphones smelling great, make it a habit to wipe them down after each use. Use a soft, lint-free cloth or a slightly damp cloth to remove any dirt, sweat, or oils that may have accumulated on the surface. Be sure to pay attention to the ear pads, headband, and other areas that come into contact with your skin. Regular cleaning will help prevent any lingering odors from developing.
4. Try Cleaning Methods for Existing Odors
If your headphones already have a bad odor, don’t worry – there are ways to eliminate it. You can try cleaning your headphones using the methods we’ve discussed earlier in this article. From using a soapy solution to wiping down with isopropyl alcohol, these cleaning techniques can help remove dirt, oils, and bacteria that contribute to unpleasant smells. Alternatively, you can also explore specialized cleaning kits available in the market that are designed specifically for headphones.
Remember, regular cleaning, proper storage, and good hygiene practices are key to preventing and removing bad odors from headphones. By following these tips, you can enjoy fresh-smelling headphones and enhance your overall listening experience.
By keeping your headphones clean and odor-free, you can focus on what matters most – the music!
Conclusion
Regular cleaning and maintenance are essential for maintaining the cleanliness and longevity of your headphones. By following the proper cleaning techniques and implementing preventive measures, you can ensure that your headphones stay fresh, clean, and free from bad odors.
To maintain clean headphones, it is important to use the right materials and tools. Soft-bristled toothbrushes, cotton swabs, soapy solutions, isopropyl alcohol, and lint-free cloths are some of the items that can help you effectively clean your headphones. Remember to avoid using sharp tools or abrasive cleaning agents that could damage your headphones.
Additionally, implementing preventive measures such as using protective covers, storing your headphones in a case, and wiping them down after each use can help prevent the development of bad odors. By incorporating these practices into your headphone care routine, you can enjoy an optimal listening experience without the worry of unpleasant smells.
Take care of your headphones to maximize their performance and longevity. With proper cleaning, maintenance, and preventive measures, you can keep your headphones fresh, clean, and odor-free for years to come.
FAQ
Why do my headphones develop a bad odor?
Headphones can develop a bad odor due to the accumulation of dirt, sweat, and oils from your ears and skin. These substances can seep into the materials of the headphones, causing an unpleasant smell.
How can I get rid of the bad smell in my headphones?
To eliminate the bad odor in your headphones, you can clean them using the proper techniques and materials. Regular cleaning with a soft-bristled toothbrush, soapy solution, and isopropyl alcohol can help remove dirt and bacteria that cause the smell.
What materials do I need to clean my headphones?
To clean your headphones, you will need a soft-bristled toothbrush, cotton swabs, a soapy solution (1 part soap with two parts warm water), isopropyl alcohol, a lint-free cloth or paper towel, a wooden toothpick, and tweezers (optional).
How do I clean over-ear headphones?
To clean over-ear headphones, you should remove the ear pads, wipe them with a damp cloth and soapy solution, clean the base of the ear pads and the headphone drivers with a lint-free cloth dampened with alcohol, and use cotton swabs or toothpicks for harder-to-reach areas.
How do I clean earbuds?
To clean earbuds, you should remove the detachable ear tips (if applicable), submerge them in soapy water, wipe them down, use cotton swabs to clean crevices, use a toothbrush or toothpick to clean the earbud speakers and mesh, and wipe the rest of the earbuds with a lint-free cloth dampened with alcohol.
How do I clean true wireless earbuds’ charging case?
To clean true wireless earbuds’ charging case, you should wipe the outside of the case with a lint-free cloth dampened with alcohol, use a cotton swab to remove dirt from inside the case, and use a wooden toothpick to gently remove smaller debris stuck in the edges of the case.
How do I clean the headphone jack?
To clean the headphone jack, you can use a can of compressed air or other tools like an interdental brush, pipe cleaner, or a bent paper clip with double-sided tape. This will help dislodge and remove dust and lint trapped in the jack.
How can I prevent bad odors in my headphones?
You can prevent bad odors in your headphones by using protective covers, storing them in a case, and wiping them down after each use. Regular cleaning, proper storage, and good hygiene practices can help keep your headphones smelling fresh and clean.
What are some additional tips for freshening up headphones?
In addition to regular cleaning and preventive measures, you can also try using specialized helmet cleaning kits available in the market to freshen up your headphones. These kits are designed to eliminate odor-causing bacteria and leave your headphones smelling clean.
How important is it to clean my headphones regularly?
Cleaning your headphones regularly is essential to prevent the development of bad odors, improve their performance and durability, and ensure a better listening experience. Accumulated dirt and debris can affect the sound quality of your headphones and even lead to ear infections.



.jpg)

