Last Updated on 4 months by Francis
Are you fascinated by lasers and curious about building one yourself? In this DIY guide, we will explore the process of constructing an infrared laser from scratch. Building a laser may seem like a complex undertaking, but with the right techniques and materials, it can be an achievable project for enthusiasts and hobbyists.
Before we dive into the steps of building an infrared laser, it’s important to gather the necessary tools and materials. This ensures that you have everything you need for a successful construction process. Let’s explore the key components required for constructing your own infrared laser.
Contents
Key Takeaways:
- Building an infrared laser is an exciting DIY project that can be accomplished with the right techniques and materials.
- Gathering the necessary tools and components is essential for the construction process.
- Key components for building an infrared laser include a laser diode, collimation optics, a driver, a power supply, a heatsink, and a project box.
- Tools such as a soldering iron, DMM, and pliers are necessary for the construction process.
- Following a step-by-step guide and taking proper safety precautions are essential for a successful construction project.
What Do I Need to Build a Laser?
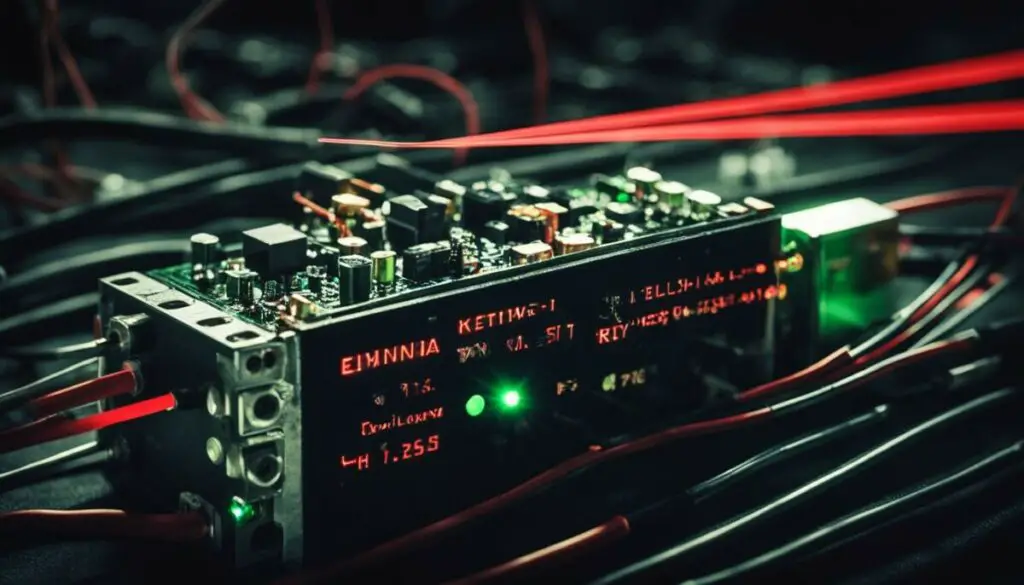
To build a laser, you will need several essential components and tools. Here’s a list of what you’ll need:
- Laser Diode: This is the heart of your laser, responsible for generating the laser beam. Choose a diode that fits your desired laser specifications.
- Collimation Optics: These optics help shape and focus the laser beam. They ensure the emitted light is parallel and concentrated.
- Current Regulator: A current regulator controls the amount of current flowing through the laser diode, preventing it from overheating or burning out.
- Power Supply: Your laser will require a stable power supply to operate. Consider the appropriate power source based on your project’s needs.
- Heatsink: Heat management is crucial for laser diodes. A heatsink dissipates excess heat, preventing damage to the diode.
- Electronics Housing: An electronics housing protects the laser components and provides a stable structure for your setup.
- Safety Switch: Add a safety switch to ensure controlled laser activation and prevent accidental exposure.
- LED: An optional LED indicator can help you monitor the laser’s status and power supply.
- Cooling Fan: If your laser setup generates significant heat, consider adding a cooling fan to improve heat dissipation.
Having these components and tools ready will set you on the right path to successfully build your own laser. Now, let’s dive deeper into each component and explore their functions:
Laser Diode
The laser diode, also known as the laser module, is the core component responsible for emitting laser light. It converts electrical energy into coherent light. The choice of laser diode will depend on the desired output wavelength, power, and other specific requirements of your project.
Collimation Optics
Collimation optics, such as lenses and mirrors, are used to shape and focus the laser beam. They ensure that the emitted light is parallel and concentrated, enabling efficient laser performance.
Current Regulator
A current regulator is necessary to control the current flowing through the laser diode. It ensures a consistent and stable current, preventing the diode from overheating or burning out prematurely.
Power Supply
A reliable power supply is essential to provide the necessary electrical energy for the laser diode to function. Depending on your setup, you can choose from options such as batteries, wall adapters, or specialized power supplies.
Heatsink
Heat management is critical for laser diodes, as they can become easily damaged by excessive heat. A heatsink helps dissipate the heat generated during laser operation, allowing for extended usage and ensuring the longevity of your laser diode.
Electronics Housing
An electronics housing provides a protective and organized enclosure for your laser components. It ensures that all components are securely mounted and properly connected, minimizing the risk of accidental damage or interference.
Safety Switch
A safety switch is an important addition to your laser setup, allowing you to control when the laser is activated. It adds an extra layer of safety and prevents accidental exposure to the laser beam.
LED
An LED indicator serves as a visual cue to monitor the status of your laser. It can provide information about power supply status, laser activation, or any other relevant data to ensure smooth operation and troubleshooting.
Cooling Fan
If your laser setup generates significant heat during operation, incorporating a cooling fan can help dissipate that heat efficiently. This prevents overheating and ensures the continuous and stable performance of your laser.
Now that you know the key components needed, let’s explore the tools required for building a laser in the next section.
What Tools Do I Need?
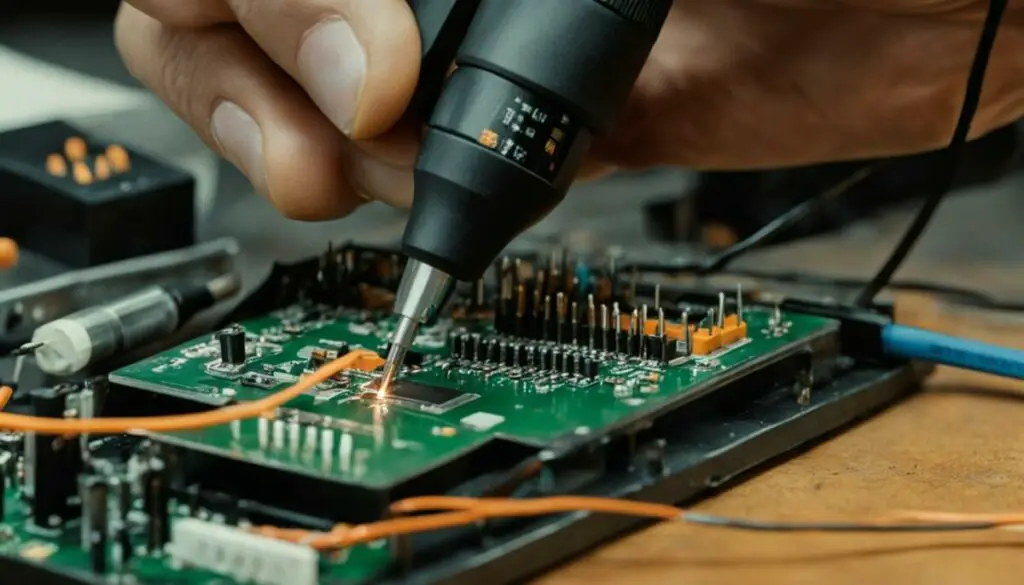
Building a laser requires specific tools that can help you complete the construction process effectively. Here are the essential tools you’ll need:
- Soldering Iron: A soldering iron is necessary for making secure connections between components, such as the laser diode and wires.
- Solder: Solder is used to create strong and reliable electrical connections when soldering the components together.
- DMM (Digital Multi Meter): A DMM is a digital instrument that allows you to measure current, voltage, and resistance. It is crucial for troubleshooting and ensuring accurate readings during the laser-building process.
- Wires: High-quality wires are essential for connecting various components of the laser, ensuring proper electrical conductivity.
- Pliers: Pliers assist in gripping and bending wires, making it easier to manipulate them during the assembly.
- Tweezers: Tweezers provide precision when handling small components, especially the laser diode, preventing any accidental damage.
- Vice: A vice is useful for securing and stabilizing the laser module or other components while working on them.
- 3rd Hand: A 3rd hand tool is designed with adjustable clamps to hold the laser module or other small parts in place, leaving your hands free for soldering or other tasks.
Having these tools readily available will ensure a smoother construction process and help you achieve accurate and secure connections for your DIY laser project.
Gathering the Laser Diode
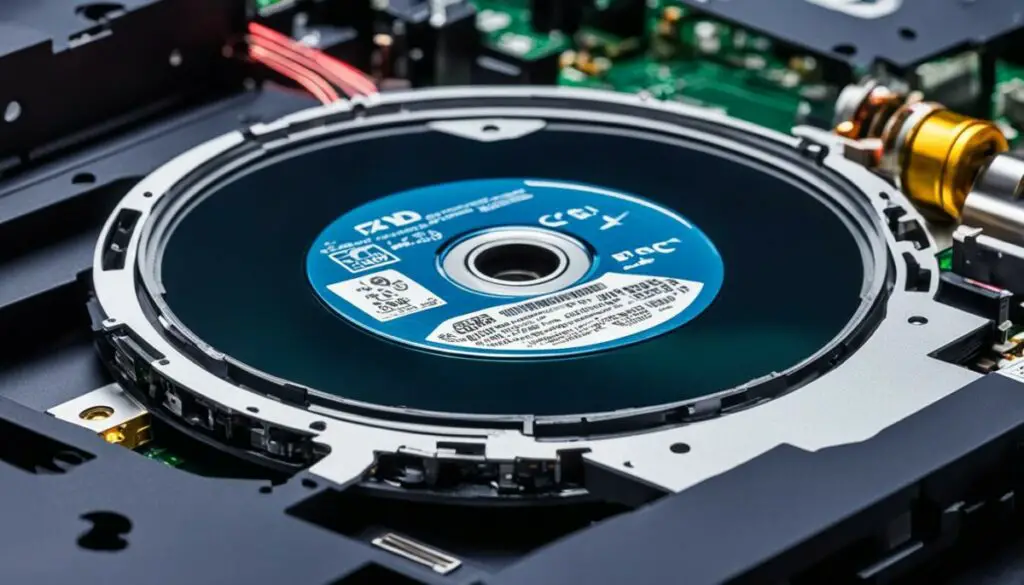
When building an infrared laser, obtaining a laser diode is a crucial step. There are two primary methods for acquiring a laser diode: extracting it from a DVD drive or purchasing a laser assembly online.
If you choose to extract the diode from a DVD drive, it is important to consider the specific model and drive write speed. DVD drives contain a diode assembly that houses the laser diode, such as the commonly used red laser diode LPC-815. Ensure the drive you select contains the compatible diode assembly with the LPC-815 model and appropriate drive write speed.
An alternative option is to purchase a laser assembly online. Numerous websites offer laser assemblies that include the required diode, laser assembly, and other essential components for laser construction. This approach may be more convenient for those who prefer to skip the diode extraction process.
Remember to exercise caution and conduct proper research to ensure you gather a reliable laser diode that suits your specific project requirements.
Comparison between DVD Drive Extraction and Online Purchase
| Method | Pros | Cons |
|---|---|---|
| DVD Drive Extraction |
|
|
| Online Purchase |
|
|
Consider your expertise level, budget, and project requirements when deciding which method to choose for gathering the laser diode. Both options have their advantages and disadvantages, so weigh them carefully before making a decision.
Collimation Optics
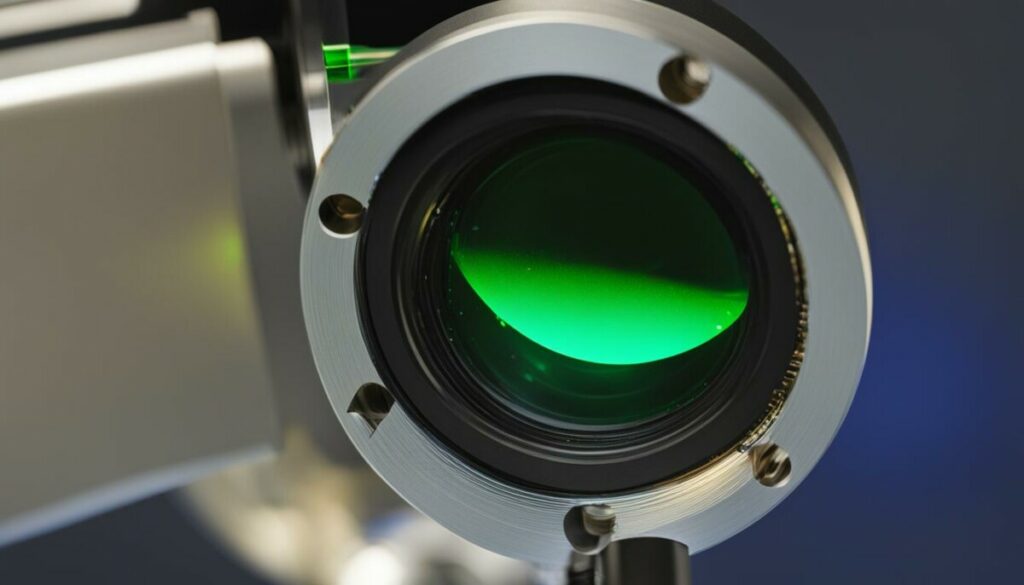
When it comes to creating a focused and precise laser beam, collimation optics play a crucial role. One popular choice for collimation optics is the Aixiz module, which serves as a holder for both the diode and lens.
The Aixiz module offers the convenience of a diode press-fit mechanism, allowing for easy and secure installation of the laser diode. This press-fit design ensures stability and optimal alignment, resulting in a well-collimated laser beam.
The main function of collimation optics, such as the Aixiz module, is to shape the laser beam into a parallel beam with minimal divergence. This means that the laser beam remains narrow and focused over long distances, making it ideal for various applications such as laser pointers, laser shows, and scientific experiments.
The Aixiz module can be purchased from a variety of online shops, making it readily accessible for laser enthusiasts and hobbyists. When selecting an Aixiz module, ensure compatibility with your laser diode and consider any additional features or specifications that may be beneficial to your specific project.
By incorporating high-quality collimation optics like the Aixiz module into your laser build, you can enhance the performance and precision of your laser device.
Advantages of the Aixiz Module:
- Secure press-fit design for easy installation
- Ensures stable and precise alignment of the laser diode
- Creates a well-collimated laser beam with minimal divergence
- Compatible with various laser diode models
- Readily available for purchase online
Driver
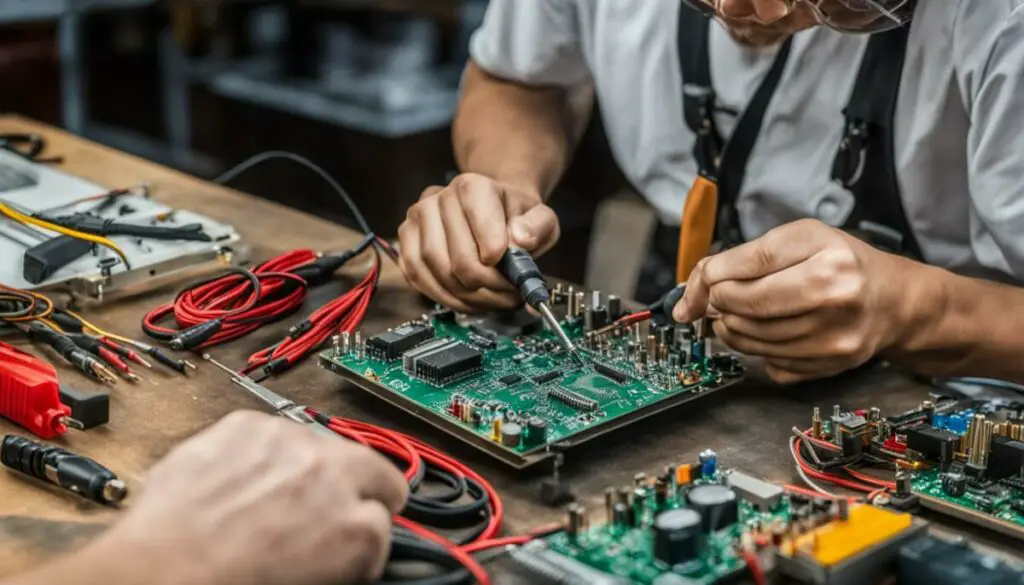
When building an infrared laser, it is crucial to have a driver to regulate the current flowing through the laser diode. Connecting the diode directly to the power supply can cause damage, making a driver a necessary component. The driver ensures that the diode receives a stable and safe amount of current, prolonging its lifespan and maintaining optimal performance.
While a resistor can theoretically be used to regulate the current, it may not provide a constant current output. This inconsistency can impact the laser’s stability and efficiency. Therefore, using a dedicated driver is highly recommended for precise current regulation.
There are popular commercial drivers available on the market that offer reliable current control. These drivers are specifically designed to suit various laser diodes and provide optimized performance. By choosing a commercial driver, you can benefit from proven technology and ensure a smooth and stable operation.
For those interested in a do-it-yourself (DIY) approach, the DDL driver is a popular choice. The DDL driver stands for “Don’s Laser Driver” and is a simple yet effective DIY driver circuit. It is widely used by hobbyists and laser enthusiasts due to its ease of construction and good current regulation capabilities.
When working with drivers, it is vital to test the current output accurately. This can be done using a test load, which is a combination of diodes and a resistor. With a test load, you can adjust the driver’s current output to match the desired specifications without risking damage to the laser diode.
Here is an example of a test load setup:
| Component | Quantity |
|---|---|
| Diodes | 2 |
| Resistor | 1 |
With the test load in place, you can fine-tune the driver to deliver the desired current for optimal laser performance.
Why a driver is necessary:
A driver is crucial for regulating the current flowing through the laser diode. Connecting the diode directly to the power supply can cause damage.
– Laser Enthusiast
Power Supply
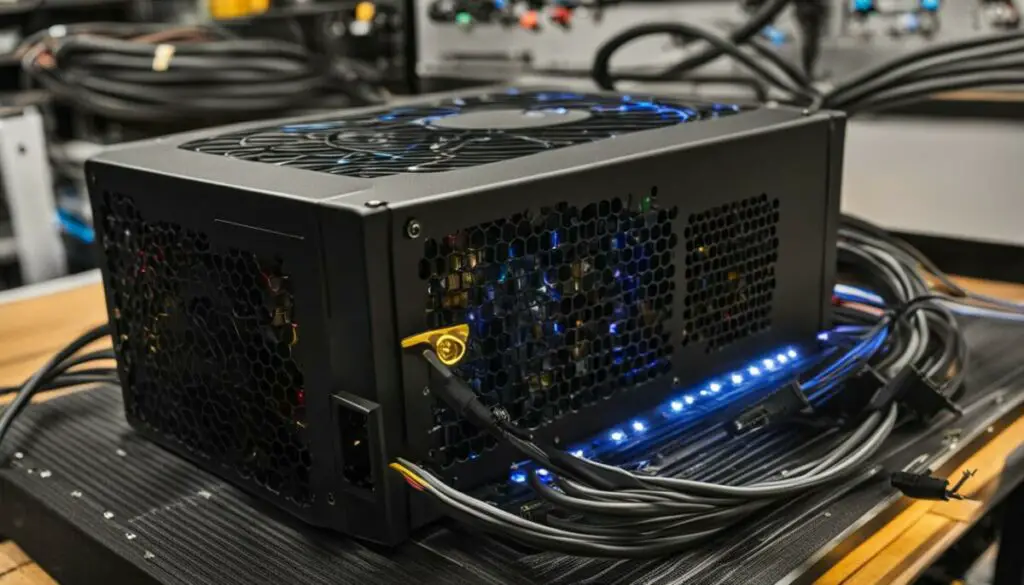
When it comes to powering your DIY laser, selecting the right power supply is crucial for optimal performance. Various options are available, depending on your specific needs and requirements.
Beginners often opt for a 9V battery due to its simplicity and ease of use. However, it’s important to note that a 9V battery may not provide sufficient current for longer periods, resulting in decreased laser output and potential performance issues.
For those looking for a portable build, Li-Ion batteries are an excellent choice. These rechargeable batteries, such as the 14500 or 10440 models, can deliver higher currents and longer operational times. They can be conveniently paired with compatible battery holders and chargers for added flexibility and convenience.
If you prefer a more stationary setup, a wall PSU (power supply unit) can provide a reliable and constant power source for your laser. This option is particularly beneficial when working in a controlled environment, such as a designated workspace or laboratory.
It is essential to ensure proper connectivity among the power supply, laser diode, and other components. Following the provided schematic and pinout information is crucial for correct wiring and preventing any potential damage to the laser and associated electronics.
Key Points:
- A 9V battery is suitable for beginners but may not provide sufficient current for extended use.
- Li-Ion batteries offer portability and higher current capabilities for portable builds, and require compatible holders and chargers.
- A wall PSU is ideal for stationary setups, delivering a constant power supply.
- Follow the provided schematic and pinout information for proper connectivity and wiring.
Final Phase
As you near completion of your laser building project, it’s time to focus on the final phase. This stage involves securing the laser module with a heatsink and assembling the components into a project box for better organization and protection.
Securing the Laser Module with a Heatsink
A heatsink is an essential component for dissipating heat generated by the laser module. By attaching a heatsink, you ensure that the laser operates at an optimal temperature, preventing overheating and potential damage.
You have two options when it comes to heatsinks. You can either find a small heatsink that fits your laser module or purchase a ready-made heatsink specifically designed for this purpose. Ready-made heatsinks offer convenience and are often designed to fit a wide range of laser modules, ensuring a secure and effective heat dissipation solution.
To secure the laser module with the heatsink, you will need thermal epoxy. Apply a thin layer of thermal epoxy to the back of the laser module and carefully affix it to the heatsink. Allow the epoxy to cure according to the manufacturer’s instructions for a strong, lasting bond.
Project Box Assembly
With the laser module secured, it’s time to assemble the components into a project box. A project box provides a neat and organized enclosure for your laser, protecting it from external elements and ensuring safe operation.
Choose a project box that is spacious enough to accommodate all the components and offers sufficient room for wiring and ventilation. You can find a suitable project box at electronics stores or online retailers.
Begin by carefully arranging the laser module, driver, power supply, and any other electronic components within the project box. Take care to route the wires neatly and ensure proper connections.
If necessary, create openings or drill holes in the project box to accommodate switches, diodes, or other components. This will provide easy access and a clean, professional look.
Once all the components are securely in place, close the project box and tighten any screws or fasteners to ensure a secure fit.
Now, your laser module is protected and integrated into a project box assembly, ready for use in your DIY project.
Conclusion
Building an infrared laser at home is an exciting and achievable DIY project. With the right components, tools, and knowledge, you can construct your own laser and explore the fascinating world of laser technology. By following the proper steps and taking necessary safety precautions, you can ensure a successful laser construction experience.
When embarking on a DIY laser construction project, it is crucial to prioritize safety. Infrared lasers can be dangerous if mishandled, so it is essential to wear appropriate protective eyewear and handle the components with care. Additionally, always work in a well-ventilated area and avoid pointing the laser at people or reflective surfaces.
By gathering the necessary materials, including laser diodes, collimation optics, a driver, and a power supply, you can start building your own infrared laser. Don’t forget about the importance of using the right tools, such as a soldering iron and pliers, to ensure proper assembly. Remember to consult relevant online resources and follow detailed guides to ensure accuracy throughout the construction process.
In conclusion, building an infrared laser at home is an engaging and educational endeavor. By acquiring the proper components, using the right tools, and prioritizing safety precautions, you can successfully embark on your DIY laser construction journey, expanding your knowledge and skills in the world of lasers.
FAQ
Can I build an infrared laser at home?
Yes, it is possible to build an infrared laser at home with the right components, tools, and knowledge.
What components do I need to build a laser?
You will need a laser diode, collimation optics, a current regulator, a power supply, a heatsink, a housing for the electronics, and optional components such as a safety switch, LED, and cooling fan.
What tools do I need for building a laser?
You will need a soldering iron, solder, a DMM (digital multi meter), wires, pliers, tweezers, a vice, and a 3rd hand tool for better handling.
How can I gather a laser diode?
You can either extract a laser diode from a DVD drive or purchase a laser assembly online. The LPC-815 is a commonly used red laser diode found in DVD drives with specific write speeds.
What are collimation optics and how do I obtain them?
Collimation optics, such as the Aixiz module, are necessary to create a focused laser beam. The Aixiz module can be purchased from various online shops and serves as a holder for both the diode and lens.
Why do I need a driver, and what options do I have?
A driver is essential for regulating the current flowing through the laser diode to prevent damage. Popular options include commercially sold drivers and DIY drivers like the DDL driver.
What power supply should I use for my laser?
Beginners often use a 9V battery, but it may not provide sufficient current for longer periods. Portable builds can utilize Li-Ion batteries such as 14500 or 10440. Wall PSUs can also be used for a more stationary setup, and it is important to connect the components correctly based on the provided schematic and pinout information.
How do I secure the laser module and complete the construction?
The final phase involves securing the laser module with a heatsink using thermal epoxy for better heat dissipation. You can find a small heatsink or purchase a ready-made one. Finally, the components can be assembled into a project box for better organization and protection.
Can I build an infrared laser laser safely at home?
Yes, building an infrared laser laser at home can be done safely by following the proper steps and taking necessary safety precautions.



.jpg)
